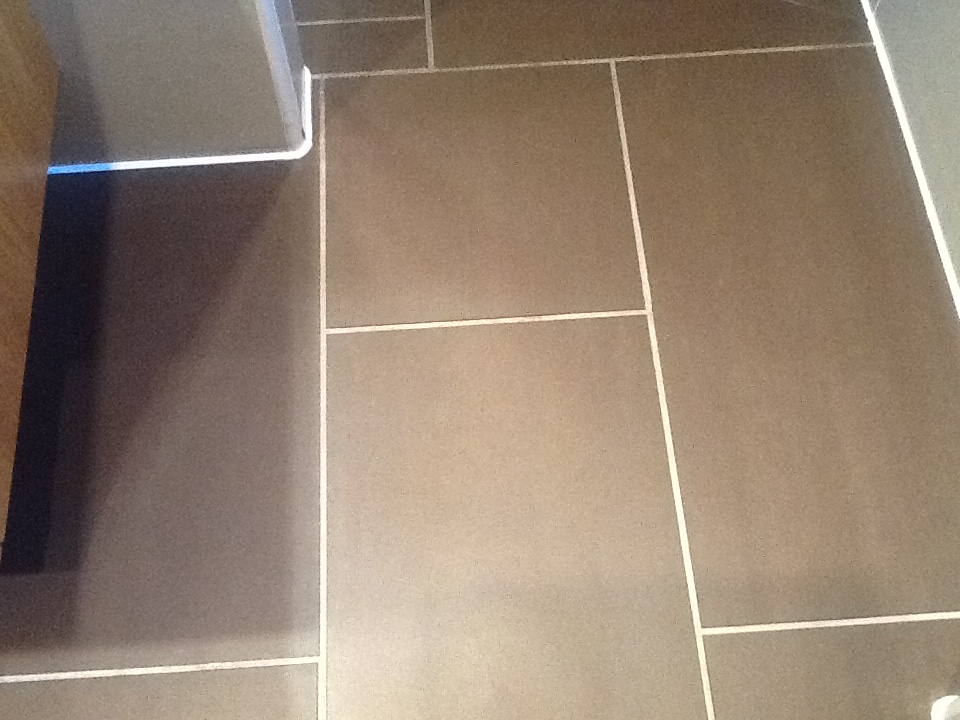
Renovating Polished Limestone Floor with Stained Grout in Wellingborough
This Limestone tiled floor installed in a kitchen and family room at a property in Wellingborough is a great example of how this material can lose its appearance without a regular maintenance plan in place.

The customer called me as not only was she concerned that the floor had lost its lustre the grey grout had become very stained and almost black in heavy traffic areas, in fact my customer had originally asked about re-grouting but I was confident it could be cleaned.
I provided a quote which they were happy to accept.
 |
 |
Cleaning/Polishing Limestone Tiled Flooring
The area was a nice wide 6 metre by 5 metre space and except for a few items of furniture that would need moving around there were relatively few obstacles. I reasoned the most efficient way to restore the polished appearance of the Limestone would be to use a set of diamond encrusted Burnishing Pads. These are fitted to a rotary machine and applied to the stone in sequence from coarse to smooth. It’s an effective process that cuts back the layer of dirt on the floor and then we build back up the polish.
We started burnishing the Limestone with a coarse 400-grit pad fitted to a rotary machine and applied with a little water for lubrication. The coarse pad is very good at removing dirt and old sealers from stone and once completed the resultant surface water and loose dirt is removed using a wet vacuum.
At this point I turned my attention to the badly stained grout lines, and applied a strong solution of Tile Doctor Pro-Clean which was scrubbed in along the grout lines using a stiff grout brush, this is necessary as the recessed nature of the grout makes it difficult for the rotary pads to reach it.
I then repeated the burnishing process with the medium 800-grit pad and fine 1500-grit pad, the 800-grit pad removes any small surface scratches and the 1500-grit further refines the look of the Limestone slowly restoring its polished appearance.
Renovating Stained Grout on a Limestone Tiled Floor
After the whole floor had been burnished in this way it was given a further rinse with water and the soil extracted as before. I then inspected the floor to see if more work would be needed.
I was not fully happy with how some of the grout lines had responded, some were still slightly stained, and some marks were visible in the high traffic areas. I had already discussed on my initial visit with the client that this might be the case and it was agreed between us that should this be the case I would apply a Tile Doctor Grout Colourant in Light Grey to recolour all the grout lines and achieve a uniform finish.
The stone and grout was still damp from cleaning and polishing, so I decided to leave the grout colouring until the following day.
Sealing a Limestone Tiled Kitchen Floor
On day two I started by grout recolouring all the grout lines, it’s a straight forward process but can be a little tedious where there is a lot of grout to cover. Once complete I allowed the grout colour to dry for a couple of hours before moving onto the next step.
The last pad to be applied in the stone burnishing process is the very fine 3000-grit polishing pad which is applied dry to the tiles using a small amount of water sprayed onto the floor and leaves the stone dry and with a polished silk finish.
The floor was then sealed using two coats of Tile Doctor Ultra Seal Sealant allowing the first coat to dry before applying the second. Ultra-Seal is an impregnating sealer that works by occupying the pores in the stone thereby preventing dirt from becoming ingrained there. It’s also a natural look sealer that doesn’t affect the appearance of the stone
 |
 |
My customer was very happy with the transformation of her floor and provided the feedback copies below. In-fact she was so impressed with the results that she also used our services to restore the grout and silicon in one of her bathrooms.
“Phil was on time & easy to deal with and did an amazing job on my kitchen and bathroom floors and the carpets & sofa. No fuss, just a great job. Liz O.”

Professional Restoration of a Limestone Tiled Kitchen Floor in Northamptonshire
Renovating Polished Limestone Floor with Stained Grout in Wellingborough Read More »


