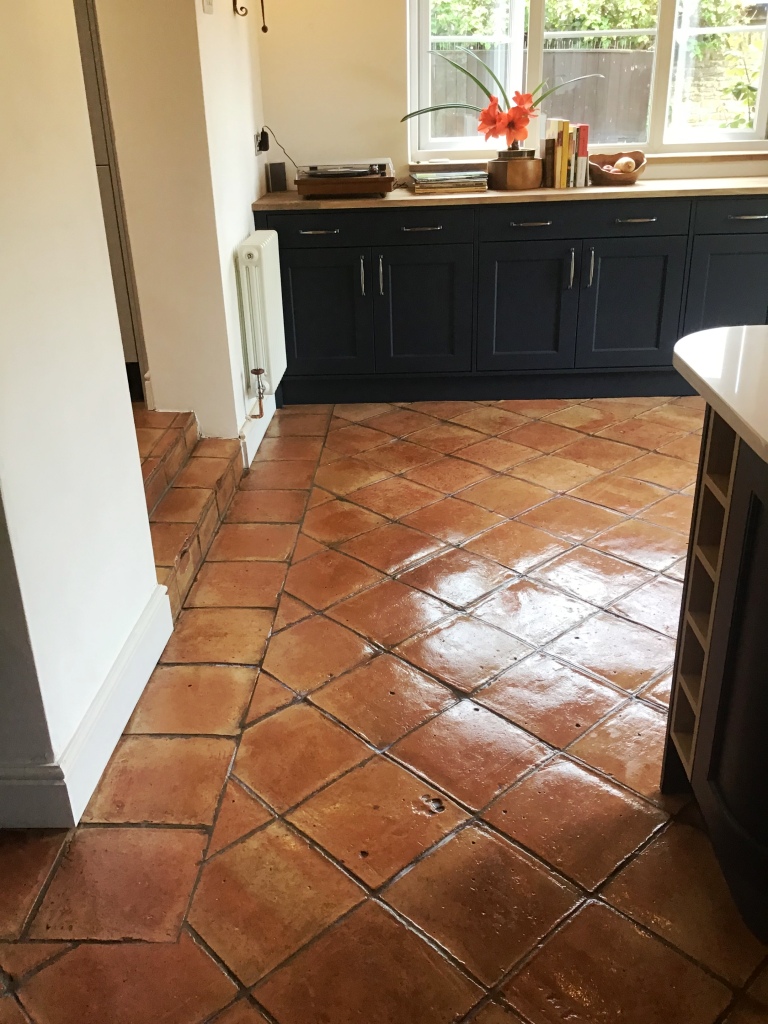
Kitchen Floor Cleaning

Kitchen Limestone Floor Polishing in Stanwick

Cleaning of Polished Limestone Kitchen Floor Tiles in Stanwick

I was contacted by a client from the village of Stanwick regarding their Limestone tiled floors, which were installed throughout the kitchen area and steps leading to the hallway. Polished stone does lose its appearance over time due to wear and this floor was now in need of re-polishing. An appointment was made to visit the client and carry out a survey of the floor.

Limestone Floor Tiles Before Polishing Stanwick
On my arrival I could see that the Limestone tiles had as suspected become dull and the grout needed attention; it was clear that the sealer had worn off in the busier area and dirt was now becoming ingrained in the stone and grout.

Limestone Floor Tiles Before Polishing Stanwick Limestone Floor Tiles Before Polishing Stanwick

To bring back its polished appearance the floor would need to be honed with burnishing and then re-sealed to protect it. This is a straightforward task which would take two days and so I provided a quote to do the work. The quote was accepted, and the job booked in.

Limestone Floor Tiles Before Polishing Stanwick

Cleaning and Honing Limestone Tiled Kitchen Floor

My first course of action was to protect the walls and kitchen units using a protective wrap before scrubbing the first area using a hot solution of Tile Doctor Pro-Clean using a rotary scrubbing machine fitted with a brush head attachment. This process lifted the dirt from the grout and surface of the tiles.

The floor was then rinsed thoroughly with water to remove the released dirt and cleaning solution which was then extracted off the floor with a wet vacuum. I then proceeded to burnish the Limestone using a set of four Tile Doctor Burnishing Pads fitted to a rotary floor machine. As usual I started with the application of a 400-grit coarse pad lubricated with water, this removes any remaining sealers and ingrained dirt from the stone. The slurry generated was then rinsed away using a wet pick up machine. I then repeated this process using the medium 800-grit and fine 1500-grit burnishing pads which slowly polish the stone, rinsing and extracting after each pad. The floor was then allowed to dry off overnight

Sealing a Limestone Tiled Kitchen Floor

I returned the following day and continued the process using the superfine 3000-grit polishing pad which is the last stage in the polishing process and bought back the polished surface. In this instance I polished the floor to a high shine as requested by the customer. Only a small amount of water is used with this last pad, so it leaves the floor dry and ready for sealing.

To seal I applied two coats of Tile Doctor Ultra-Seal Sealant which is an impregnating sealer that protects from within and gives the floor a natural look. The last step once the sealer was dry was to buff the floor to a nice shine with a rotary machine fitted with a white pad.

Limestone Floor Tiles After Polishing Stanwick
As the photos show, the floors were bought back to life with a gleaming high shine finish, the clients were extremely pleased with the results as you can see from their feedback below.

“Phil is a very hardworking and pleasant guy who kept me fully informed at all stages and the floors and patios look great. Many thanks. Michael B, Stanwick”

Limestone Floor Tiles After Polishing Stanwick
Whilst I was at the property the client asked me if I was able to clean their flagstone patio, I was able to do this and carried out the work for them, you can see the results achieved in the patio section of my website.

Limestone Floor Tiles After Polishing Stanwick
 

Limestone Tiled Kitchen Honed and Polished in Northamptonshire

Cleaning of Polished Limestone Kitchen Floor Tiles in Stanwick Read More »

Kitchen Terracotta Floor Before After Renovation Moulton

Cleaning a Terracotta Tiled Kitchen Floor in Moulton

We were contacted by the owner of a property in Moulton with a problematic Terracotta tiled kitchen floor. She was seriously considering ripping up the entire area of tiling and replacing it as she was having a new kitchen installed. Both her and her husband were concerned that unless I could restore this floor to somewhere near to its original condition, they would need to replace it.

Terracotta Tiled Kitchen Floor Before Restoration Moulton

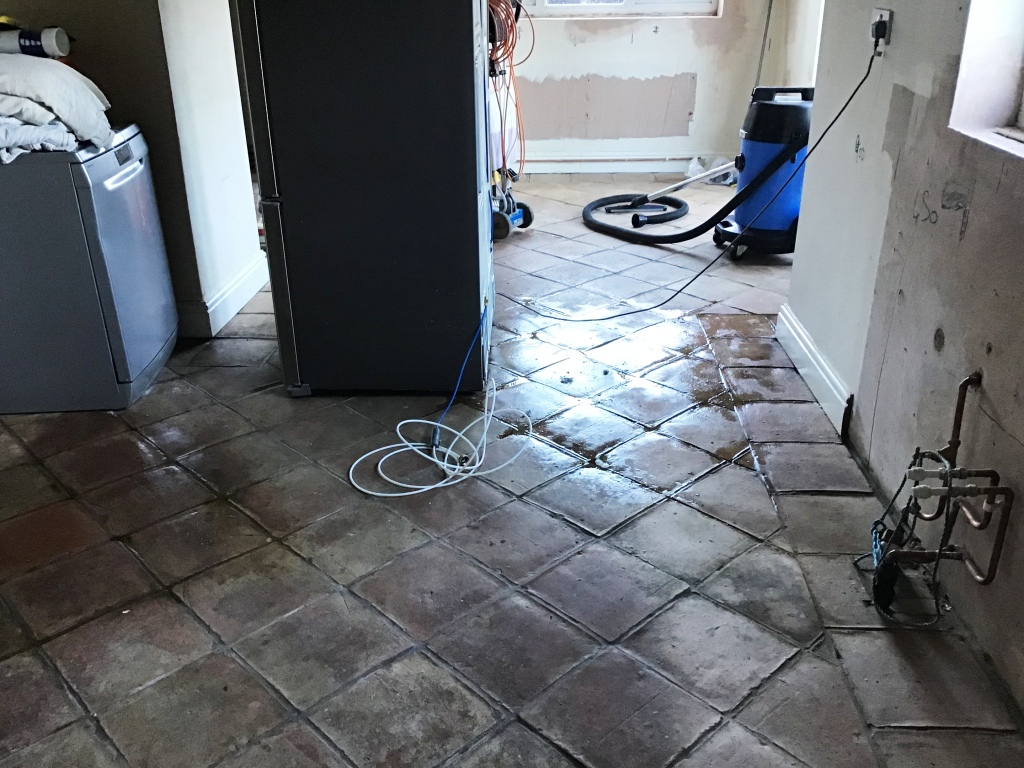
I went over to inspect the Terracotta tiles and could see the entire surface was deeply ingrained with soiling and the grout lines were filthy. After carrying out a test it became obvious that the previous sealer had been applied very sparingly and had mostly worn away, leaving the stone prone to staining. Terracotta is a very porous tile and dirt had become ingrained in the pores leaving it looking very dull and difficult to clean.

Terracotta Tiled Kitchen Floor Before Restoration Moulton

I completed the test on a small part of the floor and the customer could see the results which could be achieved. Happy with the result they agreed my quote and we set a date for my return to complete the floor.

Cleaning a Terracotta Tiled Kitchen Floor

The tiles turned out to be made of a fairly soft Terracotta which meant that we were able to deep clean them extremely effectively using a strong dilution of Tile Doctor Pro-Clean. We used Tile Doctor Remove and Go in particularly stubborn areas.

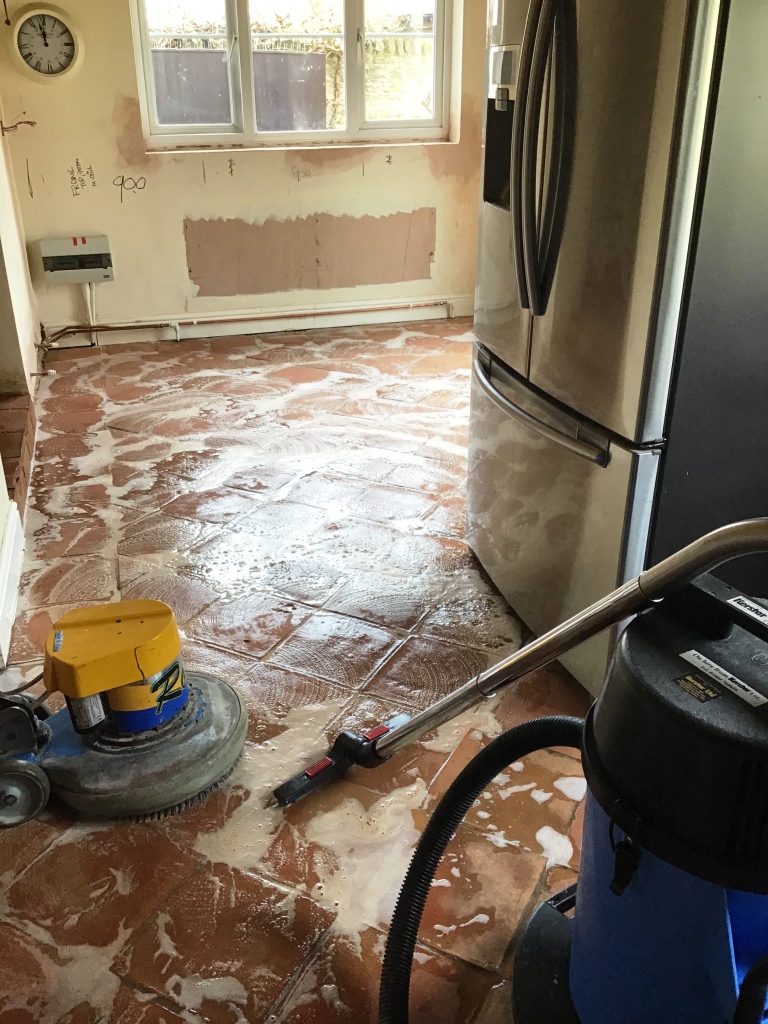
The process I use is to spray the Pro-Clean onto the floor and leave it to soak in for about ten minutes before being worked in using a heavy rotary machine fitted with a black scrubbing pad. The resulting slurry is removed using a wet pick up vacuum. All the dirt and virtually all of the old sealer was removed at this stage; the remaining patches around the edges of the area being finished by hand with a 200-grit burnishing block. The grout lines were then cleaned by hand with an angled grout brush.

Terracotta Tiled Kitchen Floor During Restoration Moulton Terracotta Tiled Kitchen Floor During Restoration Moulton

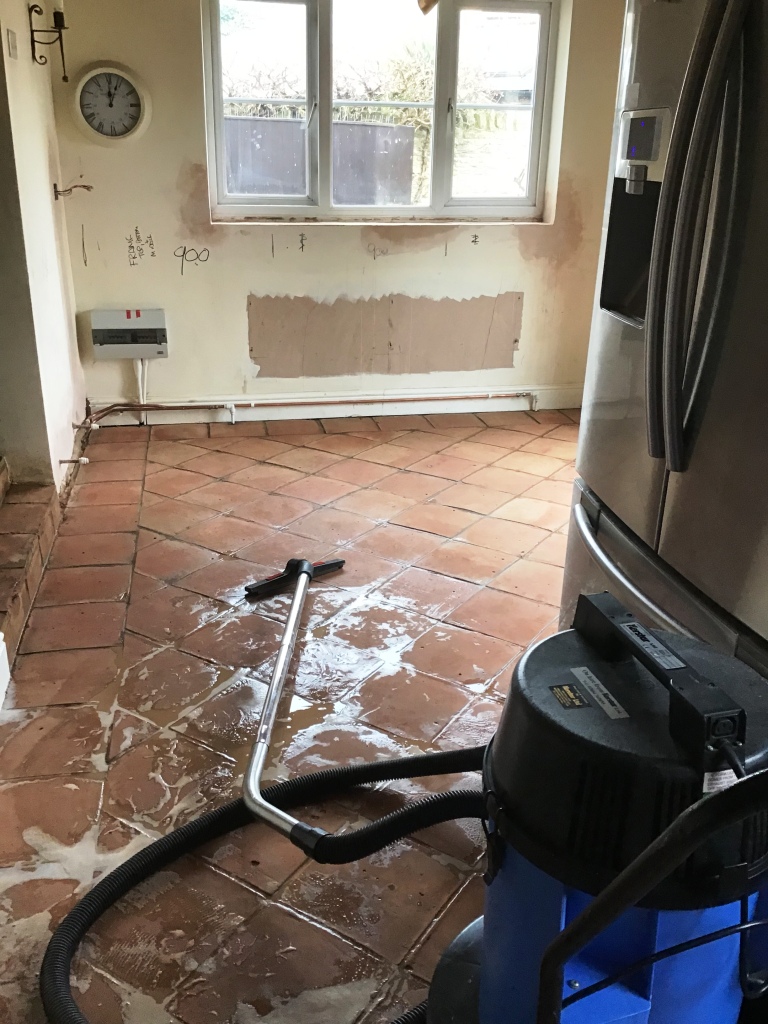
Finally, the deep-seated oil stains in front of the cooker were brought out using Tile Doctor Oxy-Gel which was left to dwell on the marks for an hour before being agitated with a diamond burnishing pad and rinsed away with a wet pick up machine. The floor was rinsed with water and allowed to dry off overnight.

Terracotta Tiled Kitchen Floor During Restoration Moulton

Sealing a Terracotta Tiled Kitchen Floor

The following day I inspected the floor and checked it was ready to be sealed. All was well so I applied an initial coat of Tile Doctor Colour Grow which is an impregnating sealer that occupies the pores in the tile enhancing the natural colours of the Terracotta and provide a base layer of protection from staining.

Terracotta Tiled Kitchen Floor After Restoration Moulton

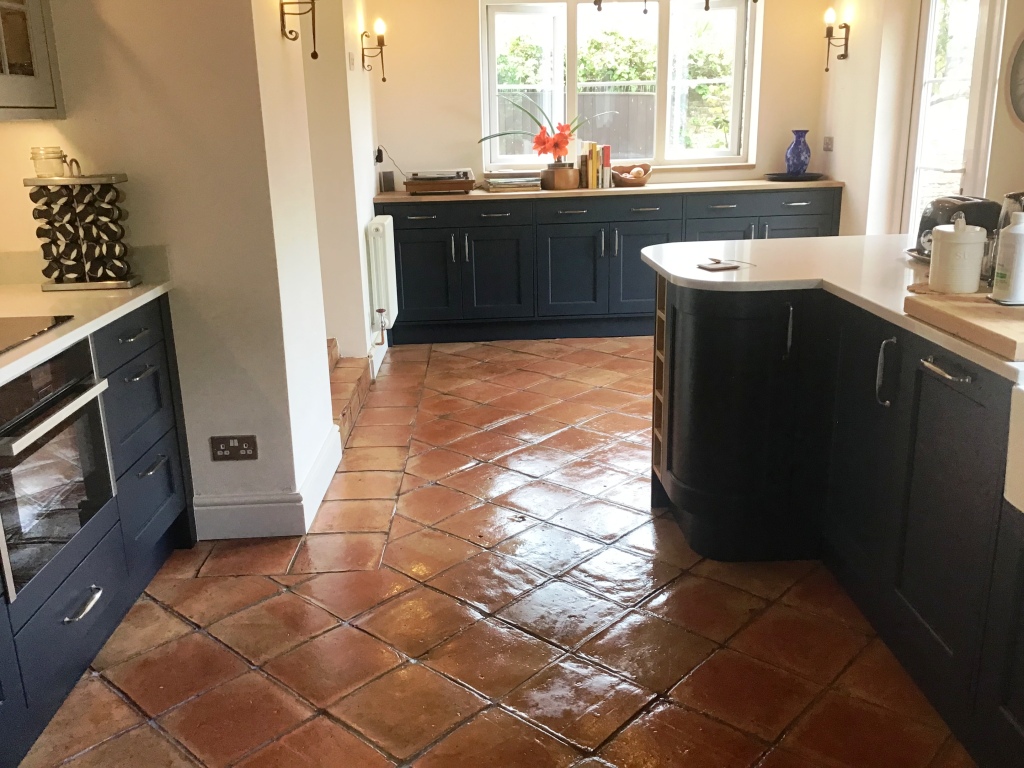
I returned at a convenient time once the kitchen was completely installed to finish the job. This involves carrying out a light maintenance clean with Tile Doctor Neutral Cleaner and once the floor was dry, I applied 5 further coats of Tile Doctor Seal and Go which provides a pleasing satin finish which is really suited to this type of floor.

Terracotta Tiled Kitchen Floor After Restoration Moulton

The customer was very happy with the results and has left the following feedback.

“We were really pleased with the results, thank you!”

Terracotta Tiled Kitchen Floor After Restoration Moulton


Professional Restoration of a Terracotta Floor in Northamptonshire

Cleaning a Terracotta Tiled Kitchen Floor in Moulton Read More »

Stained Marble Tiled Floor Before After Polishing Northampton Northamptonshire

Marble Floor Tile Polishing in New Duston, Northampton

The Marble floor tiles in the pictures below covered a large kitchen, family room and utility area at a property in New Duston near Northampton. The client who was a builder had been recommended our services by one of his own clients, so he contacted us for advice on how to renovate the Marble flooring.

Marble Floor Restoration New Duston Before Polishing

I went to the property to survey the floor and could see straight away that the tiles were dull, lifeless with some staining and hardly recognisable as Marble. I recommended the floor was honed through a polished process known as burnishing, followed by the application of a sealer to provide durable protection for the stone. I organised a quote which was accepted, and we arranged a date for the work to start.

Marble Floor Restoration New Duston Before Polishing

Apologies in advance for the quality of the photographs, it’s tricky this time of year when the light is failing to capture a good photo.

Restoring Polish to a Marble Tiled Floor

I began the burnishing process, which involves the application of a set of Tile Doctor diamond encrusted burnishing pads attached to a 17” rotary machine. At Tile Doctor we work with a four-pad system that allows us to gradually refine the polish on suitable stone floors which generally including Marble, Travertine and Limestone. I started the process by applying a 400-grit coarse burnishing pad lubricated with a little water, working in small sections. Following this, I worked my way through the burnishing system, repeating the process with 800-grit medium and 1500-grit fine grit burnishing pads. I also used some small hand-held burnishing blocks in the difficult to reach corners and edges. The floor is given a quick rinse using a wet pick up machine between pads in order to remove the resulting slurry before starting with the next pad.

Marble Floor Restoration New Duston During Polishing

I left the floor to dry off overnight to give the Marble tile and grout time to dry and returned the next day to finish the polishing and seal the floor.

Sealing a Marble Tiled Floor

The last 3000-grit pad builds up a high polish on the floor and is applied dry with only a little water squirted on the tiles in a process we call a Spray Burnish. One of the advantages of this method is it leaves the floor dry so is ready for sealing.

Now that I had achieved a good level of shine, I then proceeded to seal the floor to protect the stone against future dirt, stains and damage, which is more common in busy areas of a house like the kitchen. I applied two coats of Tile Doctor Ultra Seal allowing drying time between each coat. This is a no-sheen, natural-look, penetrating sealer which is formulated to provide maximum stain protection, especially in food areas such as the kitchen. Once the sealant had hardened, I ran over the floor with a white buffing pad to further enhance the look of the Marble floor.

Marble Floor Restoration New Duston After Polishing

The customers were extremely happy with the results and as with all customers I advised on the best maintenance for their floor and provided a complimentary bottle of Tile Doctor Stone Soap to help them maintain the beauty of their floor.


Professional Restoration of Polished Marble Tiled Floor in Northamptonshire

Marble Floor Tile Polishing in New Duston, Northampton Read More »

Scroll to Top