tiled

Restoring a Riven Slate Patio Suffering from Grout Haze in Wollaston

Restoring a Riven Slate Patio Suffering from Grout Haze in Wollaston

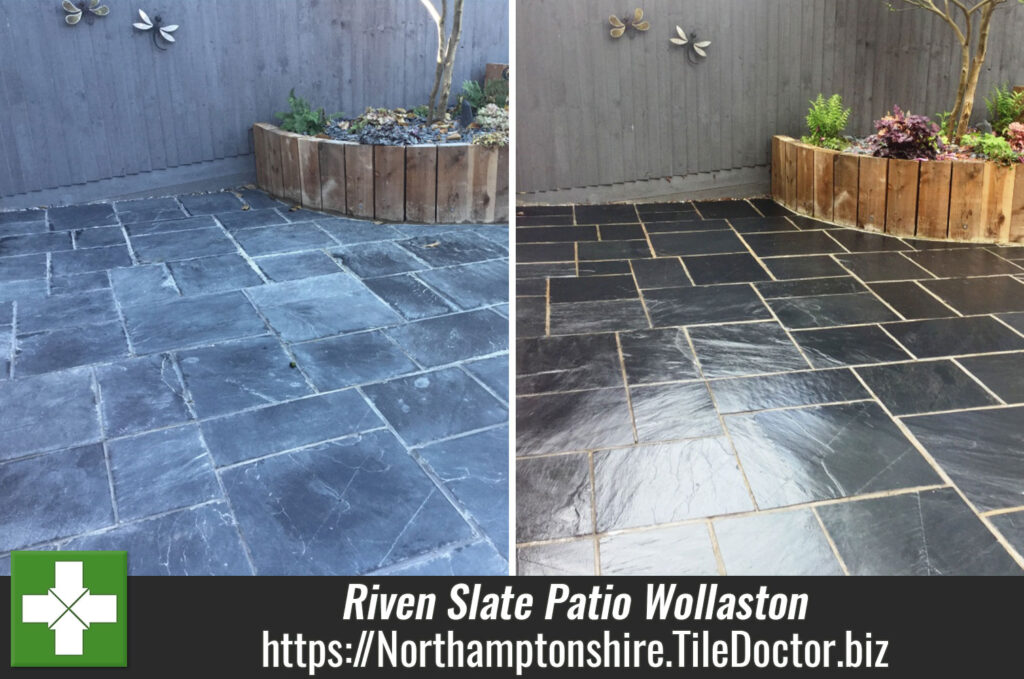
This customer, who lives in Wollaston, a small village in Northamptonshire, called me to look at the unfortunate condition of her Riven Slate tiled patio. She had hired a builder to install it, but he had neglected to remove the grout haze which had occurred quickly enough, allowing it to set. He was subsequently unable to remove the haze because he had already sealed over it. This had left it looking very unsightly, as you can see in the photo below.
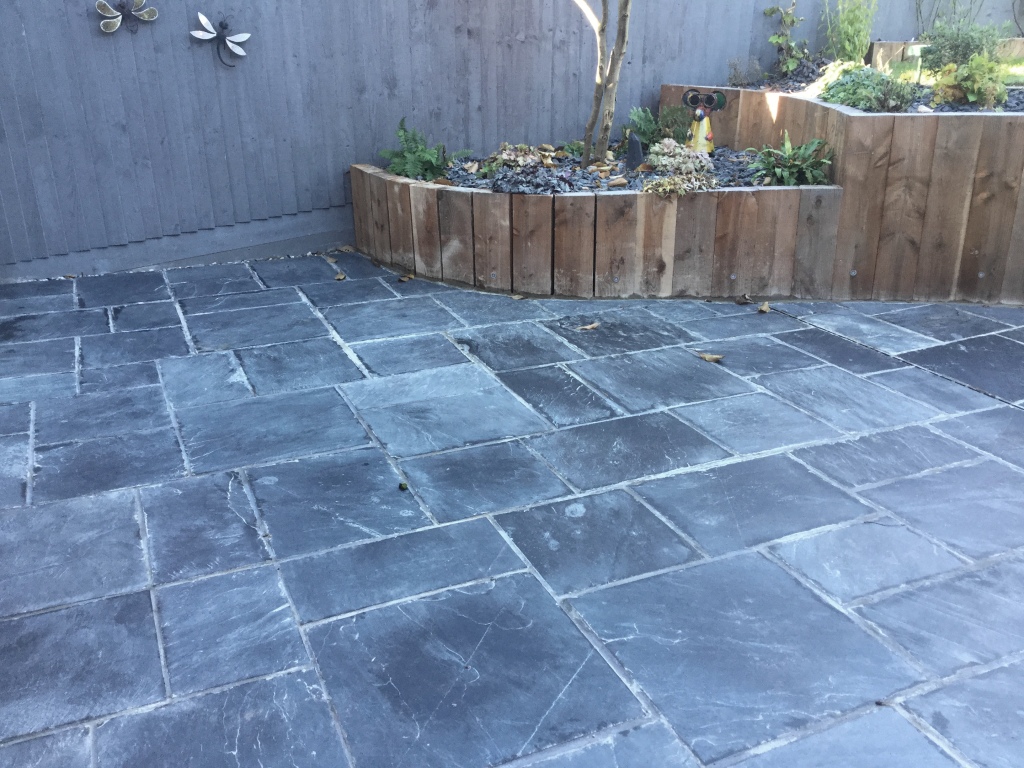
Newly Laid Riven Slate Patio Wollaston Before Cleaning
The customer initially contacted me back in December 2016. At that time, I did explain to the customer that the Winter wouldn’t be an ideal time to restore the patio, and that it would be best to carry out the work in the Spring. However, she was so unhappy with the appearance of the patio and – knowing she had guests coming over for Christmas – wanted something to be done to improve the condition of the tiles as soon as possible.

It was agreed that I would immediately carry out the removal of the old sealer and the grout haze beneath, but leave the re-sealing until the Spring of the following year when the weather was dry. The customer understood that when I returned in the Spring, the patio would require another light clean and brush to prepare it for sealing.

To put the customer’s mind at rest somewhat, I carried out a test clean on one slab of the patio using Tile Doctor impregnating, colour intensifying sealer, known as Colour Grow. This darkened the tile and provided a natural look finish, which was preferred by the customer. I also returned to the property several days later to carry out a water repellency test, but as you can see from the photo below, the rain beat me to it. Thankfully, the repellency test had positive results.

Newly Laid Riven Slate Patio Wollaston Testi Cleaning
I was then able to begin the cleaning process.

Cleaning and Sealing a Riven Slate Tiled Patio

To begin, I removed the old sealer using a strong mix of Tile Doctor Remove & Go, which is a stripper and cleaner. This product was scrubbed into the tiles with a rotary brush machine. Net, I rinsed away the resulting slurry and soaked up the water with a wet vax machine.

This initial clean exposed the true extent of the grout haze – it was over all every tile! My next course of action was therefore to remove this using Tile Doctor Acid Gel, which is a gel cleaner specially formulated to neutralise grout haze. This was allowed to dwell for a short period before I brushed it in.

Newly Laid Riven Slate Patio Wollaston During Cleaning
Following this, I gave the whole area a second brush with a small amount of water, before using a wet vax machine once again to make sure all cleaning chemicals were removed. I used the customer’s hosepipe to rinse down the entire patio as there was good drainage.

Newly Laid Riven Slate Patio Wollaston After 2nd Cleaning
I allowed the tiles to dry out naturally, before waited for a dry day in April this year to return to the property. During this day, I sealed the entire area with Tile Doctor Colour Grow sealer to really deepen the colour in the stone and provide the whole patio long-lasting protection against the elements.

Newly Laid Riven Slate Patio Wollaston After 1st Coat
The customer was exceptionally happy to have the patio restored to perfect condition. I’m sure she’ll make great use of it over the Summer!

Newly Laid Riven Slate Patio Wollaston Completed
 

Professional Riven Slate Tiled Patio Restoration in Northants

Restoring a Riven Slate Patio Suffering from Grout Haze in Wollaston Read More »

Tumbled Travertine Kitchen Tiles Rejuvenated in Lower Boddington

Badly Stained and Pitted Travertine Kitchen Tiles Restored in Daventry

This Travertine Tiled kitchen floor was in a farmhouse close to the village of Newnham near Daventry. The client had called us in because she was concerned that her floor was becoming increasingly difficult to keep clean which was due to the small holes and pits becoming ingrained with soil and it was becoming difficult to remove as the original sealant had worn off.

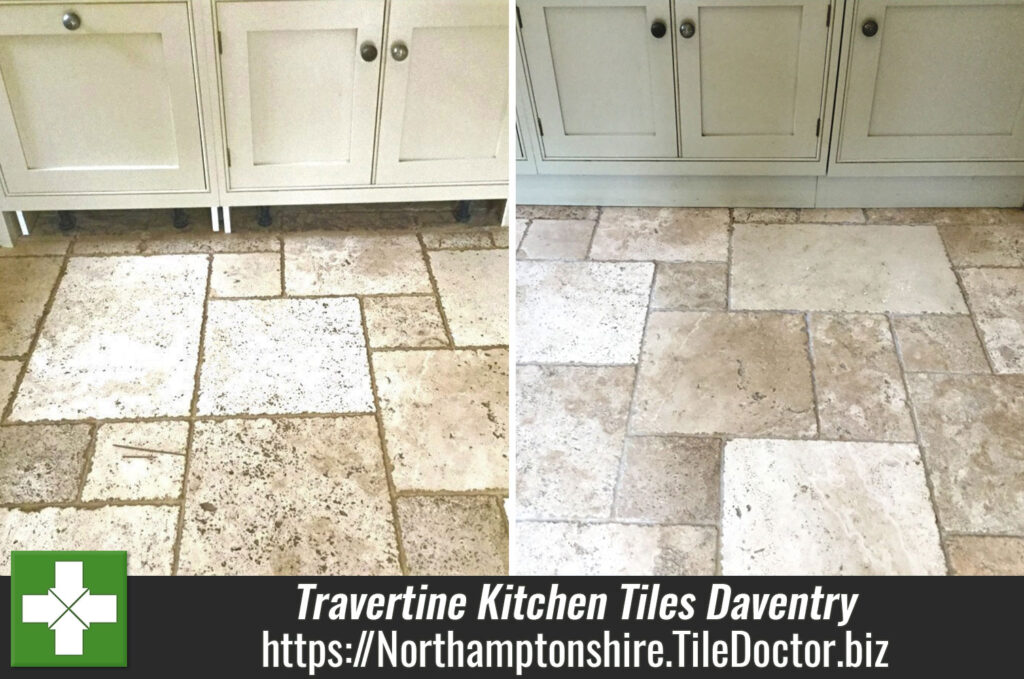
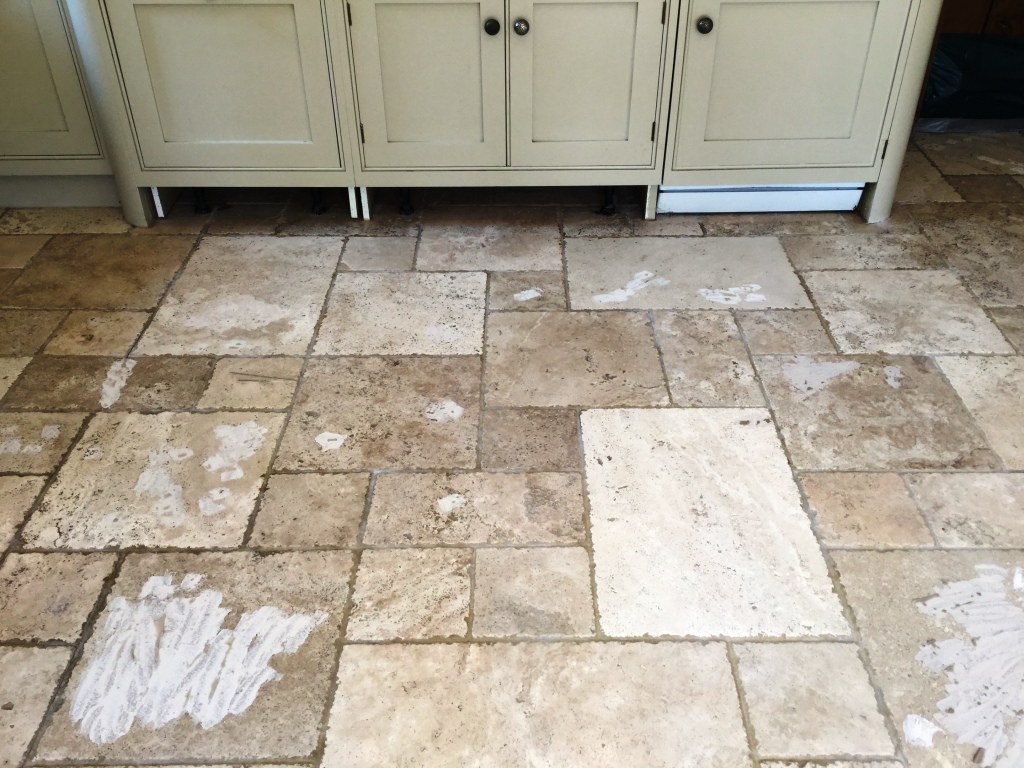
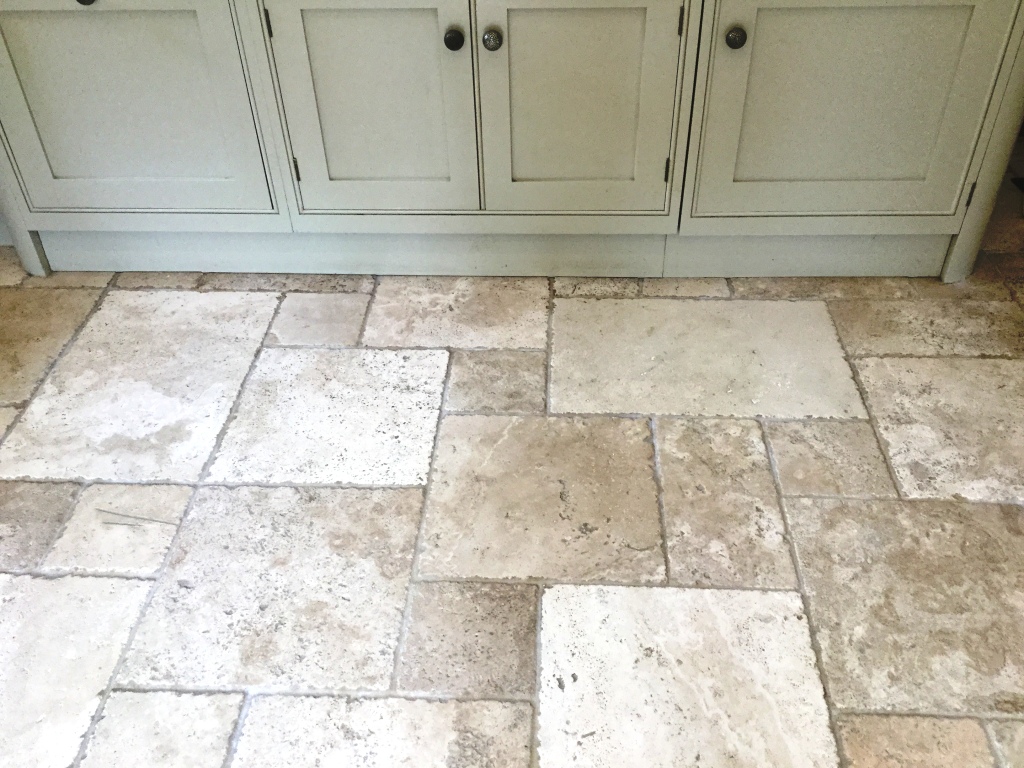
Hopefully you can see from the pictures the results that can be achieved on a badly stained and pitted Travertine floor. The first photo below shows the extent of the problem due to many holes in the floor, this is a characteristic of Travertine and normally these holes are filled in the factory but the filler does come out over time leaving holes.

Travertine Tiled Kitchen Floor Before Cleaning Daventry Northants

Cleaning a Pitted Travertine Tiled Floor

The floor was cleaned using a combination of Tile Doctor Burnishing Pads to re-surface the tile and the application of Tile Doctor Grout Pro-Clean agitated with a stiff brush to clean out embedded soil in the pits and grout lines. The Burnishing pads fit a rotary floor polishing machine and come in a series of different grits which are applied from Coarse through Medium and then Fine and lubricated with a little water.

I also carried out some repairs to the larger holes with a travertine filler that was mixed to match the existing colours. The second picture shows the repairs in progress, the filler is mixed and applied before leaving an hour and then polishing off any excess filler with dry cloth, the floor was then vacuumed and allowed to fully dry overnight allowing the product to harden.

Travertine Tiled Kitchen Floor After Cleaning Daventry Northants

Sealing a Travertine Tiled Floor

The floor was polished and sealed the following day using 2 coats of Tile Doctor Ultra Seal sealant to protect the grout lines and stone from any staining in future, it leaves a no-sheen natural look which worked very well in the kitchen area.

I waited a for the sealant to dry and then carried out a water repellency test to check it was fully sealed before giving the floor a final polish using a Tile Doctor Polishing Pad.

Travertine Tiled Kitchen Floor After Polishing Daventry Northants
 

Professional Travertine Tiled Floor Restoration in Northamptonshire

Badly Stained and Pitted Travertine Kitchen Tiles Restored in Daventry Read More »

Victorian Tiled Hallway Floor Deep Cleaned and Sealed in West Haddon

Victorian Tiled Hallway Floor Deep Cleaned and Sealed in West Haddon

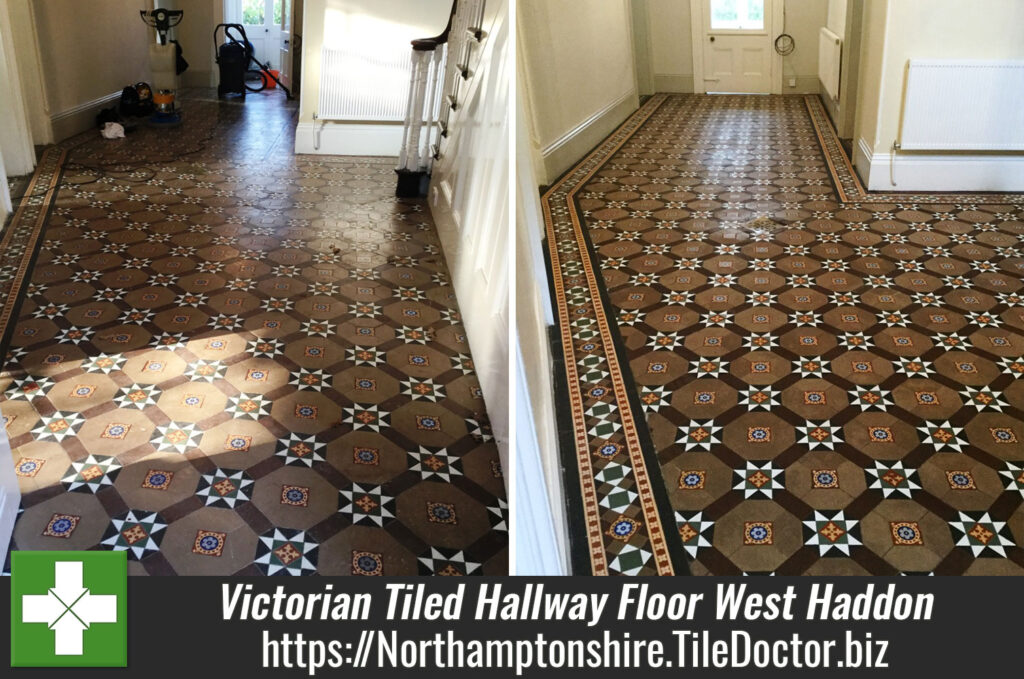
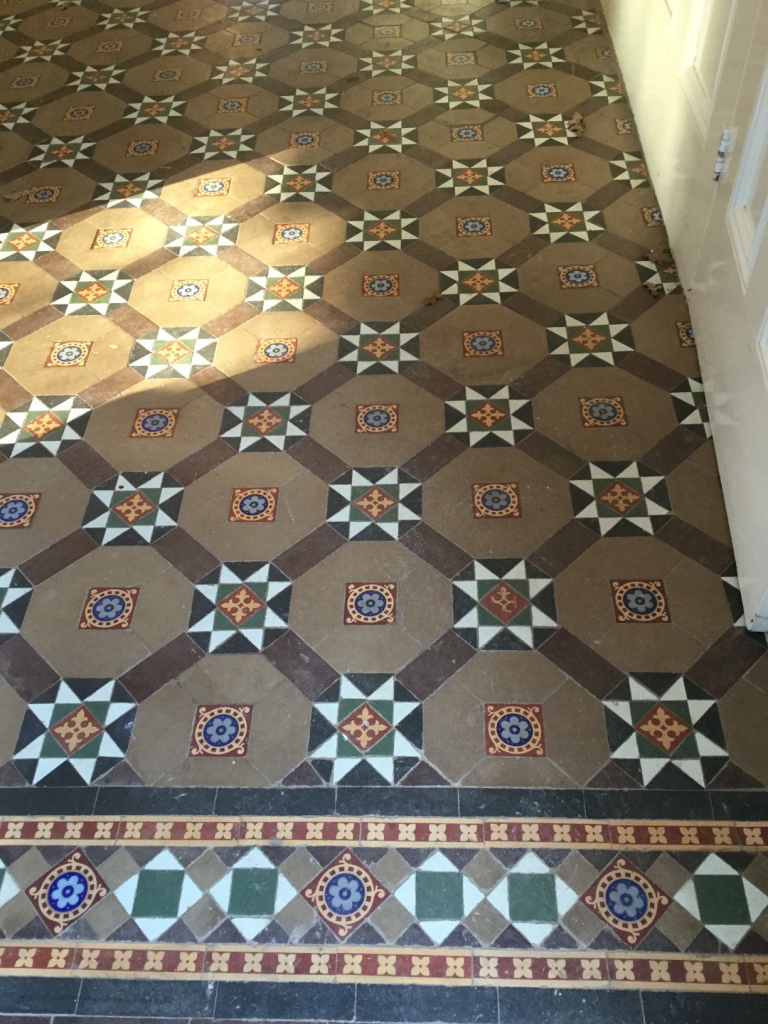
The pictures below were taken of a Victorian tiled hallway floor in a large property in the old village of West Haddon. The tiles were in good physical condition for its age but required attention as it was looking very dull and dirty due to not being sealed for many years allowing a build-up of soil to embed in the surface of the tiles making cleaning very difficult.

Victorian Tiled Floor Before Cleaning West Haddon Victorian Tiled Floor Before Cleaning West Haddon

Deep Cleaning a Victorian tiled hallway floor

My first course of action was to vacuum the floor to remove light dust and debris, this was followed by applying Tile Doctor Pro-Clean diluted with warm water spraying several metres at a time. The solution was allowed to soak in for a short while before being agitated with a rotary machine fitted to a rotary machine and a stiff grout brush which was run along the grout lines. The section of floor was then rinsed with water and then this was extracted with a wet pick up machine. This process was then repeated through the entire area.

I then switched to a new cleaning process for Victorian tiles that was taught on a recent Tile Doctor training course. Basically it involves using a special diamond impregnated burnishing pad fitted to a rotary machine to resurface the tiles using just water. Again I worked in small sections until I had covered the entire area.

A common issue with these old Victorian floors is they were usually laid without a damp proof course; as a result it’s not uncommon for white salt deposits (efflorescence) to appear a few days after cleaning. To counteract this I gave the floor an acid wash using Tile Doctor Acid Gel, leaving it to dwell before rinsing. This helps neutralise the tile and will combat any salts rising up through the floor later.

Sealing a Victorian tiled hallway floor

I returned the following day to carry out repairs and to re set a couple of loose tiles which is not unusual for a floor of this age. The floor was then left to dry for a further day with a dehumidifier on site before returning to seal the floor with a breathable sealer for which we used two coats of Tile Doctor Colour Grow.

Colour Grow does a really good job protecting tiles as it soaks into the pores of the tile enhancing its colours whilst protecting from within however it leaves a matt finish and the customer wanted a sheen finish. This would not be a problem to achieve however it would require the application of another product and I was still concerned about potential efflorescence issues which would be more difficult to resolve with the application of a further sealer so I agreed to return several weeks later to finish the job.

As agreed I returned a few weeks later which allowed the floor to dry and guard against any damp issues and on my return I was happy to confirm the floor had fully dried using my damp meter and further there were no signs of efflorescence. I then applied 5 coats of Tile Doctor Seal & Go to give the customer the required finish she was after.

Victorian Tiled Floor After Cleaning West Haddon
I also left the client a free sample of our cleaning solution Tile Doctor Neutral Clean together with written maintenance instructions to help keep the floor looking its best for years to come.

Victorian Tiled Floor After Cleaning West Haddon
 

Maintaining a Victorian Tiled Hallway Floor in Northamptonshire

Victorian Tiled Hallway Floor Deep Cleaned and Sealed in West Haddon Read More »

Scroll to Top