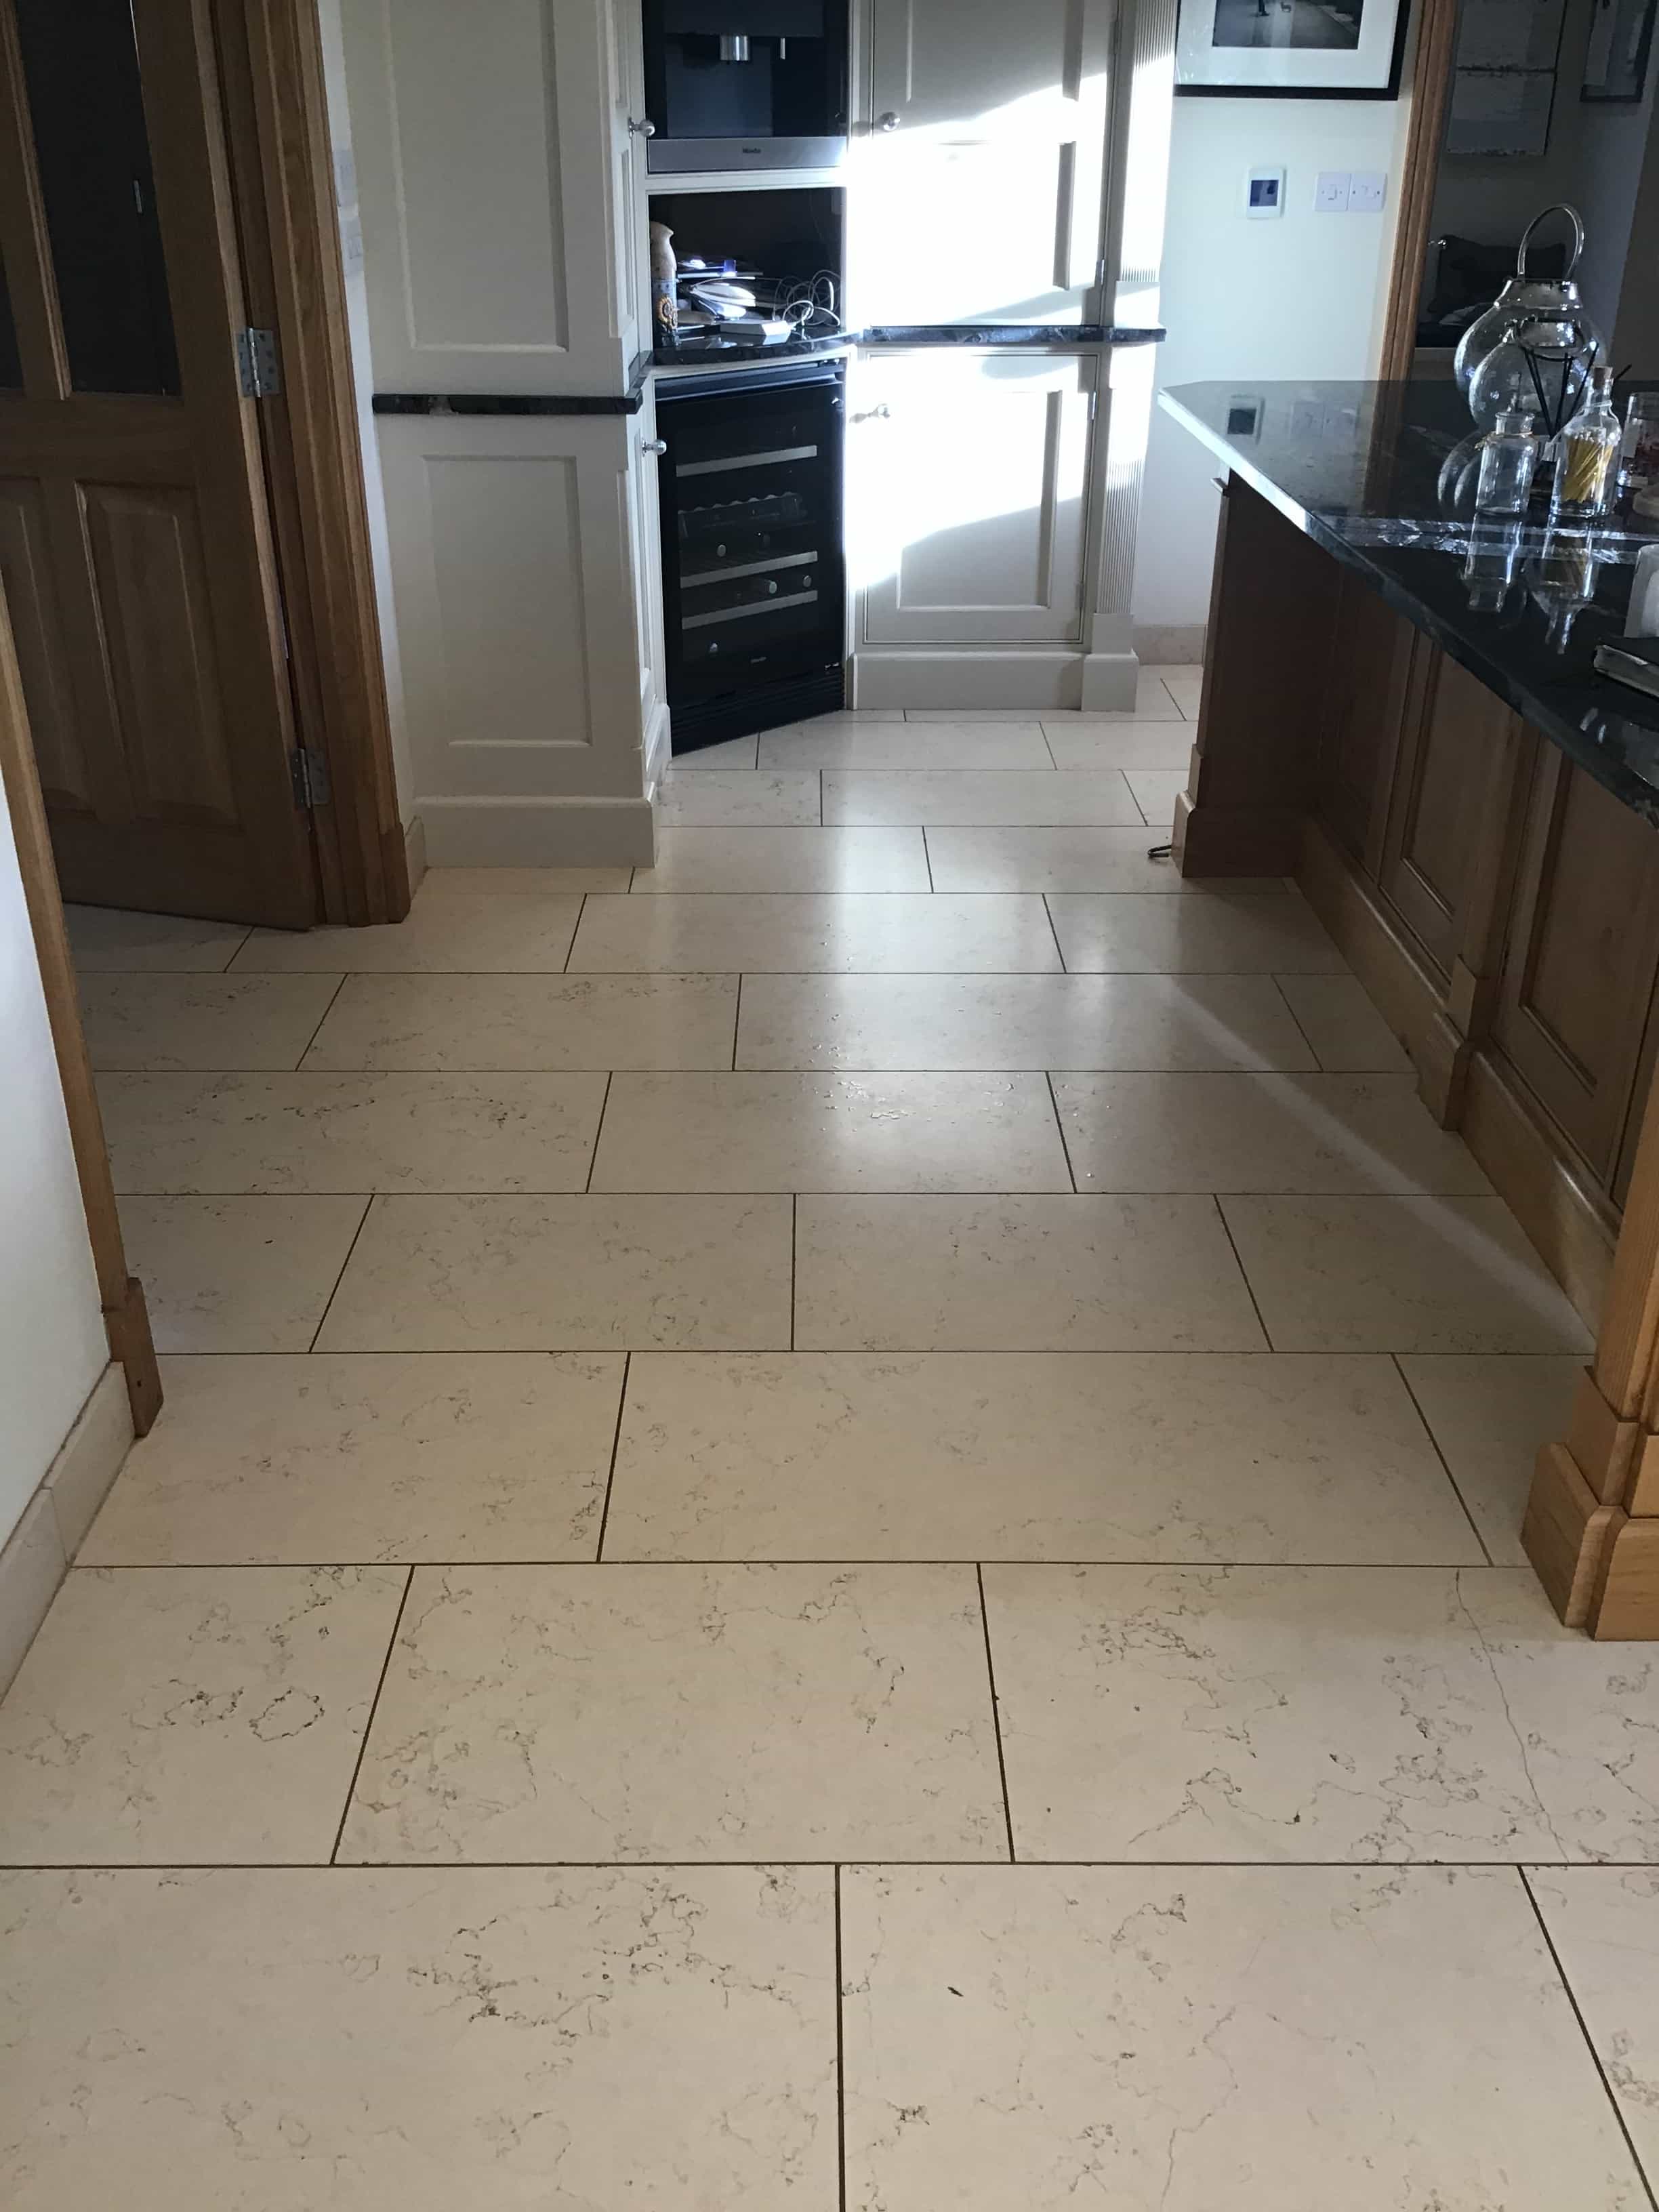
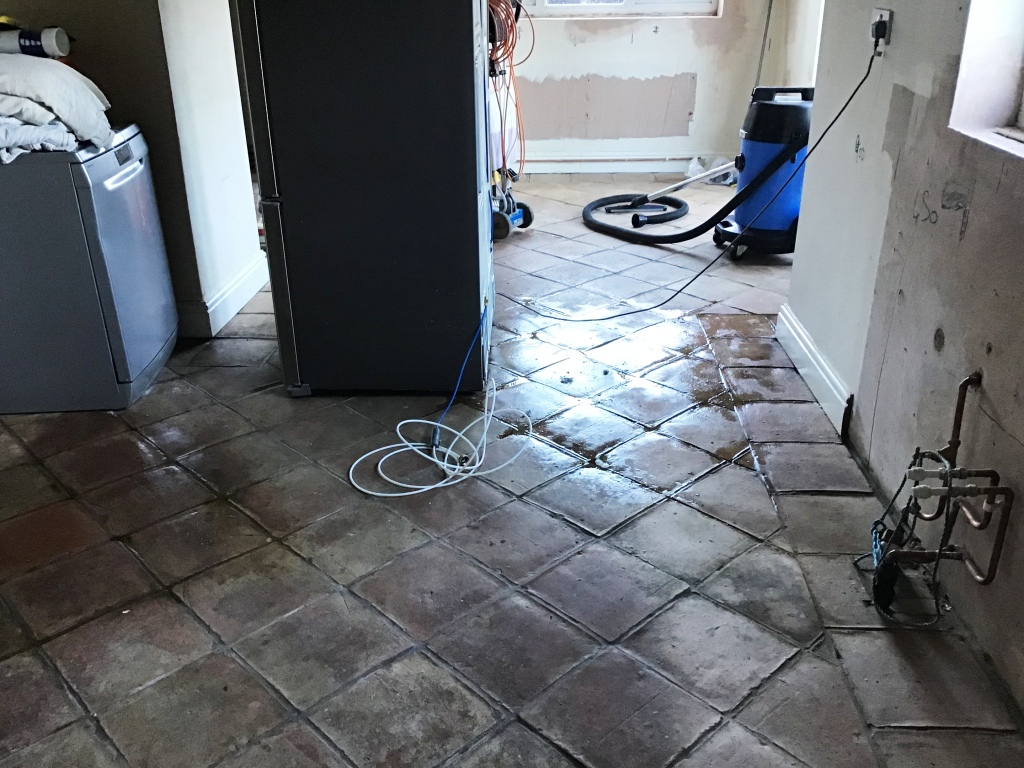
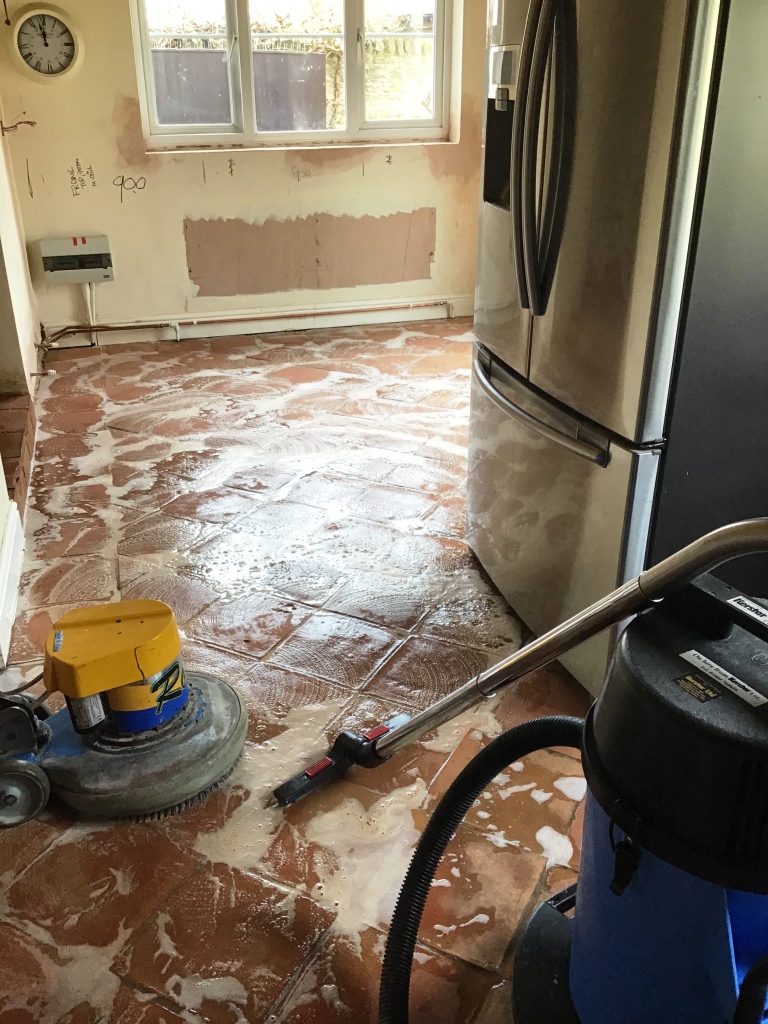
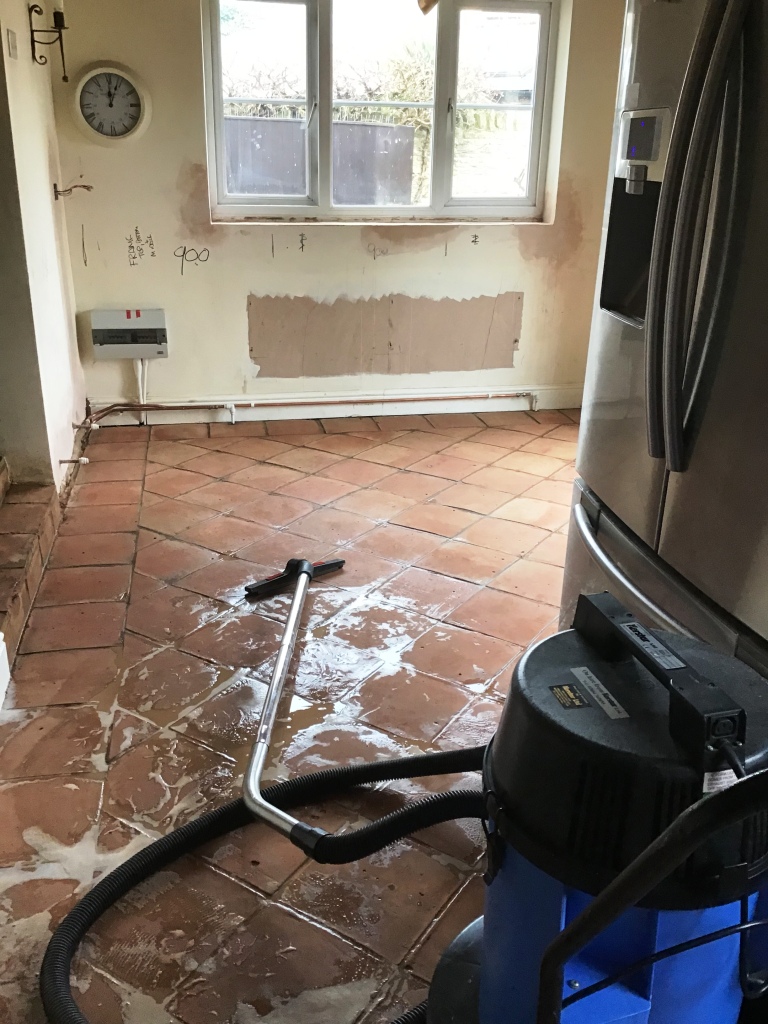
grout cleaning

Limestone Tiled Kitchen Floor Renovation Geddington

Pitted Limestone Floor Deep Cleaned, Polished, Filled and Sealed in Geddington

This client from Geddington called me in to renovate their Limestone tiled floor which had been installed throughout much of the ground floor. Limestone like any natural stone is porous and will suffer from ingrained dirt if the sealer isn’t maintained, so it’s not unusual to need work like this doing every three to five years.

Limestone Tiled Kitchen Floor Before Cleaning Geddington

I visited the property to survey the tiles and could see the stone had quite a lot of surface pitting which was trapping dirt and making it very difficult to keep clean. Pitting is quite common in this type of stone, and they are usually filled at the factory, however the filler can become dislodged with wear and the problem can be made worse by the use of acidic cleaning products.
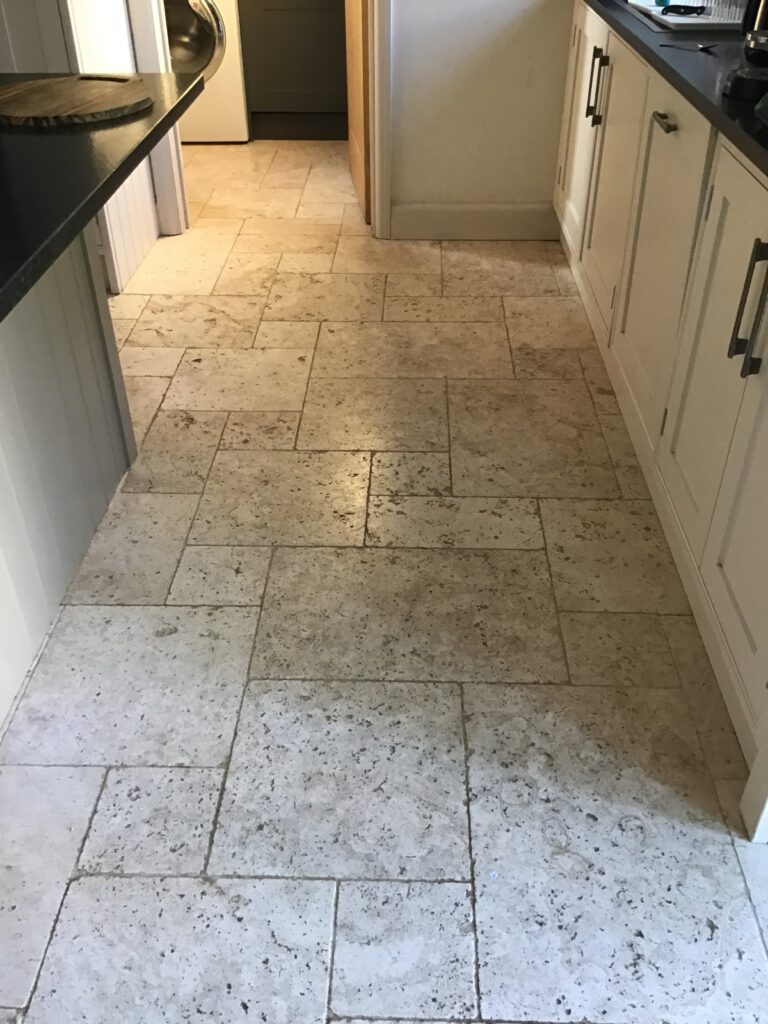
Limestone Tile Kitchen Floor Before Cleaning Geddington Limestone Tiled Steps Before Cleaning Geddington

After surveying the floor, I came up with a comprehensive renovation plan that included deep cleaning the stone, filling the pits, polishing, and then sealing. I also made a note to discuss aftercare cleaning at the end so the floor wouldn’t get so bad in future.

Happy with my plan and quote a date was agreed for the work to commence.

Cleaning a Pitted Limestone Tiled Kitchen Floor

It was a large floor so to minimise disruption to the owner I split the job up into several areas and worked through the following process.

Work started with a general clean of the floor using Tile Doctor Pro-Clean with a focus on cleaning the grout. I used a strong dilution of Pro-Clean, left it to soak into the stone and grout for around ten minutes and then scrubbed it into the floor using a black pad fitted to a rotary machine. I also ran a stiff grout brush along the grout lines to get them as clean as possible. Once done the floor was rinsed and the soiling extracted with a wet vacuum.

The next step was to hone the Limestone using a set of diamond encrusted burnishing pads. These pads are great for bringing up the polish on a stone floor like this and you start with a coarse 400-grit pad fitted to a rotary floor buffer. Water is used to lubricate the process and the pads are run over each tile three or four times. The floor is then rinsed and extracted as before, and the process repeated with the 800 and then 1500 grit pads.

Once done the floor was looking much cleaner and brighter and ready for the next step which was to fill the pits. To do this I inspected the floor, identifying all the areas that needed attention and then filled those holes with a resin filler that is colour matched to the stone.

Sealing a Pitted Limestone Tiled Kitchen Floor

The last step was to seal the limestone and for this I used Tile Doctor Ultra-Seal which is an impregnating sealer that soaks into the stone, occupying the pores of the stone and thereby preventing dirt from residing there. Sealing keeps the dirt on the surface where it can easily be cleaned away. Ultra-Seal doesn’t contain any colour enhancers, so it leaves the stone with a very natural appearance which is what my client wanted.
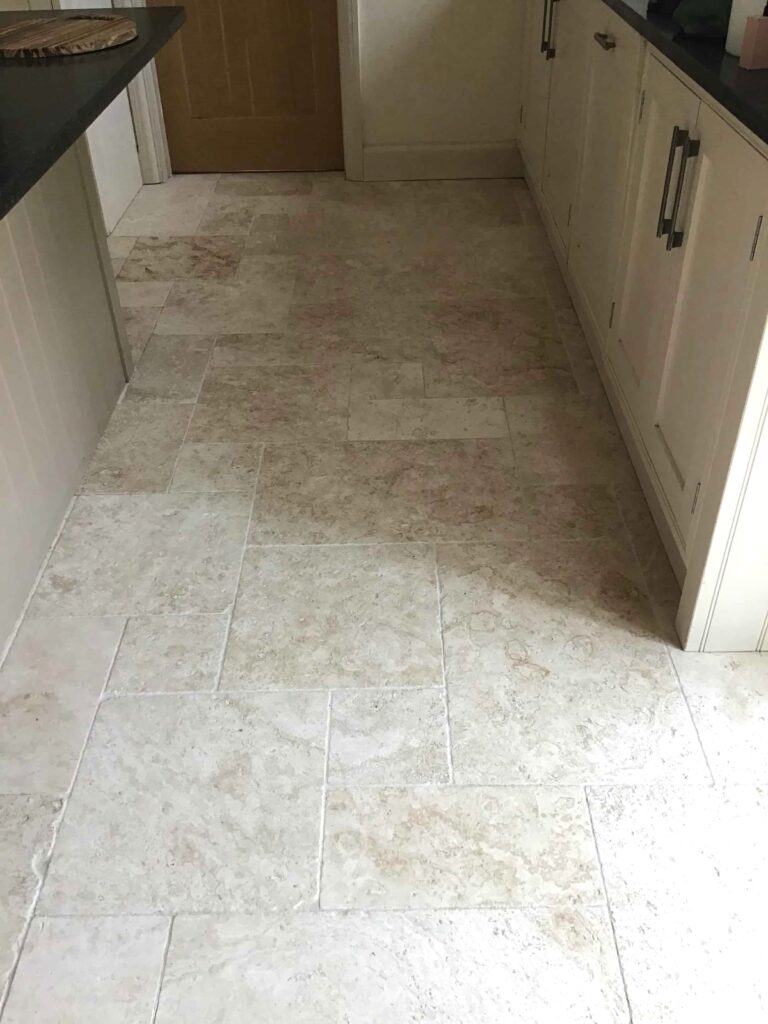
Limestone Tile Kitchen Floor After Cleaning Geddington Limestone Tiled Steps After Cleaning Geddington

The floor was transformed by the work and my client was very happy with the result, they even went to the trouble to leave the following review:

“We are absolutely delighted with the work undertaken by Philip, the Northamptonshire Tile Doctor. He has completely transformed very dirty limestone floors into something of great beauty – better than new. Philip was a pleasure to deal with throughout and we can highly recommend him.”

Limestone Tiled Kitchen Floor After Cleaning Geddington

With regards to aftercare cleaning, I recommended they use Tile Doctor Stone Soap which is designed for cleaning polished stone floors and helps maintain the patina.


Professional Restoration of a Limestone Tiled Floor in Northamptonshire

Pitted Limestone Floor Deep Cleaned, Polished, Filled and Sealed in Geddington Read More »

Flagstone Floor Before After Restoration Olney

Flagstone Kitchen Floor Deep Cleaned and Sealed for Olney Landlord

I was contacted by the owner of the property near Olney, on the border of Northamptonshire, who was renting the house out whilst he worked abroad. The flagstone floors on the ground floor were grubby and the tenants were struggling to keep them clean. I guess being a rental property the tenants didn’t want to be blamed for the condition of the floors when they eventually left.

I was asked to pop round to the property, meet the tenants, inspect the floors, and come up with a plan to resolve the issues. It was clear to me that the flags had not been sealed when laid and as a result dirt had become trapped in the pores of the stone making it difficult to shift. With the owner abroad all correspondence was done over the internet and so I sent over an email to explain the problem and included a quote to resolve the issues. Happy to have the problem resolved and with quote I got the go-ahead.

Flagstone-Floor-Before-Renovation-Olney

Deep Cleaning Sandstone Kitchen Flagstones

The work was carried out over two days with day one for cleaning and the second for sealing. Cleaning started by spraying the flagstones using a 3:1 dilution of Tile Doctor Pro-Clean using a pump-up sprayer. This was left to soak in for ten minutes and then agitated using a rotary machine fitted with a black scrubbing pad. This process generates a lot of soiling as the dirt is released from the pores of the stone which is rinsed off the floor and extracted with a wet vacuum.

Flagstone Floor During Renovation Olney Flagstone Floor During Renovation Olney

The next process was to give the grout a good scrub using 10:1 dilution of Tile Doctor Grout Clean-up. This was applied to the grout lines throughout and scrubbed in by hand using stiff grout brushes to remove any stubborn stains. The entire area was then rinsed using water and extracted with the wet vacuum as before. The vacuum was used to remove as much moisture from the floor as possible and then they were left to dry off overnight. I also make use of an industrial air mover to speed up drying times as I work.

Flagstone Floor During Renovation Olney Flagstone Floor During Renovation Olney

Sealing Sandstone Flagstones

I returned the following day to seal the flagstones but before starting I checked the moisture levels in the flagstones with a damp meter. The readings were fine so I proceeded to apply the first of three coats of Tile Doctor Colour Grow sealer, allowing each coat to fully dry before applying the next.

Flagstone-Floor-During-Sealing-Olney

As well as providing protection from dirt and stains this product enhances the natural colour in stone and being an impregnator that soaks into the pores will work well in a demanding kitchen environment. Additionally, Colour Grow is fully breathable which is an important feature when sealing tiles in an older period property like this one which will have been built without the benefit of a damp proof membrane.

Flagstone-Floor-After-Renovation-Olney

I sent before and after photographs to the landlord as he was abroad, he was very pleased with the job and told me the tenants had contacted him to tell him how happy they were with the process and the finished result and even left the following feedback on my web site.

I’ve had a large number of tradespeople work on my house in the last few years and Phil is up there with the best of them. Many trades don’t do comms well, but Phil does: he’s easy to reach, easy to communicate with and quickly understood what needed doing – and just did it, exactly how we wanted and to a very high standard. Highly recommended.

Flagstone-Floor-After-Renovation-Olney


Grout Haze removed from a Sandstone tiled floor in Northamptonshire

Flagstone Kitchen Floor Deep Cleaned and Sealed for Olney Landlord Read More »

Ceramic Tiled Floor Before After Tile Grout Cleaning Burton Latimer

Ceramic Tile and Grout Deep Cleaned in a Burton Latimer Kitchen

This customer from Burton Latimer near Kettering was having a new kitchen fitted which would have a different layout to the original. The Ceramic tiled floor was wall to wall and they wanted to see if the tiles could be renovated rather than having to replace them.

Ceramic Tile and Grout During Cleaning in Burton Latimer Kitchen Floor

I attended the customers property to inspect the floor and carry out a test clean on one of the dirtiest ceramic tiles and adjacent grout. The tiles were in a fairly grubby condition and the grout was black with dirt which happens a lot with Ceramic tiled floors. This is due to the ceramic tile being impervious and so the dirt from the tile becomes washed into the grout lines during cleaning.

Ceramic Tile and Grout During Cleaning in Burton Latimer Kitchen Floor

I carried out the test clean which went well and my customer was impressed; keen to proceed and happy with my quotation the work was booked in. The renovation was scheduled for the day after the old kitchen was removed and before the new kitchen was installed the following week.

Deep Cleaning Ceramic Tile and Grout

To deep clean the tile and grout a strong 1:3 dilution of Tile Doctor Pro-Clean and warm water was applied to the floor with a pump-up sprayer. The solution was allowed to dwell for several minutes before being worked into the grout using a stiff brush. This was followed up by agitating the solution into the rest of the floor with a rotary floor scrubbing machine fitted with a stiff brush attachment.

Working in sections and removing slurry with a wet pick-up machine. The next process was to apply Tile Doctor Grout Clean-up to all grout lines for a second clean to remove as much stubborn staining as possible. Again, this was worked into the grout with stiff grout brushes. Following this I went over the floor again with a black scrubbing pad attached to the rotary machine. The machines solution tank was filled with water to help lubricate the process and neutralise the floor.

Finally, all the excess water was removed with a wet pick-up machine and the floor was left to dry off overnight.

Sealing Grout on a Ceramic Tiled Floor

I returned the following day to seal the grout, Ceramic tiles won’t take a sealer and as mentioned earlier its best to seal the grout so the dirt remains on the surface and doesn’t get trapped in the rough grout.

After confirmed the floor was dry, I carefully applied Tile Doctor Ultra-Seal to the grout lines using a pipette and then wiping off any excess afterwards.

Ceramic Tile and Grout After Cleaning in Burton Latimer Kitchen Floor

Once done the floor looked new and my client was happy with result, it was a good decision and even more so when you consider the money saved in comparison to replacing the floor.

Ceramic Tile and Grout After Cleaning in Burton Latimer Kitchen Floor


Deep Cleaning Ceramic Tile and Grout in Northamptonshire

Ceramic Tile and Grout Deep Cleaned in a Burton Latimer Kitchen Read More »

Limestone Kitchen Floor Cleaned Sealed Boughton Northamptonshire

Limestone Kitchen Floor Cleaned, Polished and Sealed in Boughton

These photos are of a four-year-old Limestone kitchen floor at a property in Boughton that the customer was finding hard to keep clean and maintain a shine. Part of the problem was he owned two dogs and we often warn about the problems of dog urine on sealed tile and stone due to it being high in nitrogen.

Limstone Kitchen Floor Before Clean Polish Boughton

On my initial visit I was able to ascertain that the sealer had almost completely worn off, leaving the stone vulnerable to dirt becoming ingrained into the pores of the stone. I come across this problem a lot, in my experience when stone floors are installed by tilers, they generally apply a single coat of sealant which wears off over time, and as discussed earlier can be prematurely degraded by strong chemicals.

Limstone Kitchen Floor Before Clean Polish Boughton

My quote to renovate the Limestone floor was accepted and included a deep clean to the stone and grout, stone polish and then re-seal.

Cleaning/Polishing Limestone Tiled Flooring

I arrived on site on the arranged date and began by scrubbing all the grout lines with Tile Doctor grout brushes and a 3:1 dilution of Tile Doctor Pro-Clean. I then moved on to a small handheld polishing machine to clean around the tile edges using 800 and 1500 grit diamond encrusted burnishing pad to achieve a deep clean.

The process was then repeated throughout the rest of the area using larger 17” burnishing pads fitted to a floor polishing machine. The burnishing pads I used come in a set of four starting with 400-grit and moving up to 800, 1500 and 3000 grit, after each pad is applied the floor is rinsed with water and the soil extracted with a wet vacuum.

It took me much of the day to complete this stage of the renovation and the floor was still damp so once done I left for the day, allowing the floor to dry off overnight.

Sealing a Limestone Tiled Kitchen Floor

I returned the following day to complete the final polish using the 3000-grit burnishing pad, this gave a high polished finish which the customer had requested. This last pad is applied dry with only a little water splashed onto the tile, a process we call a spray burnish.

The floor was then sealed with three applications of Tile Doctor Ultra Seal Sealant to protect the newly restored and polished tiles. Ultra-Seal is a penetrating sealer that soaks into those recently cleaned pores in the stone, occupying the space and preventing any dirt from becoming ingrained there. It’s also a natural look sealer so it doesn’t change the colour of the stone in anyway and is almost indetectable once applied.

“Hard work from Philip has left us with a kitchen floor brought back to life – cleaned and sealed in little over 24 hours – brilliant job – Thanks”

Before leaving I gave the customer some tips on maintenance and a complimentary bottle of Tile Doctor Stone Soap to enable him to keep the floor looking its best, this product works well with the sealant we applied and is PH neutral so won’t degrade the new sealer.

Limestone Kitchen Floor After Clean Polish Boughton


Professional Restoration of a Limestone Tiled Kitchen Floor in Northamptonshire

Limestone Kitchen Floor Cleaned, Polished and Sealed in Boughton Read More »

Travertine Tiled Floor Before After Renovation Brixworth

Travertine Floor Tiles Repaired and Polished in Old Near Brixworth

Polished Travertine is a popular tile which can look stunning, however without the correct maintenance regime in place it can soon turn dull and flat as my customer in the small village of Old near Brixworth discovered. In this case they had 40m2 of Travertine tiling installed in the living room and breakfast room which in particular had become dull, sticky, and hard to clean. On top of that a couple of holes had appeared in the main kitchen walkway areas which was causing concern.

Polished Travertine Kitchen Floor Before Renovation Brixworth

I visited the property to carry out a site survey and conduct a test clean on the stained areas. My customer was relieved to see how well the grout and staining responded to the cleaning and we moved on to discuss how to repairs the holes. We see this a lot with Travertine where natural holes or pitting are usually filed with a resin before being sold but the problem can be exacerbated with the use of acidic cleaning products. Holes also trap dirt which can accumulates quickly as dirt is washed into the holes during cleaning detracting from the appearance of the stone.

Polished Travertine Kitchen Floor Before Renovation Brixworth

To resolve I planned on filling the holes with a resin and then re-polishing the floor to make it blend in. A quote was issued via e mail which was accepted, and a date booked in the diary for work to be carried.

Cleaning and Restoring Travertine Tiled Kitchen Floor

On the day I arrived the customer had prepared the work area by removing all small items of furniture. My first step was to brush and vacuum the area to remove any loose debris. I then sprayed the floor with a dilution of Tile doctor Pro-Clean focusing on the heavily soiled areas and grout lines throughout the breakfast area and then left to soak in for ten minutes. After scrubbing the grout with a grout brush the area was rinsed with a small amount of water and the area dried using a wet vacuum. This process was then repeated in the kitchen.

Tile Doctor has found the best way to renovate polished stone is to use a set of diamond encrusted burnishing pads to hone the stone and build back the polish. Usually this involved applying a set of for or five pads of different grits depending on the severity of soiling and any surface scratches. I started with the coarsest grit and worked through in sequence to the finer grits to achieve a polished finish. Water is used to lubricate the process and the floor is rinsed and extracted between pads.

Once this process was completed, I dried the damaged tiles with a heat gun so I could fill them. I mixed a resin that closely matched the white and brown colours of the Travertine and filled in the holes, smoothing, and polishing with handheld diamond blocks to achieve a smooth finish.

Polished Travertine Kitchen Floor After Renovation Brixworth

Sealing a Travertine Tiled Kitchen Floor

When we returned the next day, the floor had dried, and I was able to give the floor a final polish with a very fine 3000-grit burnishing pad applied with a little water sprayed onto the tile. Finally, the floor was then sealed with two coats of Tile Doctor Ultra-Seal which provides excellent protection without changing the colour of the stone to provide a natural look.

Polished Travertine Kitchen Floor After Renovation Brixworth

Last step was to provide some advice on how to maintain the floor going forward for which I recommend Tile Doctor Stone Soap which is designed for cleaning polished stone floors. The client was over the moon with the outcome and surprised at the improvement, they also left the following review for me which is always a nice surprise.

Fantastic work, my floor looks wonderful it didn’t look this good when it was laid thirteen years ago, I will definitely look after the travertine now and have the floor cleaned and resealed every year.


Professional Restoration of a Travertine Tiled Kitchen Floor in Northamptonshire

Travertine Floor Tiles Repaired and Polished in Old Near Brixworth Read More »

Victorian Quarry Tiled Floor Before and After Restoration Broughton

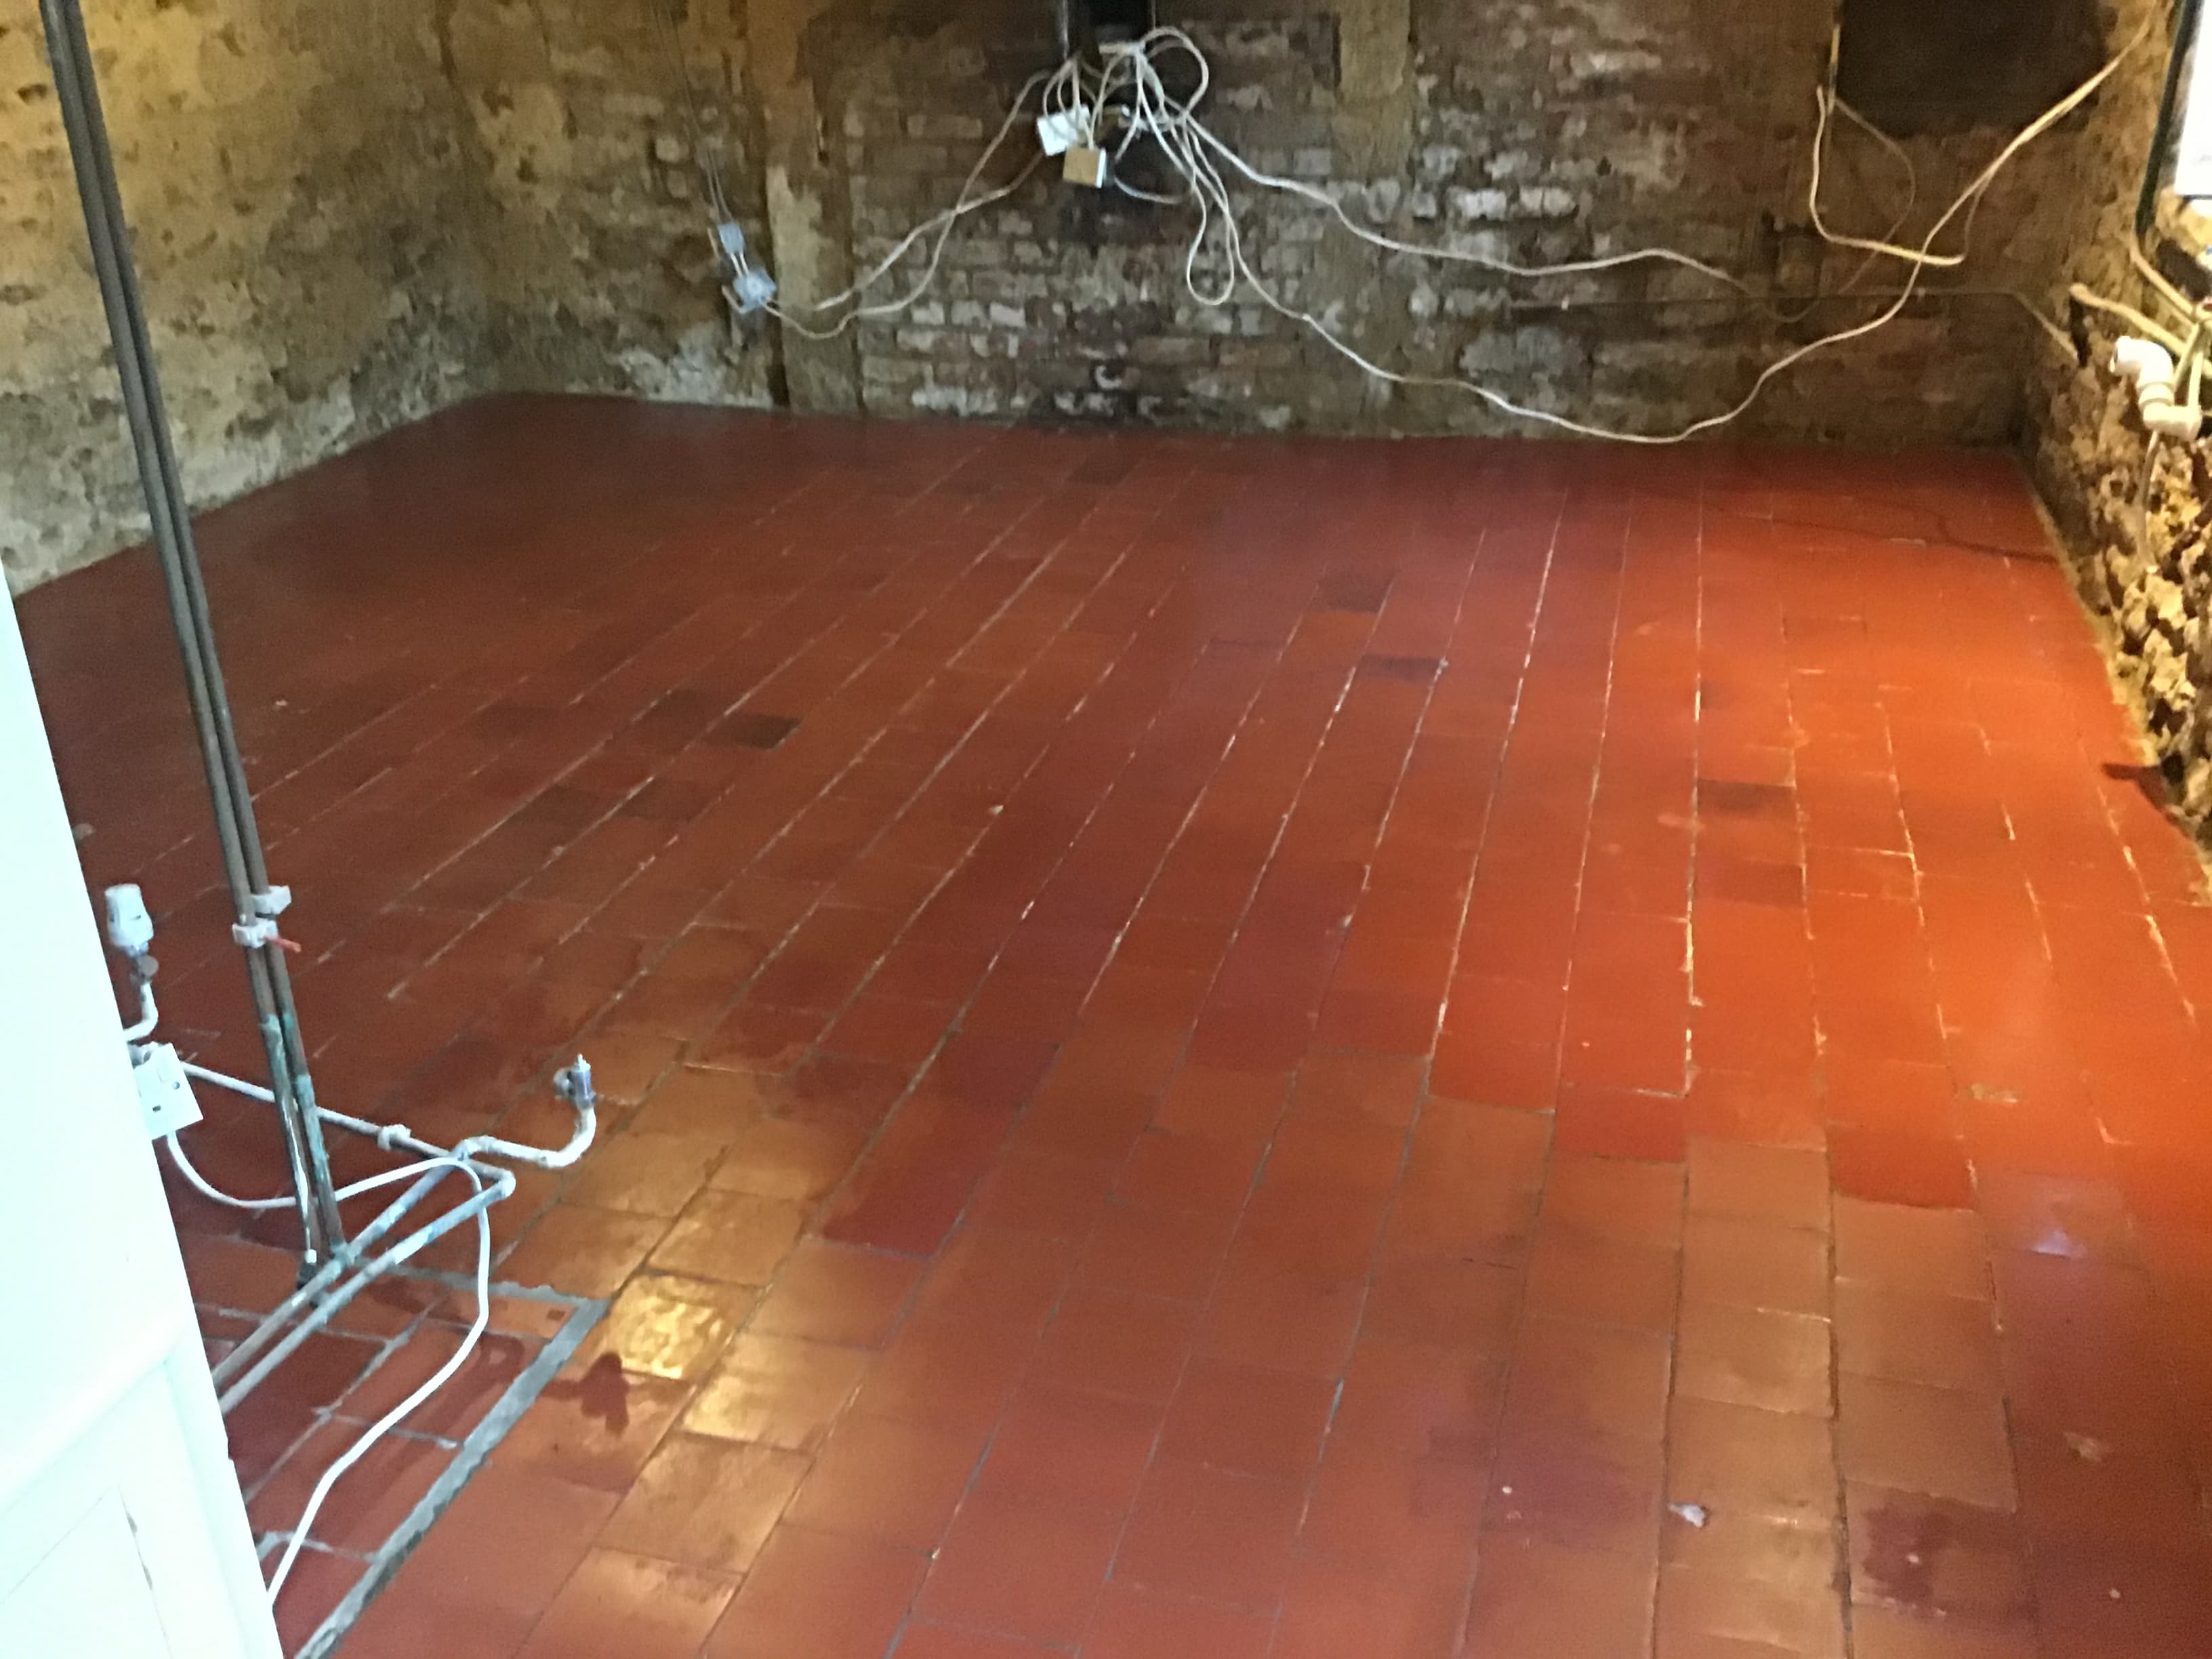
Quarry Tiled Floor Restored Following Cottage Remodel in Broughton Village

The following photos are from a 16th Century cottage in the village of Broughton near Kettering which was undergoing major restoration works. The Quarry tiled floor was not as old as the house and was probably installed in the Victorian era. The clients wanted the floor restoring before the plastering of walls and new kitchen was installed. There was also a section where a pantry wall had been removed with tiles missing, so these needed to be replaced with reclaimed tiles that the customer had sourced.

Victorian Quarry Tiled Floor Before Restoration Broughto Cottage

I visited site to look at the project, survey the Quarry tiled floor and give them a firm price for the work. I was confident that we could replace the tiles and we could blend the area in to match the existing. Once the floor had a good clean and seal it would look a lot better.

With the quotation agreed I arranged a date where I would have sole access to the property which is always preferred as it means you do not have anyone walking through whilst your cleaning. This also has the added advantage of not having to take precautions over social distancing.

Victorian Quarry Tiled Floor Before Restoration Broughto Cottage

Restoring a Quarry Tiled Kitchen Floor

On the first day on site I carried out the replacement of the missing tiles. This work started by cleaning up the holes in the floor left by the now removed wall and getting the base level and ready for tiling. Next the reclaimed tiles we cut down to fit the shape left by the wall to match the existing tiling. The fit needed to be exact as any mismatch would show later. Once I was happy with the cuts the tiles were fixed in place with rapid set adhesive and once that had set were grouted in place. The next step would be to give the floor a deep clean, so it was left to dry off overnight.

Victorian Quarry Tiled Floor During Restoration Broughto Cottage

The next day with the tile adhesive and grout having gone off overnight I was able to start the cleaning process. Working in sections I began by applying Tile Doctor Oxy Gel to the tile and grout with a little water, leaving it to soak in for ten minutes and then working it into the tiles using a 17 inch rotary scrubbing machine fitted with a black scrubbing pad. A stiff brush was also used along the grout lines to make sure they were equally treated. After scrubbing the now soiled solution was vacuumed off with an industrial wet vac and repeated the process until the entire area had been cleaned.

Tile Doctor Grout Clean Up was then applied using a 1:10 dilution with water. It was mopped it over the entire area to neutralise the tile and remove any grout smears, hazing and mineral deposits which are quite common with floors of this age. The entire area was then given a good rinse with clean water to remove any trace of cleaning product. An industrial fan was also installed and left on site to assist with the drying process until we returned a week later. This would ensure the floor would be bone dry for our return and ready to accept a sealer.

Victorian Quarry Tiled Floor During Restoration Broughto Cottage

Sealing a Quarry Tiled Kitchen Floor

Returning the following week, I tested the moisture levels in the tiles with a damp meter. I was conscious that due to the age of the tiles there may be some inherent damp however my plan had worked, and the tests confirmed the floor was indeed dry and ready for sealing.

Victorian Quarry Tiled Floor During Restoration Broughto Cottage

The client required a silk finish so I opted to apply several coats of Tile Doctor Seal & Go Extra which would provide the required finish yet is breathable and so will not impeded moisture rising through the floor allowing it to evaporate and not become trapped. This is an important consideration when choosing a sealer for an old floor which don’t have a damp proof membrane installed as trapping moisture under the floor can lead to it reaching out to the walls where it can result in rising damp.

The client was extremely happy with the results and has left the following comments on our feedback page.

“Phil was great. On time and a good worker. Gave good advice and carried out all the work thoroughly. The tiles are now looking much better. Very happy. By Peter B, Kettering”

Victorian Quarry Tiled Floor After Restoration Broughto Cottage


Professional Restoration of a Quarry Tiled Kitchen Floor in Northamptonshire

Quarry Tiled Floor Restored Following Cottage Remodel in Broughton Village Read More »

Terracotta Tiled Floor Before After Renovation Flore Village

Terracotta Floor Renovation Prior to Kitchen Installation at Flore Village

The following photos are of a Terracotta floor restoration I carried out in the picturesque village of Flore, situated between Northampton and Daventry. I was asked to assess the potential of the Terracotta floor in an old cottage, the clients had always liked the floor but didn’t want the bad condition of the tiles to detract from the effect of the beautiful new kitchen they were planning to install. They needed reassuring that it would be possible to restore the floor to a good standard and thereby enhance the final look of the new kitchen before they went to the expense of replacing the entire floor.

Whilst I was there, I carried out a test clean to a small area of floor, stripping off all old the sealers to expose the natural blemish free face of the tile. Having worked out a process for restoring the floor I was also able to come up with an accurate price for completing the floor. I left the quote with the customer and was pleased to hear back from them a few days later to let me know they had decided to go ahead with the restoration of their floor.

Terracotta Tiled Floor Before Restoration Flore Village Terracotta Tiled Floor During Restoration Flore Village Terracotta Tiled Floor After Restoration Flore Village

Before being able to set a date for my return I had to liaise with for the kitchen company to agree a date them to come and remove the old kitchen and install the new. I would slot in-between the two dates.

Stripping Terracotta Kitchen Floor Tiles

When returned to the do the work the kitchen had been stripped out as promised and with no kitchen units etc. to protect from splashing, I was able to get straight on with the cleaning of the floor using Tile Doctor Oxy-Pro alkaline tile cleaner.

Terracotta Tiled Floor During Restoration Flore Village

Oxy-Pro is a gel and doesn’t require a lot of water to activate it, my concern was Terracotta tiles are very porous and it helps the drying process if you keep the moisture down to a minimum, especially as this work was carried out in November. The product was scrubbed into the Terracotta tiles using a stiff brush tool attached to rotary machine. I also used grout brushes on the wide grout lines working in small sections at a time and clearing the resulting slurry with a wet vacuum as I went.

Terracotta Tiled Floor During Restoration Flore Village

Once the cleaning process was completed across all the Terracotta, I spot treated the many stubborn stains with Tile Doctor Acid Gel, especially along the grout lines. This was brushed in, left to dwell, scrubbed and then removed with a wet vacuum. The stone was then mopped with plain water to neutralise and remove any trace of cleaning products. I then installed a fan to dry the entire area as quickly as possible.

Terracotta Tiled Floor During Restoration Flore Village

Sealing Terracotta Floor Tiles

As the customer was not using the kitchen it provided time to leave the floor for a few days to fully dry out with a small dehumidifier left on site to assist with the drying process. I returned later to seal the floor and started by taking a damp meter reading so I could be sure the Terracotta was completely dry.

Terracotta Tiled Floor During Restoration Flore Village

The results were good, and I was able to go ahead and seal the Terracotta using several coats of Tile Doctor Seal & Go Extra for a silk finish. Once of the reasons I picked this sealer is its breathable so it will cope with any moisture rising through the tile from the subfloor which is an important consideration on old floors which have no damp proof course.

Terracotta Tiled Floor After Restoration Flore Village

Although I never got to see the new kitchen installed my customer was very pleased with the transformation of the floor and left the following testimonial on the Tile Doctor feedback system.

Philip did a fantastic job restoring the terracotta tiles in our kitchen. They are good as new! Philip was hardworking and excellent at communicating with us and planning the best time to do the work around our new kitchen being fitted. Highly recommend! Ayesha D.

Terracotta Tiled Floor After Restoration Flore Village


Professional Restoration of a Terracotta Tiled Kitchen Floor in Northamptonshire

Terracotta Floor Renovation Prior to Kitchen Installation at Flore Village Read More »

Kitchen Limestone Floor Polishing in Stanwick

Cleaning of Polished Limestone Kitchen Floor Tiles in Stanwick

I was contacted by a client from the village of Stanwick regarding their Limestone tiled floors, which were installed throughout the kitchen area and steps leading to the hallway. Polished stone does lose its appearance over time due to wear and this floor was now in need of re-polishing. An appointment was made to visit the client and carry out a survey of the floor.

Limestone Floor Tiles Before Polishing Stanwick
On my arrival I could see that the Limestone tiles had as suspected become dull and the grout needed attention; it was clear that the sealer had worn off in the busier area and dirt was now becoming ingrained in the stone and grout.

Limestone Floor Tiles Before Polishing Stanwick Limestone Floor Tiles Before Polishing Stanwick

To bring back its polished appearance the floor would need to be honed with burnishing and then re-sealed to protect it. This is a straightforward task which would take two days and so I provided a quote to do the work. The quote was accepted, and the job booked in.

Limestone Floor Tiles Before Polishing Stanwick

Cleaning and Honing Limestone Tiled Kitchen Floor

My first course of action was to protect the walls and kitchen units using a protective wrap before scrubbing the first area using a hot solution of Tile Doctor Pro-Clean using a rotary scrubbing machine fitted with a brush head attachment. This process lifted the dirt from the grout and surface of the tiles.

The floor was then rinsed thoroughly with water to remove the released dirt and cleaning solution which was then extracted off the floor with a wet vacuum. I then proceeded to burnish the Limestone using a set of four Tile Doctor Burnishing Pads fitted to a rotary floor machine. As usual I started with the application of a 400-grit coarse pad lubricated with water, this removes any remaining sealers and ingrained dirt from the stone. The slurry generated was then rinsed away using a wet pick up machine. I then repeated this process using the medium 800-grit and fine 1500-grit burnishing pads which slowly polish the stone, rinsing and extracting after each pad. The floor was then allowed to dry off overnight

Sealing a Limestone Tiled Kitchen Floor

I returned the following day and continued the process using the superfine 3000-grit polishing pad which is the last stage in the polishing process and bought back the polished surface. In this instance I polished the floor to a high shine as requested by the customer. Only a small amount of water is used with this last pad, so it leaves the floor dry and ready for sealing.

To seal I applied two coats of Tile Doctor Ultra-Seal Sealant which is an impregnating sealer that protects from within and gives the floor a natural look. The last step once the sealer was dry was to buff the floor to a nice shine with a rotary machine fitted with a white pad.

Limestone Floor Tiles After Polishing Stanwick
As the photos show, the floors were bought back to life with a gleaming high shine finish, the clients were extremely pleased with the results as you can see from their feedback below.

“Phil is a very hardworking and pleasant guy who kept me fully informed at all stages and the floors and patios look great. Many thanks. Michael B, Stanwick”

Limestone Floor Tiles After Polishing Stanwick
Whilst I was at the property the client asked me if I was able to clean their flagstone patio, I was able to do this and carried out the work for them, you can see the results achieved in the patio section of my website.

Limestone Floor Tiles After Polishing Stanwick
 

Limestone Tiled Kitchen Honed and Polished in Northamptonshire

Cleaning of Polished Limestone Kitchen Floor Tiles in Stanwick Read More »

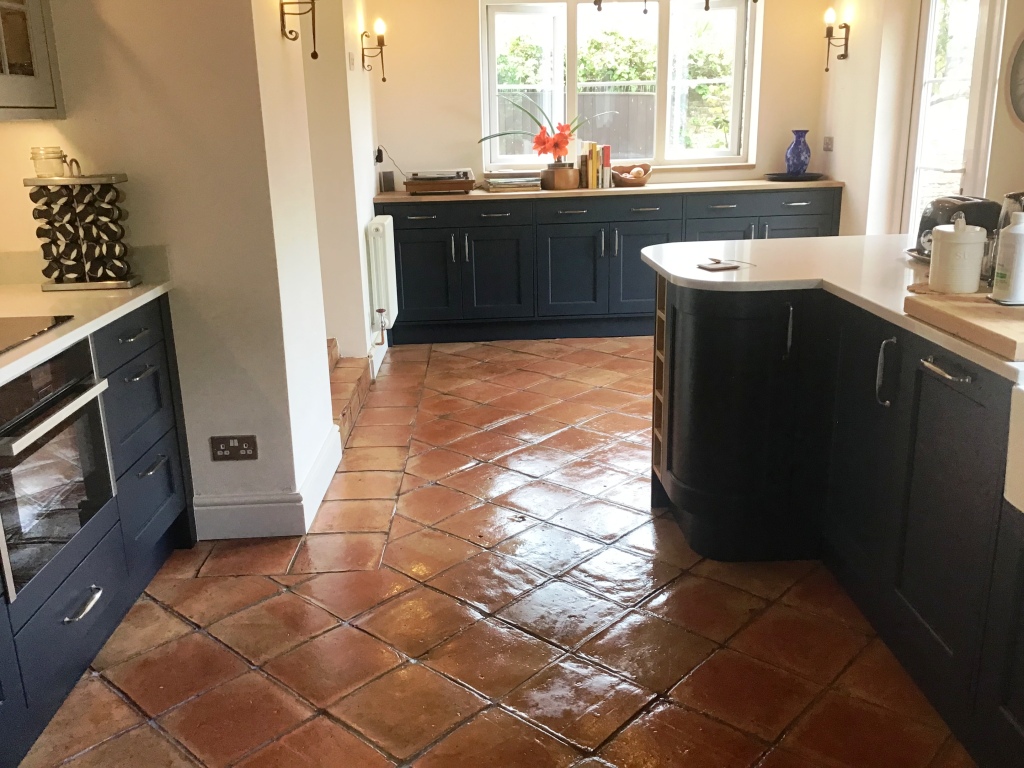
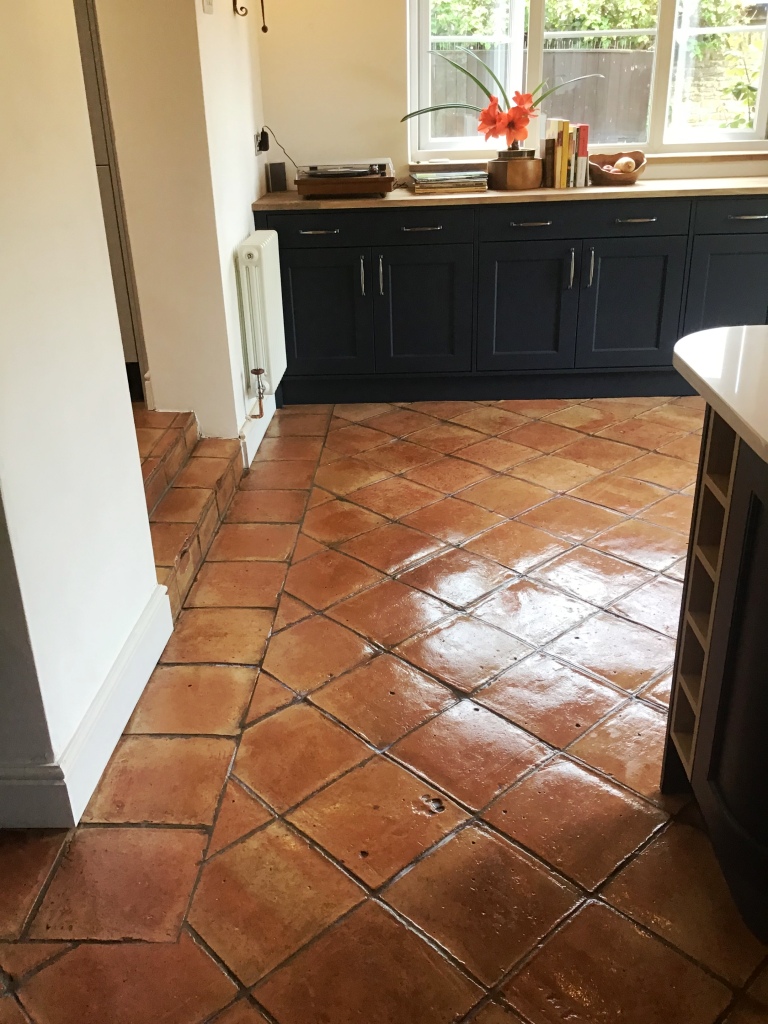
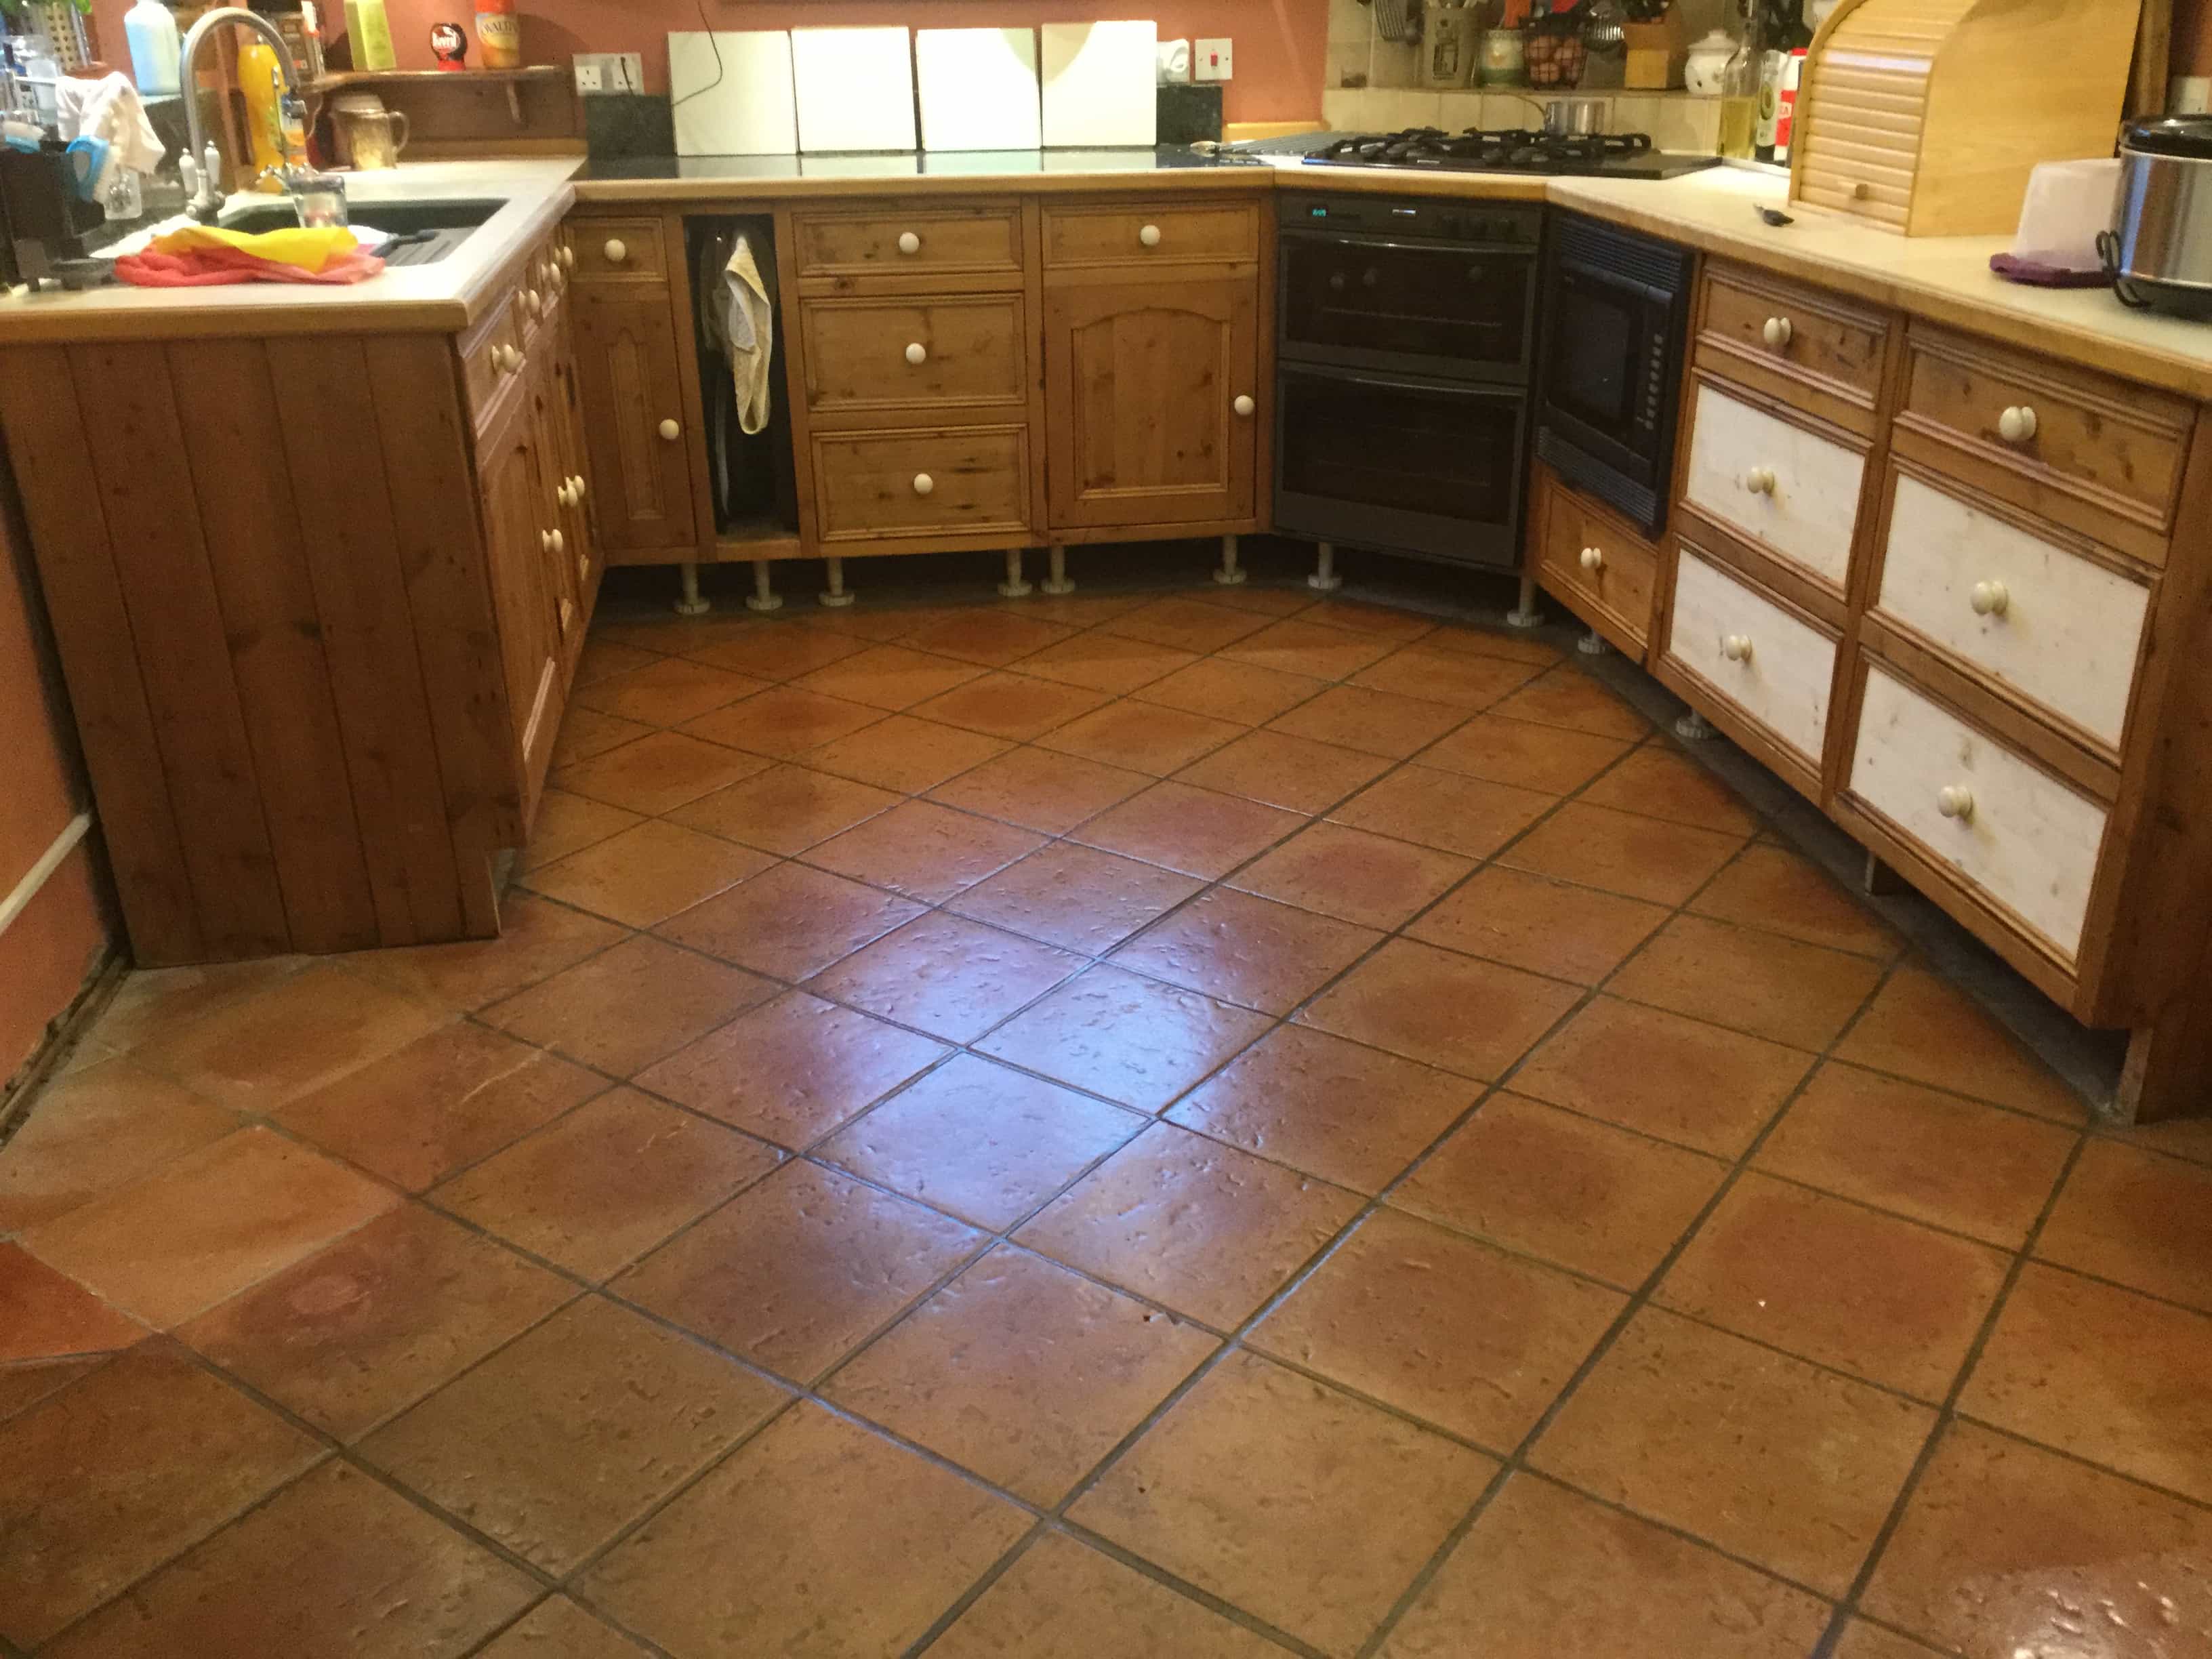
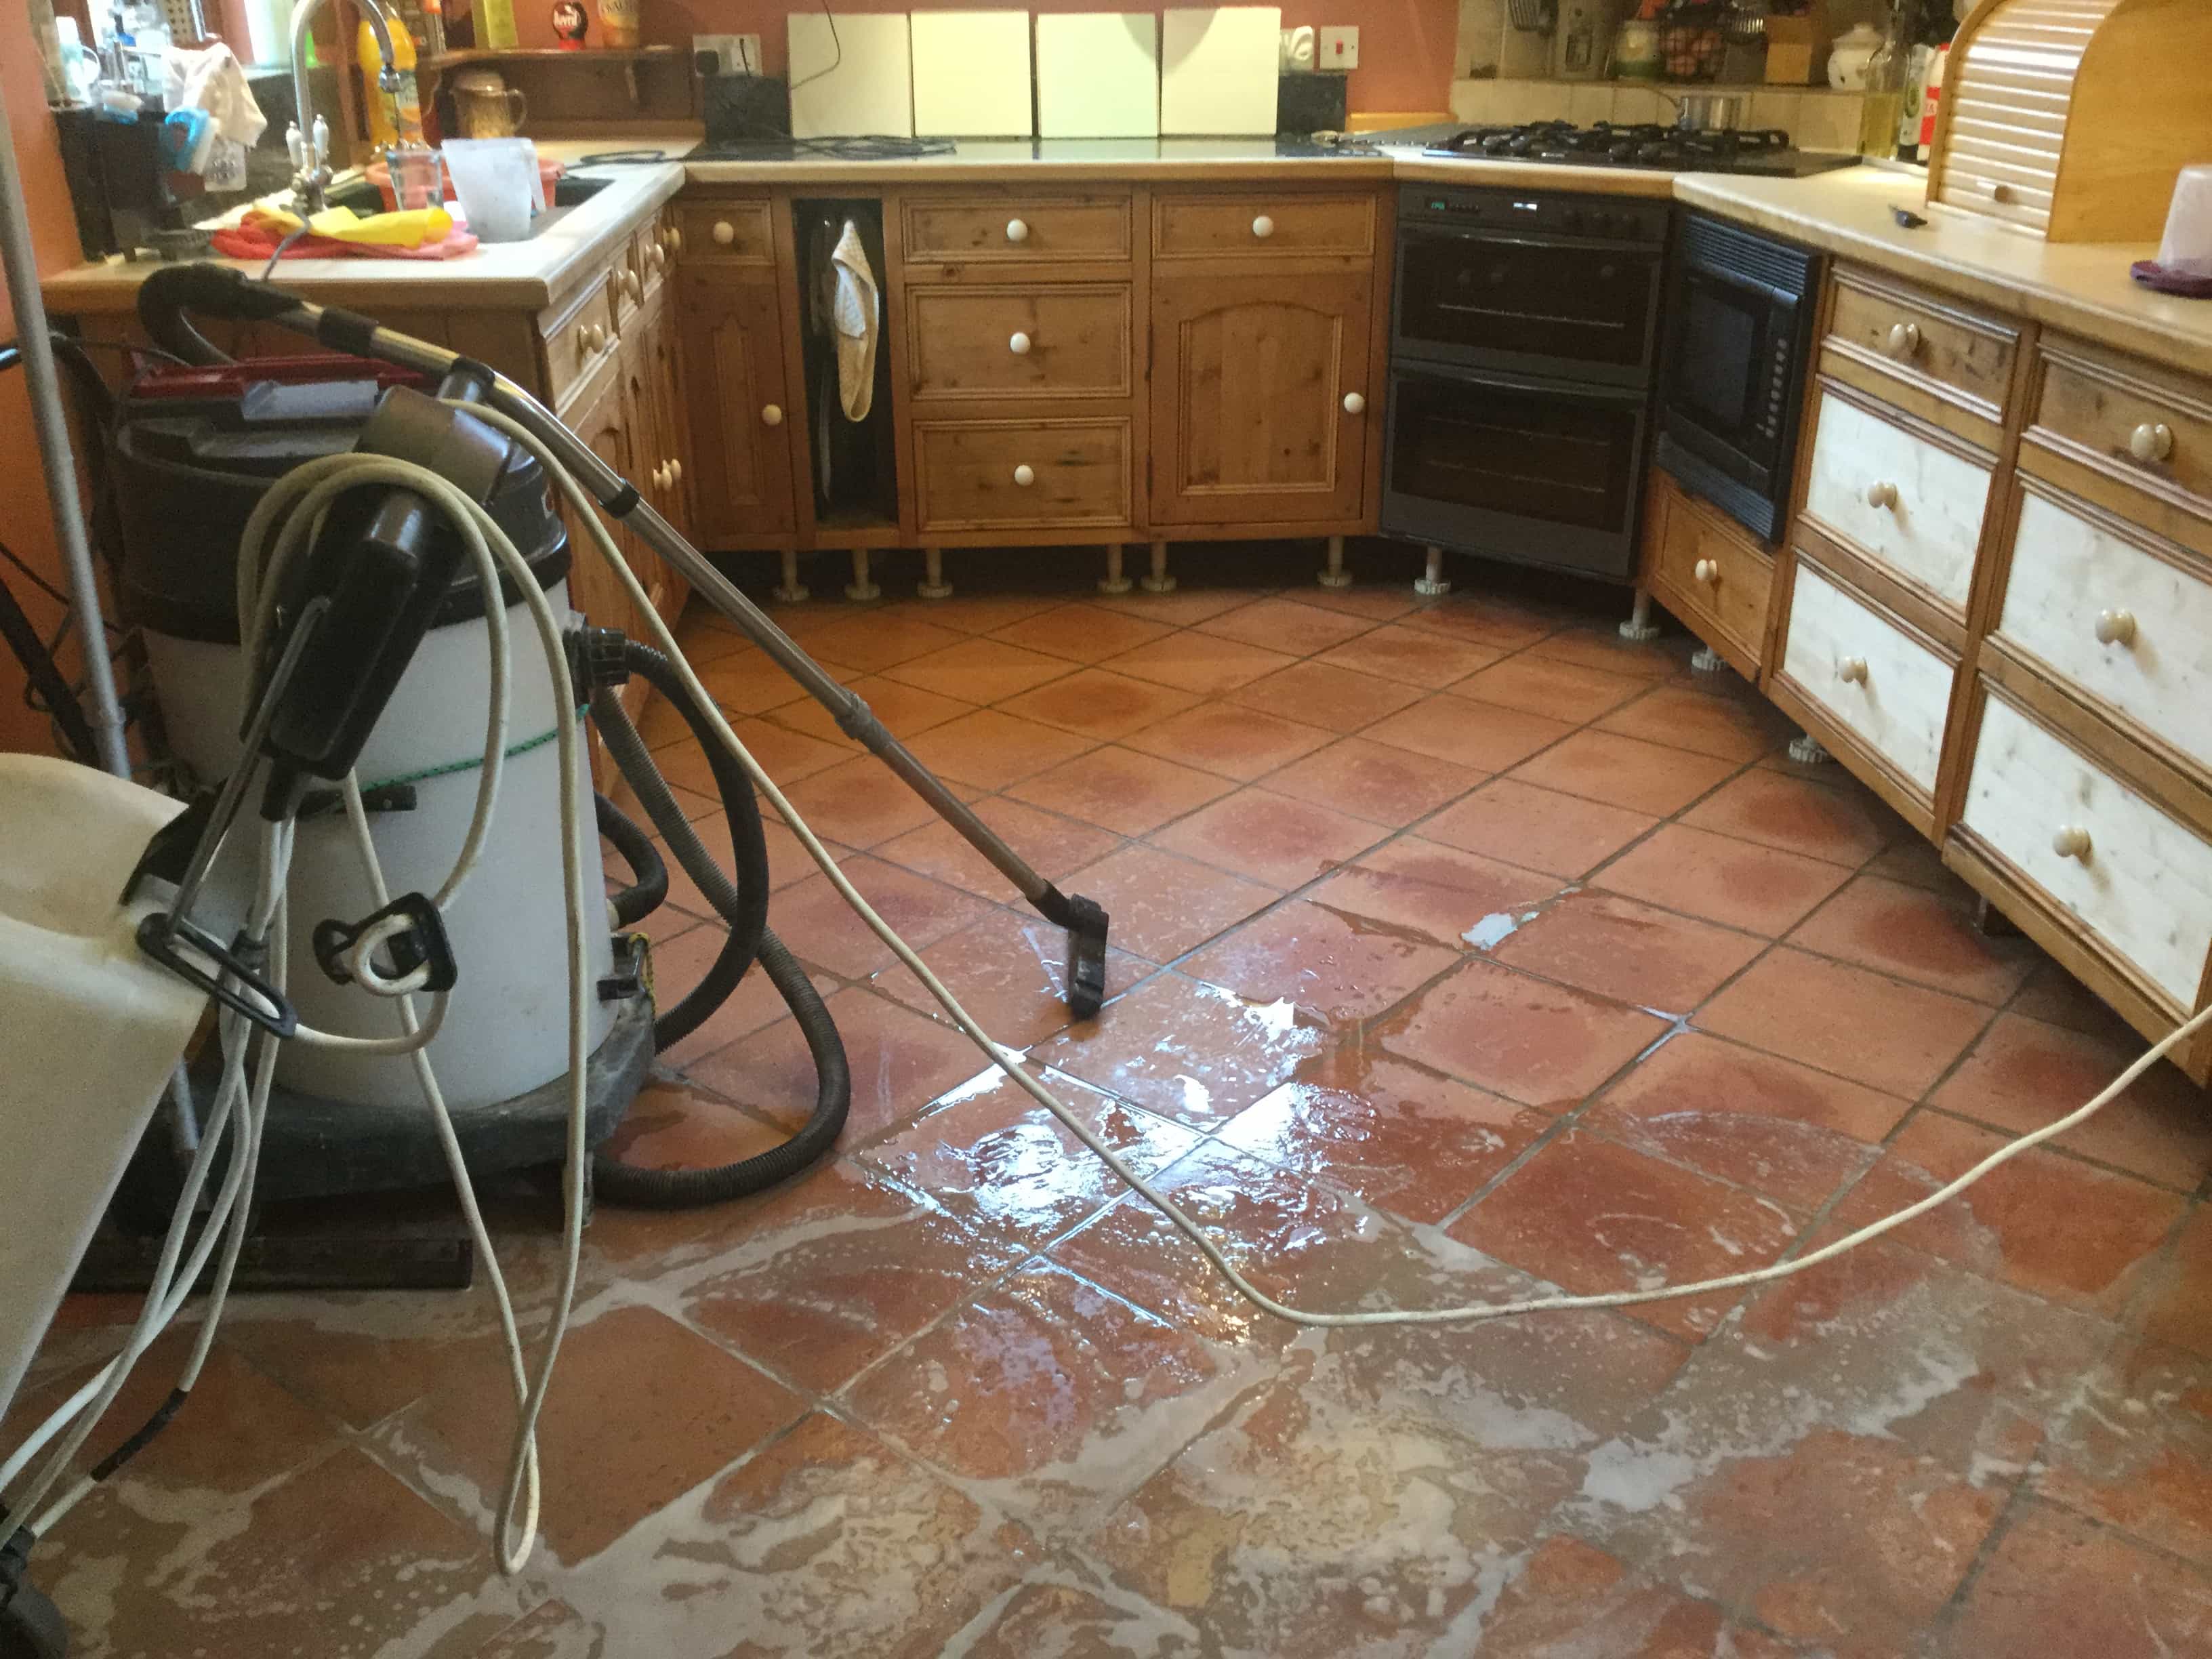
Kitchen Terracotta Floor Before After Renovation Moulton

Cleaning a Terracotta Tiled Kitchen Floor in Moulton

We were contacted by the owner of a property in Moulton with a problematic Terracotta tiled kitchen floor. She was seriously considering ripping up the entire area of tiling and replacing it as she was having a new kitchen installed. Both her and her husband were concerned that unless I could restore this floor to somewhere near to its original condition, they would need to replace it.

Terracotta Tiled Kitchen Floor Before Restoration Moulton

I went over to inspect the Terracotta tiles and could see the entire surface was deeply ingrained with soiling and the grout lines were filthy. After carrying out a test it became obvious that the previous sealer had been applied very sparingly and had mostly worn away, leaving the stone prone to staining. Terracotta is a very porous tile and dirt had become ingrained in the pores leaving it looking very dull and difficult to clean.

Terracotta Tiled Kitchen Floor Before Restoration Moulton

I completed the test on a small part of the floor and the customer could see the results which could be achieved. Happy with the result they agreed my quote and we set a date for my return to complete the floor.

Cleaning a Terracotta Tiled Kitchen Floor

The tiles turned out to be made of a fairly soft Terracotta which meant that we were able to deep clean them extremely effectively using a strong dilution of Tile Doctor Pro-Clean. We used Tile Doctor Remove and Go in particularly stubborn areas.

The process I use is to spray the Pro-Clean onto the floor and leave it to soak in for about ten minutes before being worked in using a heavy rotary machine fitted with a black scrubbing pad. The resulting slurry is removed using a wet pick up vacuum. All the dirt and virtually all of the old sealer was removed at this stage; the remaining patches around the edges of the area being finished by hand with a 200-grit burnishing block. The grout lines were then cleaned by hand with an angled grout brush.

Terracotta Tiled Kitchen Floor During Restoration Moulton Terracotta Tiled Kitchen Floor During Restoration Moulton

Finally, the deep-seated oil stains in front of the cooker were brought out using Tile Doctor Oxy-Gel which was left to dwell on the marks for an hour before being agitated with a diamond burnishing pad and rinsed away with a wet pick up machine. The floor was rinsed with water and allowed to dry off overnight.

Terracotta Tiled Kitchen Floor During Restoration Moulton

Sealing a Terracotta Tiled Kitchen Floor

The following day I inspected the floor and checked it was ready to be sealed. All was well so I applied an initial coat of Tile Doctor Colour Grow which is an impregnating sealer that occupies the pores in the tile enhancing the natural colours of the Terracotta and provide a base layer of protection from staining.

Terracotta Tiled Kitchen Floor After Restoration Moulton

I returned at a convenient time once the kitchen was completely installed to finish the job. This involves carrying out a light maintenance clean with Tile Doctor Neutral Cleaner and once the floor was dry, I applied 5 further coats of Tile Doctor Seal and Go which provides a pleasing satin finish which is really suited to this type of floor.

Terracotta Tiled Kitchen Floor After Restoration Moulton

The customer was very happy with the results and has left the following feedback.

“We were really pleased with the results, thank you!”

Terracotta Tiled Kitchen Floor After Restoration Moulton


Professional Restoration of a Terracotta Floor in Northamptonshire

Cleaning a Terracotta Tiled Kitchen Floor in Moulton Read More »

Limestone Tiled Flooring Before and After Renovating Ecton

Honed Limestone Floor Renovated in Ecton

I was contacted by the owner of a property in the picturesque village of Ecton who was concerned that her Limestone floor spanning the kitchen and open plan breakfast area was starting to lose its natural appeal and was finding it harder to clean and maintain.

Limestone Tiled Dining Room Floor Before Renovation Ecton

I went over to take a closer look at the floor and carry out a survey. In order determine the best cleaning method I conducted a test on a small area of the floor. This gives the clients confidence in my abilities and a good idea of what result we they can expect. The Limestone was honed smooth but was not polished and the customers were keen not to add too much of an unnatural shine to the floor. The grout lines in some of the more heavily used areas, such as by the sink, were also discoloured and would require a decent scrub with an appropriate cleaning product.

I spoke to the clients about options for the finish to be applied after cleaning and they decided that they wanted to keep the tiles as light as possible with a slight shine. With the clients impressed with the test area I prepared I went away and produced a detailed quote which was e mailed to them along with our general T&Cs and the work was booked in to be completed shortly after.

Limestone Tiled Kitchen Floor Before Renovation Ecton

Cleaning a Limestone Tiled Floor

The floor covered quite a large area, some 38m2, and had some larger items of furniture that needed to be moved before starting. The first task was to scrub the grout lines with a specialist grout brush, designed to work the product into the grout. Limestone is an acid-sensitive stone, so a strong alkaline cleaner was required. I used Tile Doctor Pro-Clean mixed with warm water at a ratio of 3:1 which was left to dwell for around twenty minutes.

The area was then rinsed with water and the soil extracted before applying a series of diamond impregnated burnishing pads attached to a rotary scrubbing machine, ranging from a coarse 400 grit (200 in some of the more stubborn areas), a medium 800-grit and finishing with a fine 1500 grit to clean the stone. The whole area was then rinsed again and extracted using a wet pick up vacuum. The floor was then left to dry overnight.

Sealing a Limestone Tiled Floor

The following day a very fine 3000 grit diamond pad was used to ‘spray burnish’ the floor which uses very little water and ensures that any remaining residues are lifted as well as finishing the floor in the highest level of mechanical polishing possible prior to sealing.

If the clients desired a higher level of shine a powdered high shine sealer would have been worked into the tiles to achieve a highly reflective surface, however the mechanical polish was the highest level of shine wanted.

My client requested a completely natural finish so to seal the stone after cleaning I applied an impregnating sealer called Tile Doctor Ultra Seal. Impregnating sealers soak into the pores of the tile protecting them from within and Ultra-Seal doesn’t alter the appearance of the floor and so maintained the natural appearance of the stone keeping it as light as possible.

Limestone Tiled Kitchen Floor After Renovation Ecton

Aftercare instructions along with a bottle of suitable pH Neutral Tile Cleaner were supplied.
The customer was thrilled with the result and was surprised at the transformation of the floor, they even left the following feedback on the Tile Doctor website.

“Thank you so much Phil for a professional service resulting in my floor looking just as I wanted it too. You were attentive to all detail. I would strongly recommend Phil as a trustworthy, honest person to anyone who is considering work done. See you again in the Summer Phil to clean my patio. Natalie W, Northampton”

Limestone Tiled Dining Room Floor After Renovation Ecton


Cleaning and Sealing a Limestone Tiled Floor in Northamptonshire

Honed Limestone Floor Renovated in Ecton Read More »
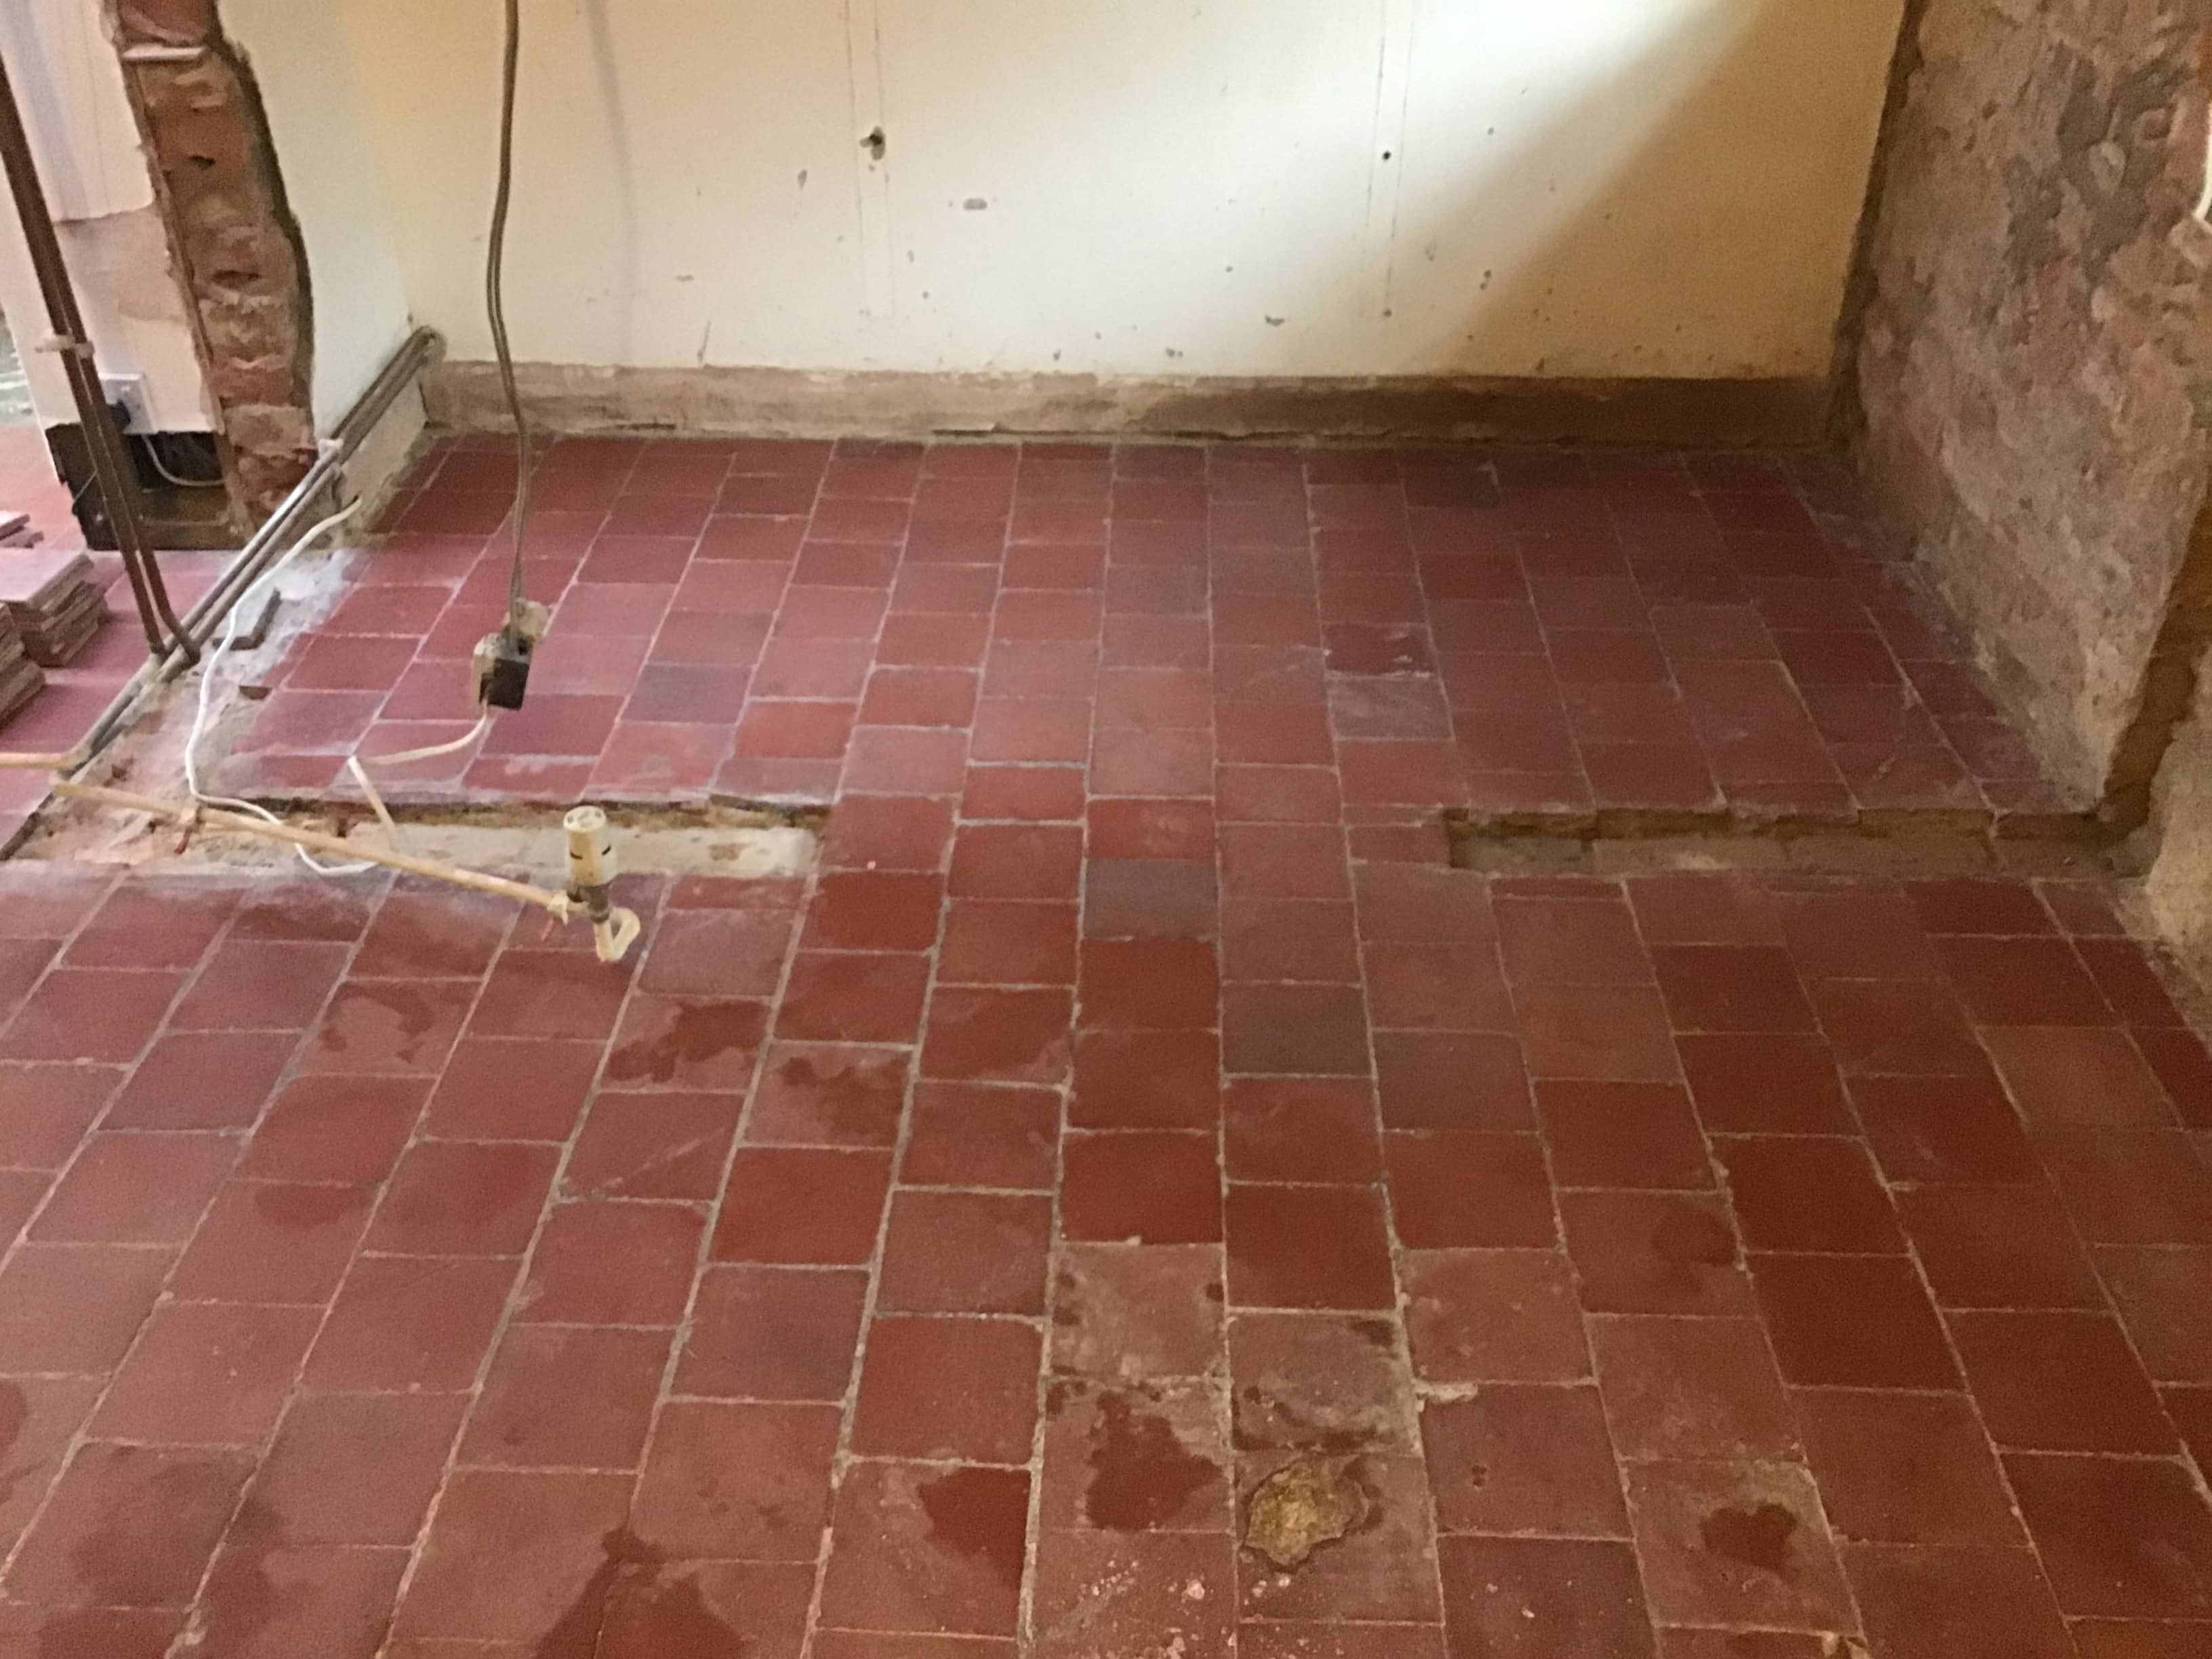
Terracotta Tiles Before After Deep Cleaning and Sealing Maidford

Terracotta Tiled Kitchen Floor Renovated at a Maidford Cottage

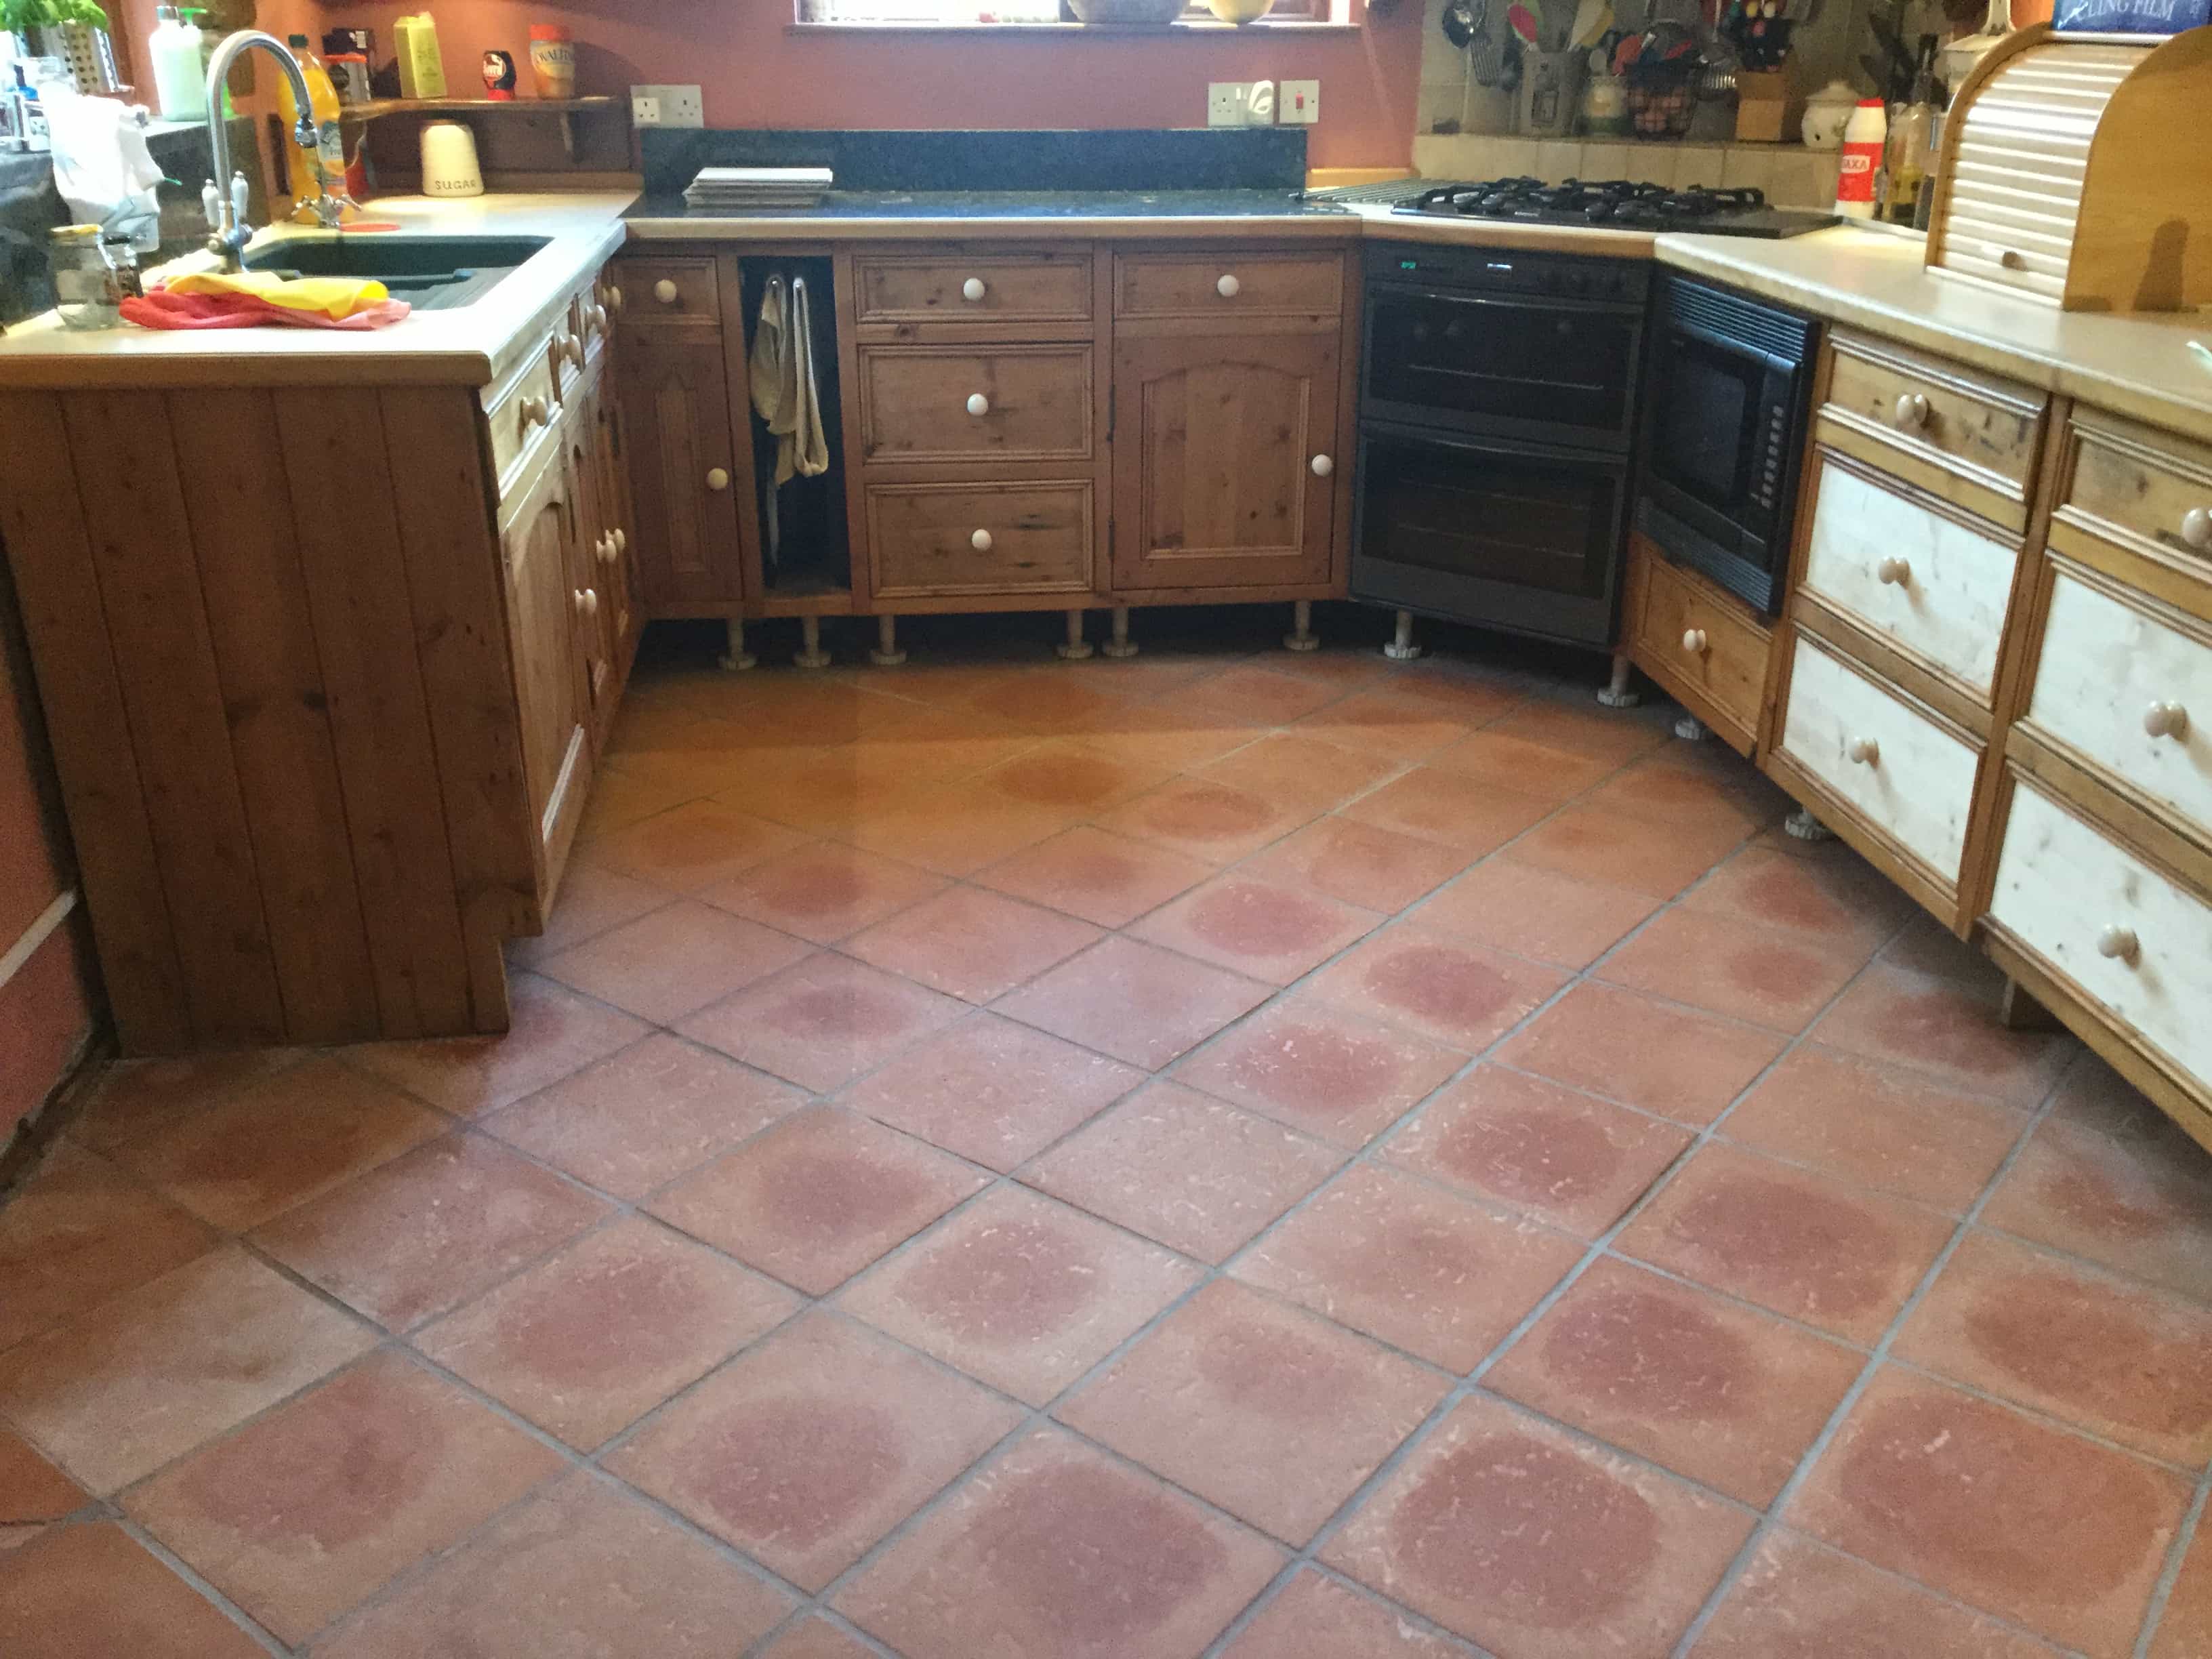
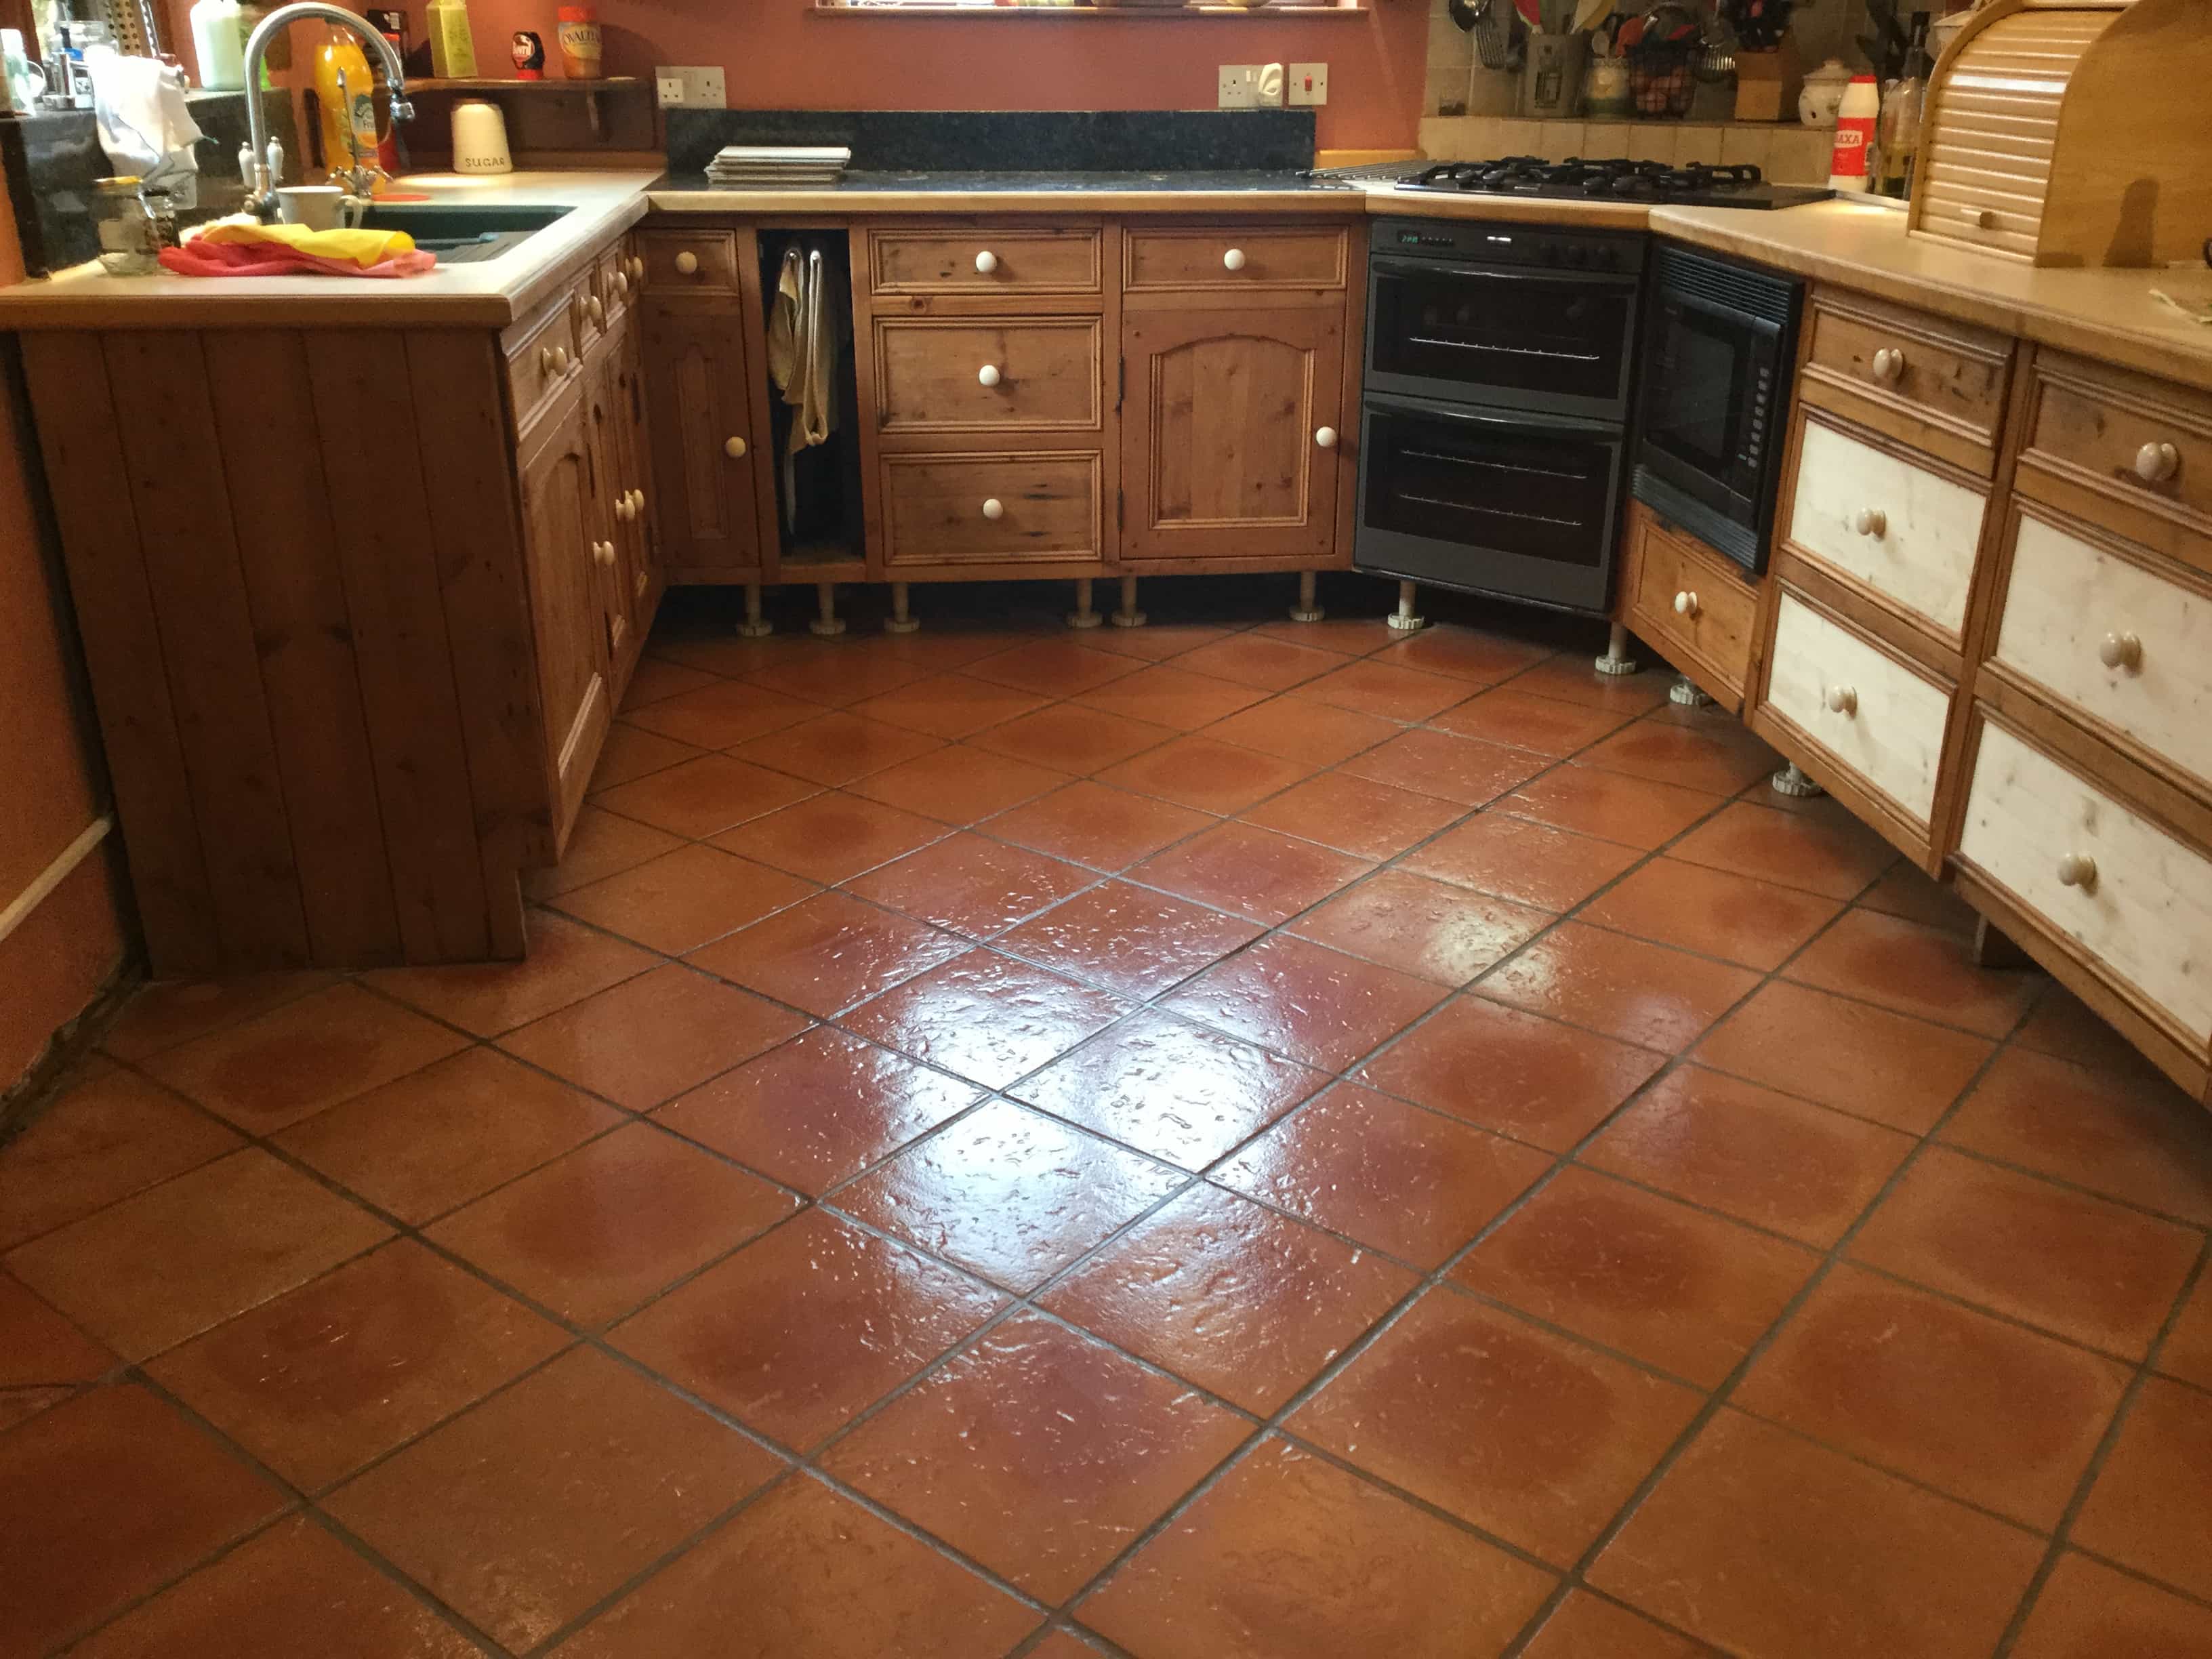
This Terracotta tiled floor was installed in the kitchen of a cottage in the small village of Maidford near Towcester. The tiles were not looking their best and the owner of the property realised it was time to do something about it and contacted Tile Doctor to have the floor stripped and resealed. Stripping and Sealing tile and stone floors is our bread and butter so I was more than happy to pop round and survey the floor which was approximately 9m2.

The grout had darkened with dirt and the previous tile sealer was failing so dirt was now getting ingrained in the Terracotta making it difficult to clean in places and leading to a patchy appearance. We discussed the work involved, my quote was accepted, and a date agreed for me to return and complete the work which would take two days, one to clean and one to seal.

Terracotta Tiled Kitchen Floor Before Cleaning Maidford

Stripping Terracotta Kitchen Floor Tiles

After tidying up the Kitchen and removing the kickboards from underneath the kitchen units I set about working on cleaning and stripping the Terracotta floor of old sealers. To start I tested a small area with a strong dilution of Tile Doctor Wax Away. Wax was quite often used on Terracotta so I figured this product would be a good place to start. My suspicions were proved correct, and I found this to be the best product for removing the many layers of sealant on the floor. Wax Away is a new alkaline product by Tile Doctor and ideal for cleaning clay-based tiles such as Terracotta.

Terracotta Tiled Kitchen Floor During Cleaning Maidford

With my sights set on the rest of the floor Wax Away was scrubbed into the tile using a 17” rotary floor scrubbing machine and a black scrubbing pad running on a slow speed which helps to reduce splashing. This activity soon brought the dirt off the floor and the soiled cleaning solution was removed using a wet vacuum and the floor was rinsed down with clean water. The cleaning process was repeated a couple of times until I was happy with the floor, a stiff hand brush was then used along the grout lines with a dilution of Tile Doctor Pro-Clean to clean up the grout.

Terracotta Tiled Kitchen Floor During Cleaning Maidford

After rinsing and extracting the floor again the floor was inspected, and I noticed there were a few stubborn paint splashes on the tiles. I managed to remove these and these by spot treating the affected area with Tile Doctor Remove and Go and a steamer to lift the stain out of the clay tile. Once happy the floor was clean it was given a thorough rinse to neutralise it and remove any trace of cleaning products and then left it to dry.

Terracotta Tiled Kitchen Floor After Cleaning Maidford

Sealing Terracotta Floor Tiles

I allowed the floor to dry for several days before returning to seal the Terracotta using numerous coats of Tile Doctor Seal and Go which is an ideal sealer for Terracotta and provides durable stain protection together with a low sheen finish. Terracotta is by its nature very porous and so it’s not unknown for it to take up to nine coats of sealer, which can take some time to apply as like paint you have to wait until it’s dry before it will take the next coat.

Terracotta Tiled Kitchen Floor During Sealing Maidford

The customer was so impressed by the results I achieved in their kitchen they decided to go ahead and book me in to carry out this process throughout the whole of the ground floor which included lounge, study and hallway.

Terracotta Tiled Kitchen Floor After Sealing Maidford


Renovating a Terracotta Tiled Kitchen Floor in Northamptonshire

Terracotta Tiled Kitchen Floor Renovated at a Maidford Cottage Read More »

Ceramic Tile Grout Before and After Cleaning in Rushden

Ceramic Tile and Grout Deep Cleaned is a Rushden Sun Room

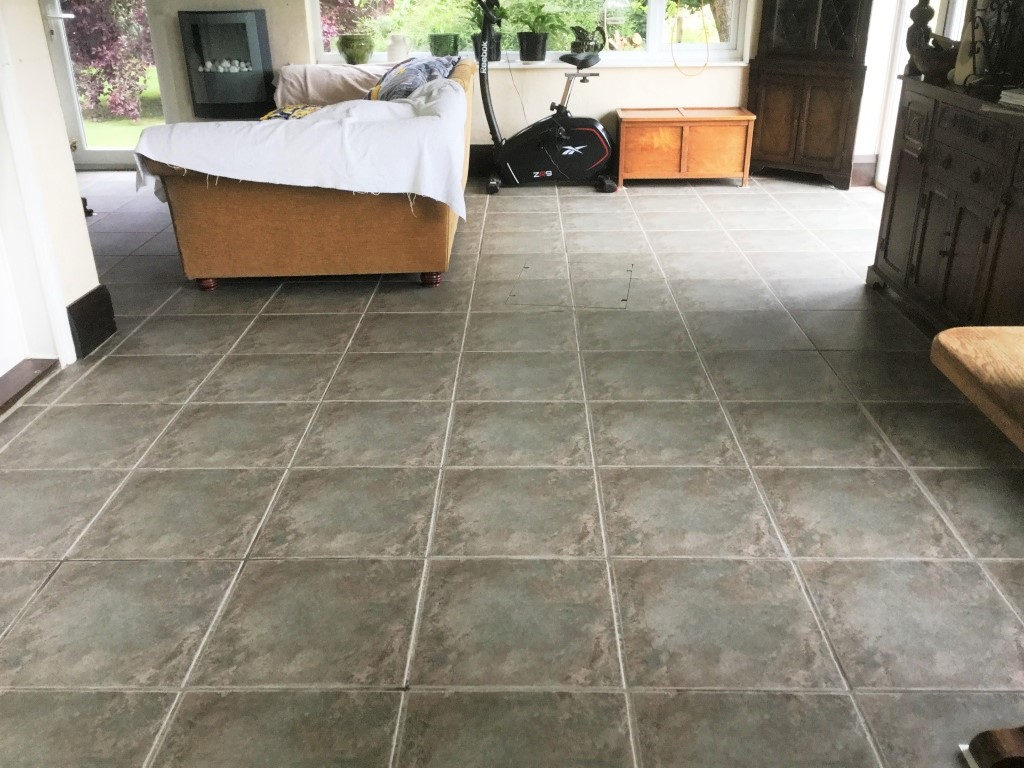
A customer from Rushden which is a large town in the east side of Northamptonshire, and my home town asked me to take a look at the Ceramic tile and grout in his Sun room. He has a large dog that sleeps on the sofa in this room and over the years the dog has walked in mud which has slowly degraded the grout lines and I suspect had probably never been sealed correctly or sealed at all.

The glazing on Ceramic tile is very resilient so we usually find it’s the grout discolouring that becomes most noticeable first due to the cementitious top layer which can trap dirt. In this case the Ceramic tiles had dulled over the years and as you might expect the white grout lines had become soiled and were almost black in places.

Ceramic Tile and Grout Before Cleaning Rushden Sun Room Cleaning Ceramic Tile and Grout Before Cleaning Rushden Sun Room

Deep Cleaning Ceramic Tile and Grout

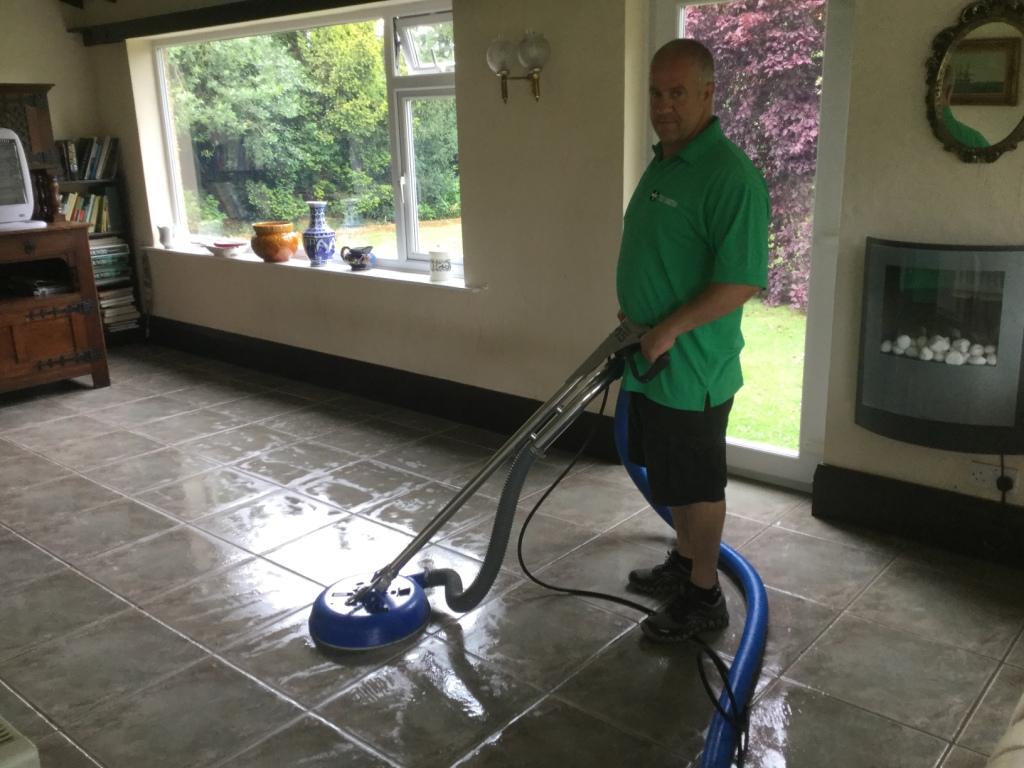
To get the tile and grout clean the floor was first soaked in a strong dilution of Tile Doctor Pro-Clean and this was left to dwell for ten minutes. A rotary machine fitted with a black scrubbing pad was then used to scrub the cleaning solution into the tile and release the dirt. The pad can struggle to reach the recessed grout so to ensure this was also clean it was given a good scrub with a narrow stiff brush.

Cleaning Ceramic Tile and Grout During Cleaning Rushden Sun Room
We then used a spinning tool which forces hot water under high pressure onto the floor whilst simultaneously extracting the dirty water with a powerful vacuum. The objective of this action is to power wash the floor whilst rinsing and extracting the dirty cleaning solution at the same time.

Cleaning Ceramic Tile and Grout During Cleaning Rushden Sun Room
We inspected the grout lines and stubborn stains were treated with Tile Doctor Grout Clean-Up which was scrubbed in with hand brushes, this was then rinsed a second time until we were happy with the results. Grout Clean-Up is an acidic product that is particularly good at removing grout smears which can form a haze over a tile reducing its brilliance.

We then polished the floor with a white buffing pad and allowed the floor to dry overnight before returning the following day to apply Tile Doctor Ultra-Seal to all grout lines.

The furniture was too large and heavy for the customer to move out of the room, which was on a lower level than the rest of the ground floor. As a result, it was necessary to clean the floor in sections moving the furniture around the room on pads as needed.

Cleaning Ceramic Tile and Grout After Cleaning Rushden Sun Room
The Sun room floor look great afterwards, the grout especially looked clean and the sealer should ensure it stays that way for some time to come.

Deep Cleaning Ceramic Tile and Grout in Northamptonshire

Ceramic Tile and Grout Deep Cleaned is a Rushden Sun Room Read More »

terracotta tiles before and after grout haze removal in cogenhoe

Terracotta Tiled Kitchen Floor with Severe Grout Haze Problem Treated in Cogenhoe

This newly installed Herringbone-style Terracotta tiled floor in a refurbished kitchen was heavily covered with patches of grout haze. The customer, who lives in the town of Cogenhoe, Northampton informed me that the tiler had supposedly sealed the floor before grouting. If this was true, the grout haze should have been very easy to remove.

However, the tiler had clearly not been entirely truthful as, when I arrived at the property to carry out a test clean, I found very little evidence of any sealer whatsoever. Nonetheless, I found that the grout haze was easily removed using a solution of Tile Doctor Grout Clean Up, a concentrated phosphoric acid cleaner which is designed specifically for the removal of haze, mineral deposits and efflorescence.

Herringbone design terracotta floor before Cogenhoe Herringbone design terracotta floor before Cogenhoe

These Terracotta tiles were very pitted and the original tiler was correct to fill the small holes with grout to complement the rustic look of the tiles, but he should have taken the correct measures to ensure that a white misty grout haze didn’t appear over the whole area!

The customer was happy for me to proceed with restoring the floor, but also very concerned that her newly installed hand painted kitchen units would be damaged by the chemical cleaning products. I assured her that I would cover them up completely and carry out all work along the plinths by hand.

Removing Grout Haze from Terracotta Tiles

Once on site, I covered the kitchen units to protect them and proceeded to mix up a solution of Grout Clean Up. This was applied firstly around the edges of the floor and scrubbed into the stone by hand using a stiff brush.

Working in areas of four square metres each so as to not the leave the product on the floor too long, I applied the solution to pre-wet the floor ready for the next part of the process. This was to apply Tile Doctor Acid Gel, our blend of phosphoric and hydrochloric acids, leave it to dwell for a few minutes has then agitate it to neutralise and remove the copious grout haze. Once each area had been treated I rinsed it with water to remove any chemicals.

Herringbone design terracotta floor during Cogenhoe Herringbone design terracotta floor during Cogenhoe

Sealing Terracotta Tiles

With the entire floor treated, I installed a dehumidifier to help the tiles to dry quickly overnight. The next day I returned to the property to apply two coats of Tile Doctor Colour Grow sealer. This is an impregnating sealer which provides robust protection while also lifting the natural shades in the Terracotta.

Each coat was polished in by hand, leaving an hour for drying between coats. I then waited another hour before giving the whole floor a final polish with a buffing machine to remove any excess sealant.

Herringbone design terracotta floor after Cogenhoe Herringbone design terracotta floor after Cogenhoe

The result achieved in the space of 24 hours was fantastic and the customer was exceptionally pleased. Despite the severity of the grout haze problem, the combination of the right products allowed me to handily resolve it. The addition of a properly applied and top quality sealer will help to ensure the floor is protected from staining, something which is essential in a kitchen.

Resolving Installation Issues with a newly installed Terracotta Tiled Floor in Northamptonshire

Terracotta Tiled Kitchen Floor with Severe Grout Haze Problem Treated in Cogenhoe Read More »

Travertine Tiled Kitchen with Stained Grout Northampton

Travertine Tiled Kitchen With Badly Stained Grout Cleaned in Northampton

Earlier this month I was in the town of Northampton, to see a client who had reported a problem with her Travertine kitchen tiles. Basically the grout between the tiles was badly stained, to the point of appearing almost black.

Travertine Tiled Kitchen with Stained Grout Northampton
The Travertine tiles were also in need of some maintenance, and so I was commissioned to provide a clean, polish and a fresh seal. Travertine is a popular choice for kitchen flooring due to its relatively high durability and distinct features. My task was to get this floor back to looking its best.

Cleaning badly stained grout

My priority was to address the badly stained grout so I cleaned the grout lines by hand using a combination of hand brushes and Tile Doctor Grout Clean-Up. The surface was pre-wet with water, before a solution of Grout-Clean Up and clean water was applied to the surface. The brushes were then used to agitate the solution. Grout Clean-Up contains a mix of concentrated phosphoric acid and cleaner designed to penetrate below the surface of the grout to remove grout stains, smears and mineral deposits.

As you can see from the photos, Grout Clean-Up made an immediate difference to the appearance of the tiles. This product is suitable for use on masonry and acid resistant surfaces. After completing the clean, I gave the floor a thorough rinse to neutralise the floor after cleaning and removed as much of the water as possible using a wet vacuum.

Travertine Tiled Kitchen with Stained Grout Northampton

Burnishing Travertine tiles

Following this, I paid attention to the tiles themselves, cleaning them to achieve a polished effect by using a system of burnishing pads. Tile Doctor burnishing pads comprise a set of four pads varying in grit type, from Coarse and Medium to Fine and Very Fine. I applied all four pads in turn to the floor, stopping to rinse the floor in between each. The result was a high quality polished finish.

I then left the floor to dry completely overnight, before commencing the seal the next day. My choice of sealing product was Tile Doctor Colour Grow which is a colour intensifying sealer that both enhances the natural appearance of the stone and provides a durable surface seal.

Travertine Tiled Kitchen with Stained Grout Northampton
My client was very pleased with the finished product, and left the following comment on the Tile Doctor feedback system: “efficiently done”, yielding “good results”.

Dealing with Stained Grout in a Travertine tiled kitchen in Northamptonshire

Travertine Tiled Kitchen With Badly Stained Grout Cleaned in Northampton Read More »

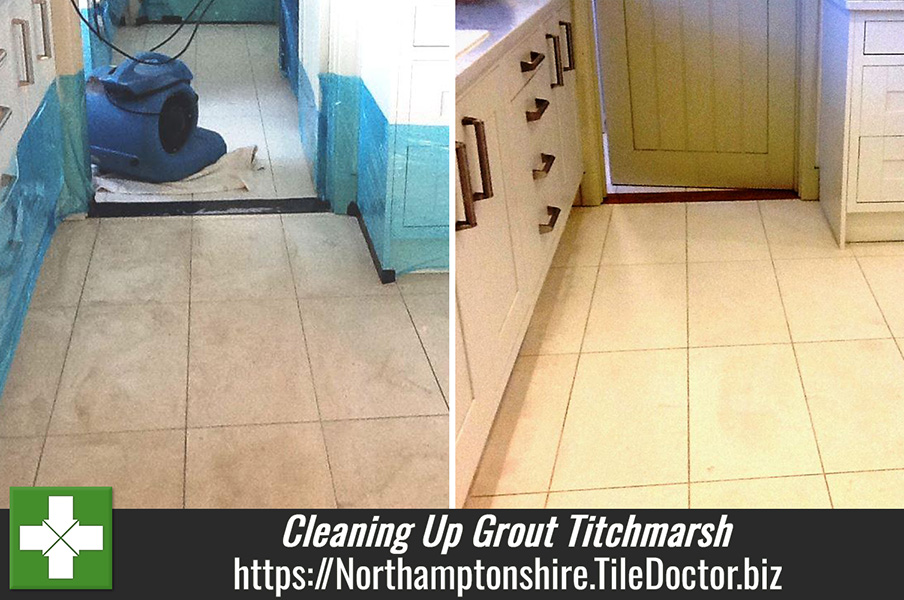
Dirty Grout in Titchmarsh Kitchen After Cleaning

Cleaning up newly installed Grout in Titchmarsh

This customer from Titchmarsh near Kettering was unhappy that the Porcelain floor tiles that were installed in her kitchen six months prior were proving difficult to clean and that the grout line had turned from a grey to black and whatever she tried she just could not keep this floor clean. On inspection I soon discovered that no or very little sealer had been applied to the Porcelain which is not unusual as most Porcelain does not require a sealer however Micro Porous Porcelain does and she should have been advised by the shop that sold her the tiles that this was the case. A quote was given which she was happy with and I returned the following week to sort the problem out.

Deep Cleaning Porcelain Tile and Grout

To protect the kitchen units I covered them in a plastic and then moved onto to deep cleaning the tiles with a dilution of Tile doctor Pro Clean which was applied and left to soak in for a while before hand scrubbing the floor on my hands and knees with stiff brushes. This did made an improvement but something stronger was required to get the grout looking better so it was back down to the floor with hand brushes again but this time I used Tile Doctor Grout Clean-Up which is an acid that can remove grout smears and mineral deposits, in the end I actually used two litres of Grout Clean-Up to restore the grout to about 95% of its correct appearance and once done I gave the floor a thorough wash down to remove any trace of product.

Dirty Grout in Titchmarsh Kitchen During Cleaning

Sealing Porcelain Tile and Grout

This grout should have been correctly sealed from day one and luckily for the client it came up to her satisfaction otherwise the only other option would have been to use a Grout Colourant which would have been more costly but cheaper than replacing the grout altogether. Had the grout been much older this may have been the best option as I suspect the result from cleaning would have been less effective. The last step was to seal the tiles and grout using Tile Doctor Ultra Seal which is a natural look sealer that provides maximum stain protection and is recommended for use in kitchens. Before leaving I gave the client written instructions on maintenance which she found very helpful.

Dirty Grout in Titchmarsh Kitchen After Cleaning
 

Cleaning and Sealing Porcelain Tile and Grout in a Northamptonshire Kitchen

Cleaning up newly installed Grout in Titchmarsh Read More »
Scroll to Top