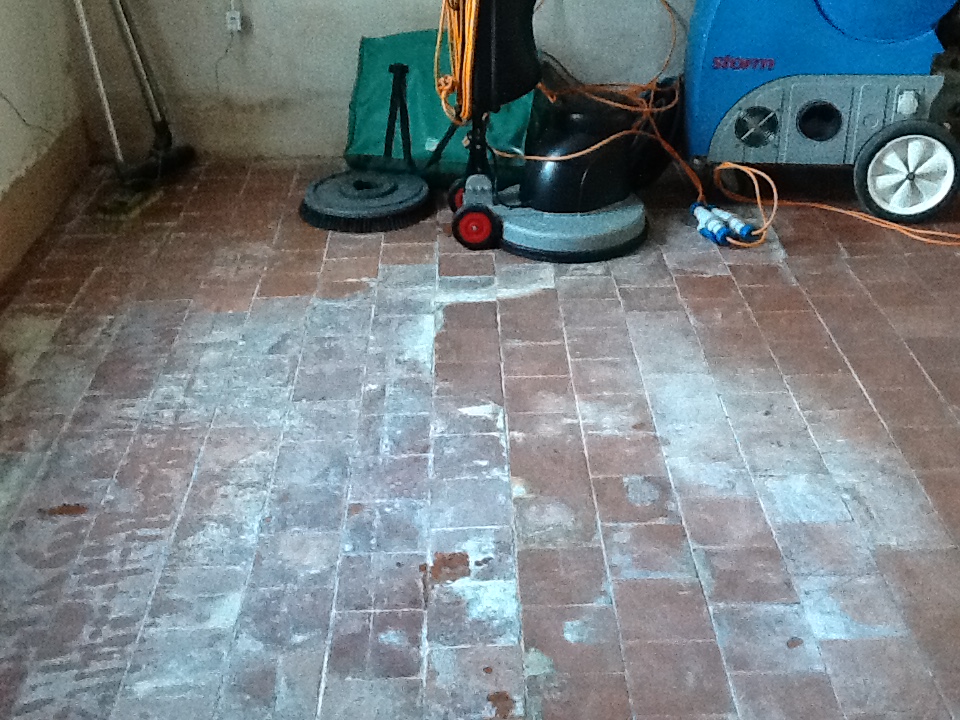
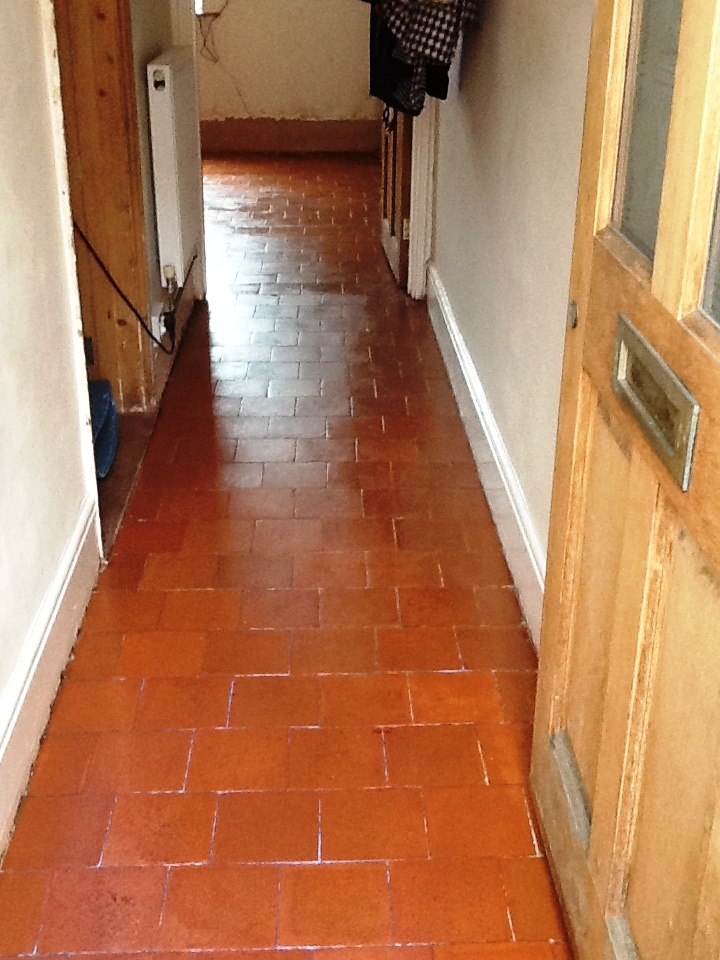
dining room

Tumbled Travertine Tiled Kitchen Floor Renovation Stanwick

Tumbled Travertine Kitchen Floor Filled and Polished in Stanwick Near Wellingborough

A homeowner from the village of Stanwick near Wellingborough contacted me about their Tumbled Travertine Kitchen floor which was proving very hard to maintain. Having worked on similar floors before I was confident of helping and so arranged a date to pop round and come up with a plan for its renovation.

Tumbled Travertine Tiled Kitchen Floor Before Cleaning Stanwick

Surveying the floor, I could see the main problem was the pitting in the tiles which are basically small holes and is quite common with Travertine. Dirt was becoming ingrained in the holes which were proving very difficult to remove with regular cleaning and this left it looking dull and permanently dirty. I recommended deep cleaning the floor to remove all the dirt, filling the holes, polishing the stone to bring back its appearance and then sealing to protect it going forward.

Happy with the plan I created a quote for the work which was agreed and a date set for our return.

Cleaning and Polishing a Travertine Tiled Floor

I gave the floor a sweep to remove any loose dirt and grit and started with the application of the first pad which is a coarse 400-grit and designed to remove minor scratches, old sealers and ingrained dirt. The pads fit a 17” buffer machine and is applied with water to lubricate the process, then once the pad has been applied to each tile the floor is rinsed with water and the resultant slurry is extracted using a wet vacuum.

Tumbled Travertine Tiled Kitchen Floor Before Cleaning Stanwick

Before moving onto the second pad in the set I gave the grout lines a clean with Tile Doctor Pro-Clean which was scrubbed into the grout using a stiff narrow brush. The pads can struggle to reach into the recessed grout lines, so I usually find this is the best way to get the grout clean.

The floor was given another rinse with water and then I continued to work through the medium 800-grit and then fine 1500-grit pads rinsing with water and then extracting the slurry with a wet vacuum after each pad.

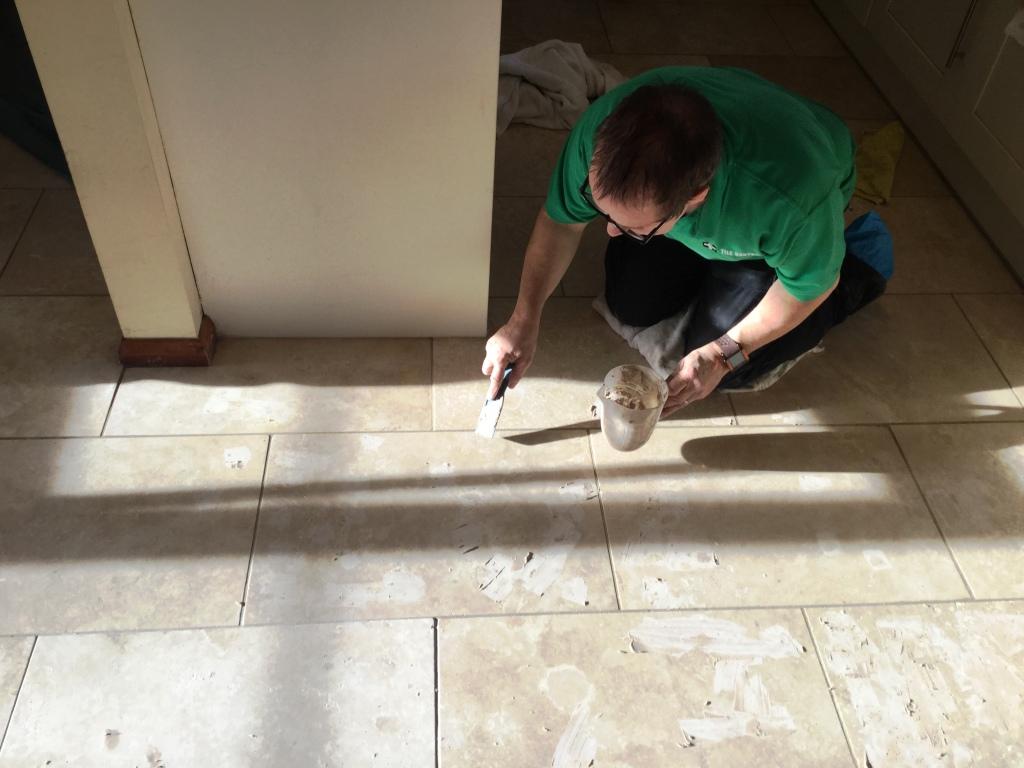
The Travertine was now clean and after drying with fans I commenced the task of filling the larger holes with a resin filler that matched the natural colour of the stone as close as possible. The filler takes an hour to set and then the patches are rubbed down with handheld burnishing blocks.

Sealing a Tumbled Travertine Tiled Kitchen Floor

I returned the following day and started by completing the polishing process by applying the last 3000-grit very fine burnishing pad with the 17” rotary machine, the pad is applied dry with a small amount of water sprayed on the floor as you go along. With the floor now fully dry and the filled holes polished flat the last step was to apply the sealer which will protect the floor going forwards.

Last step was to seal the Travertine to prevent dirt from becoming ingrained in the stone going forward. To do this I applied two coats of Tile Doctor Colour Grow which is a colour enhancing sealer which works by soaking into the pores occupying the space and thereby preventing dirt from residing there. This ensures that dirt remains on the surface where it is easily cleaned away.

Tumbled Travertine Tiled Kitchen Floor After Cleaning Stanwick

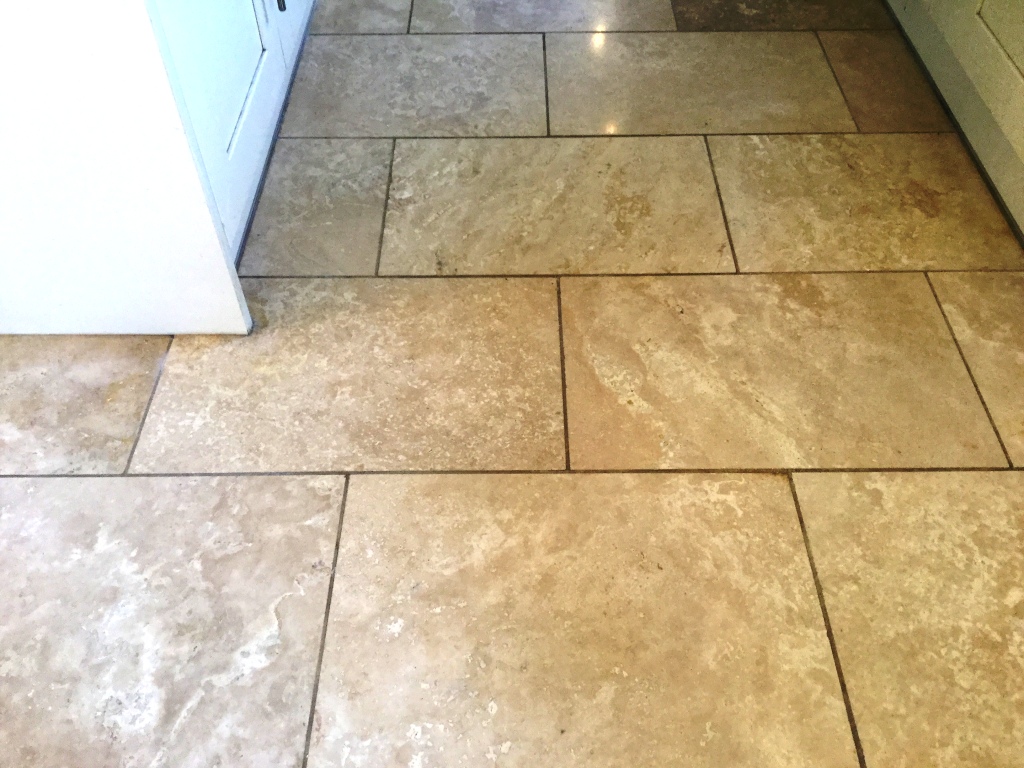
Once done the floor looked so much healthier and the new sealer will ensure that the Travertine keeps its appearance and is much easier to clean in future. Regarding cleaning, I recommended the use of Tile Doctor Stone Soap for the regular cleaning of this floor. This product is formulated for use on sealed stone and it help maintain the patina.

Tumbled Travertine Tiled Kitchen Floor After Cleaning Stanwick


Professional Travertine Tiled Floor Restoration in Northamptonshire

Tumbled Travertine Kitchen Floor Filled and Polished in Stanwick Near Wellingborough Read More »

Quarry Tiled Floor Restoration Bozeat

Quarry Tile Repairs and Restoration at a period cottage Bozeat

The following photos are of a Quarry tiled dining room floor in a period cottage located in the small village of Bozeat. My customer had removed a carpet and discovered them underneath, as you can see from the photographs however the tiles were in a poor state of repair. Undaunted the owner wanted to restore them as a lovely period feature and contacted Tile Doctor.

Quarry Tile Floor Before Restoration Bozeat Cottage Quarry Tile Floor Before Restoration Bozeat Cottage

I went over to survey the Quarry tiles and could see the floor had not faired well under the carpet over the years, several tiles were cracked and 40 to 50 tiles were loose and would needed resetting to stop them moving underfoot, especially in the high traffic areas. I discussed with them that Tile Doctor could repair the floor and clean it and would be able to restore in a few days. They were happy to go ahead with my quote and we arranged a mutually convenient time to carry the work out.

Cleaning and repairing a Quarry Tiled Hallway Floor

My first course of action was to deep clean the floors using Tile Doctor Oxy-Gel which is an alkaline cleaner. Working in small areas the Gel was worked in using a stiff brush on a rotary machine using a little water. As this process was completed in each area, I rinsed off the resulting slurry away with water and then extracted using a wet vacuum. The initial clean removed most of the black staining and paint spots which had occurred over the years, but more work was needed.

The next step was to apply Tile Doctor Grout Clean-Up to further clean up the tiles and tackle the cement residue and other staining. I used a repeat of the cleaning process and rinsed twice with plain water to ensure all traces of product were removed. The next step was to tackle the broken and loose tiles however it was now the end of day one, so after assessing the floor for all repairs required, I installed a portable dryer to aid drying and left for the day.

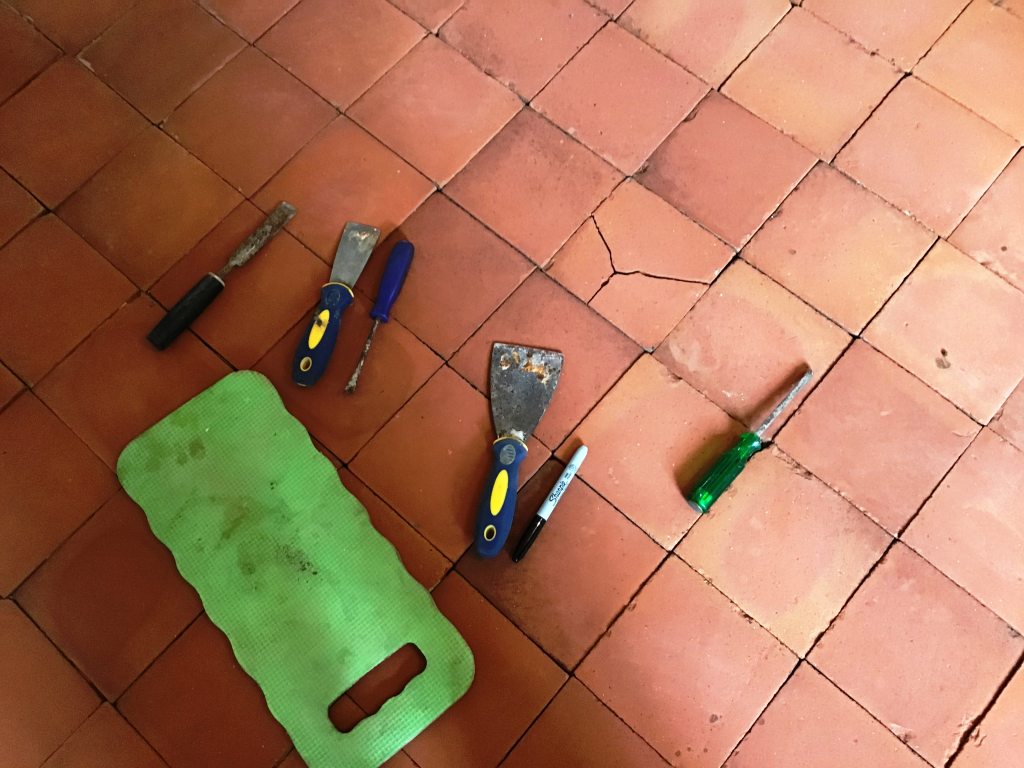
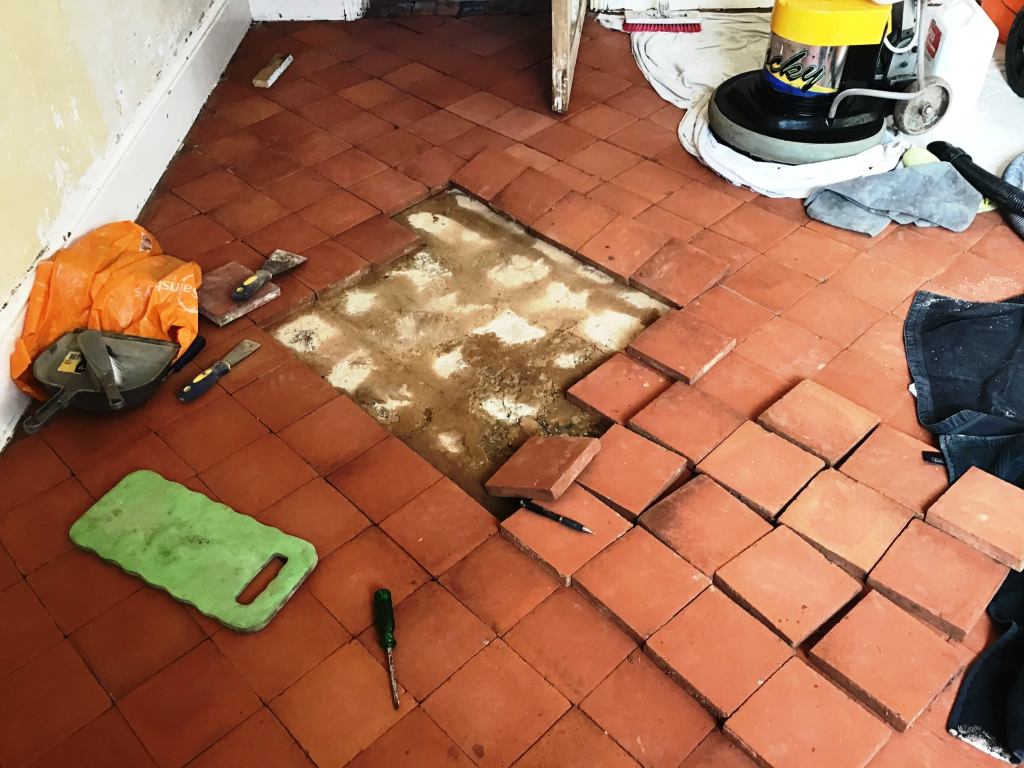
Quarry Tile Floor During Repair Bozeat Cottage Quarry Tile Floor During Repair Bozeat Cottage

The next day I returned to begin repairs starting by lifting all the loose tiles, working in one square metre sections at a time. Fortunately, my customer had already managed to obtain reclaimed tiles from a reclamation yard so that saved me a job. The colours matched with the originals; however, the reclaimed tiles were slightly larger than the originals and needed to be cut into shape as required. Working methodically, I re-laid the tiles on a fresh bed of screed and grouted them in to match the original floor as best possible.
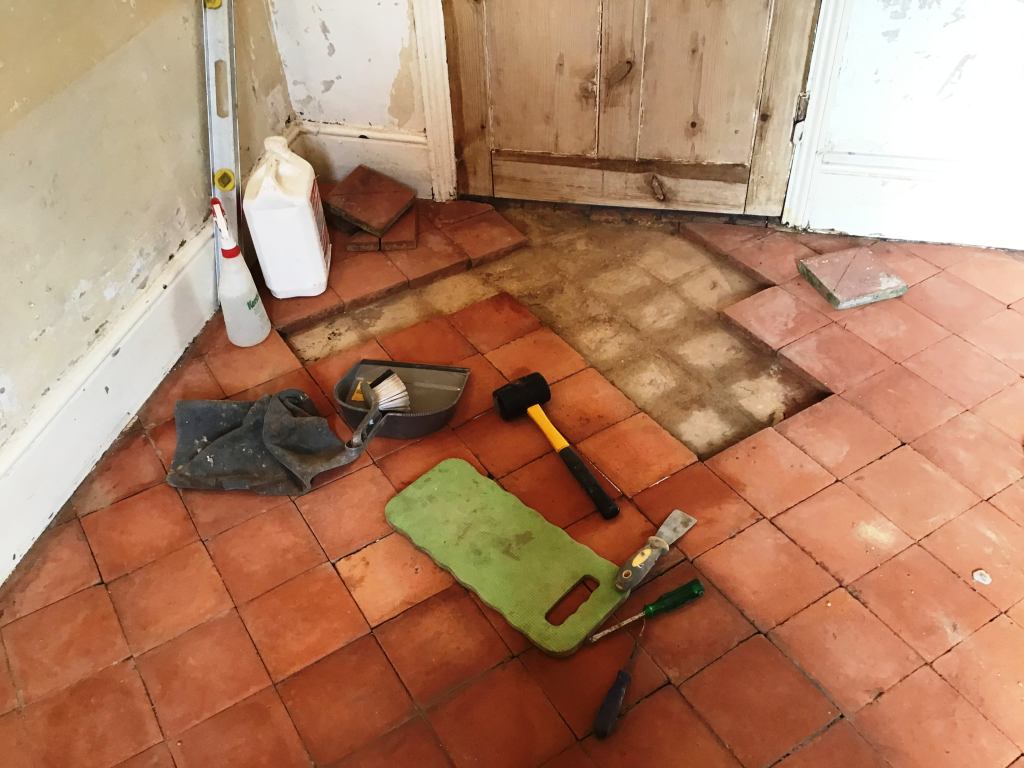
Quarry Tile Floor During Repair Bozeat Cottage Quarry Tile Floor During Repair Bozeat Cottage

After the repairs were completed I allowed the floor to fully dry for four days, I needed the tiles dry and the newly laid adhesive and grout to set and bed in before the next step. Before leaving I gave my customer strict instructions not to walk over these areas whilst I was gone.

Sealing a Quarry Tiled Hallway Floor

Returning later the following week, I first checked the floor was dry using a damp meter, once satisfied I was able to start the sealing process. The customer had requested a silk finish, however because of the age of the cottage and the possibility of damp in this old floor my choice of sealer was limited to those that are fully breathable.

Quarry Tile Floor After Restoration Bozeat Cottage

On this occasion I chose to apply several coats of Tile Doctor Seal & Go Extra, this product will allow the floor to breathe and provide the desired finish. It was a good decision, and as hoped it enhanced the appearance of the floor beautifully.

Quarry Tile Floor After Restoration Bozeat Cottage

My customer was very happy with the renovation and the transformed floor and left the following feedback:

“Friendly service, reasonably priced and a good standard of work. Has breathed new life into my old quarry tile floor.”


Professional Restoration of a Quarry Tiled Floor in Northamptonshire

Quarry Tile Repairs and Restoration at a period cottage Bozeat Read More »

Polished Travertine Kitchen Floor Before and After Polishing Abthorpe Towcester

Travertine Floor Tiles Filled and Polished in Abthorpe Near Towcester

The following pictures show a polished Travertine kitchen and dining room floor at a house in the small village of Abthorpe near Towcester. The stone floor had lost its shine and had become dull and difficult to clean which was mainly due to the holes that had appeared in the surface of the Travertine where dirt had become ground in and trapped. This is a common problem with all Travertine stone, the holes are natural and usually filled at the factory but due to wear and tear over time and the use of acidic cleaning products the filler can become dislodged. The small holes gave the floor an unsightly appearance and become magnets to dirt.

Polished Travertine Kitchen Floor Before Polishing Abthorpe Towcester
We find the best way to restore the shine is to apply a set of diamond encrusted burnishing pads, they take off the layer of dirt and then slowly build a resilient polish on the surface; however, to get the best results we would need to fill the holes in the Travertine.

Polished Travertine Kitchen Floor Before Polishing Abthorpe Towcester

Burnishing and Cleaning a Travertine Tiled Floor

I gave the floor a sweep to remove any loose dirt and grit and started with the application of the first pad which is a coarse 400-grit and designed to remove minor scratches, old sealers and ingrained dirt. The pads fit a 17” buffer machine and is applied with water to lubricate the process, then once the pad has been applied to each tile the floor is rinsed with water and the resultant slurry is extracted using a wet vacuum.

Before moving onto the second pad in the set I gave the grout lines a clean with Tile Doctor Pro-Clean which was scrubbed into the grout using a stiff narrow brush. The pads can struggle to reach into the recessed grout lines, so I usually find this is the best way to get the grout clean.

Polished Travertine Dining Room Floor Before Polishing Abthorpe Towcester
The floor was given another rinse with water and then I continued to work through the medium 800-grit and then fine 1500-grit pads rinsing with water and then extracting the slurry with a wet vacuum after each pad.

The Travertine was now clean and after drying with fans I commenced the task of filling the holes with stone filler that matched the natural colour of the stone as close as possible, in this case the colour we opted for to achieve the best match was Straw. These activities took up most of the day so once I was done filling I left for the day, so the filler and floor could dry out thoroughly overnight.

Polished Travertine Holes Filled Before Polishing Abthorpe Towcester

Sealing a Travertine Tiled Floor

I returned the following day and started by completing the polishing process by applying the last 3000-grit very fine burnishing pad with the 17” rotary machine, the pad is applied dry with a small amount of water sprayed on the floor as you go along. With the floor now fully dry and the filled holes polished flat the last step was to apply the sealer which will protect the floor going forwards.

Polished Travertine Kitchen Floor After Polishing Abthorpe Towcester
With Travertine floors I usually recommend Tile Doctor Colour Grow which is a colour enhancing sealer or Ultra-Seal which is a natural look sealer. On this occasion the client preferred the natural look, so I applied two coats of Tile Doctor Ultra Seal and along with the previous polishing the floor now look transformed.

Polished Travertine Kitchen Floor After Polishing Abthorpe Towcester
 

Professional Travertine Tiled Floor Restoration in Northamptonshire

Travertine Floor Tiles Filled and Polished in Abthorpe Near Towcester Read More »

Red Quarry Tiles Higham Ferrers Northants After

Extremely Dirty and Damp Quarry Tiled Floor Restored in Higham Ferrers

This red Quarry tiled floor was in the dining room of a house in the East Northamptonshire market town of Higham Ferrers. Despite being an original feature of the property, the floor had never been taken care of and looked to be completely beyond salvation and what must be the worst condition I have seen in a long time.

Red Quarry Tiles Higham Ferrers Northants Before
When I first inspected the floor it became very quickly clear that it was suffering from severe damp problems, covering roughly two thirds of the entire surface area. I took damp meter readings and discovered that the floor was saturated as there was no damp proof course installed. This problem was compounded by staining from the glue residue used to hold down the linoleum which previously covered the tiles. But while some floors look beyond salvation, I was certain I could restore this one to an acceptable appearance.

A hallway in the property had the same Quarry tiles, but these had been painted with a red tile paint at some point in the past, which itself had worn off in the main traffic areas. These tiles had no damp problems and so it would just be a case of removing the rest of the paint and providing a thorough cleaning before sealing.

Red Quarry Tiles Higham Ferrers Northants Before
The customer was also keen that the dining room be restored as near as possible to the hallway tiles to try and achieve a uniform finish. I did inform the customer that due to the vast difference in condition this would be a challenge but I would do my best. A quote was given and work was booked in at the customer’s convenience.

Cleaning Extremely Dirty Quarry Tiles

Before beginning the restoration, I carried out a patch test to see which products would achieve the best results on the tiles. After vacuuming and mopping the floor to remove the immediate layers of muck, I decided my best course of action would be to use the heavy duty stripper, Tile Doctor Remove & Go.

Working in four separate sections, I applied the product then scrubbed it using a black stripping pad to a rotary machine. Remove & Go is designed to break down old sealers, paints and glues, making it an ideal product for use in this particular situation. This area was then rinsed off with a wet-vac machine and the process was repeated on the rest of the floor.

I then inspected the floor and noticed a few shiny patches where the old sealer hadn’t been fully removed, so I tackled these stubborn areas by hand with a second application of Remove & Go. A final rinse was given to the whole floor to make sure no excess cleaning products remained.

Sealing Quarry Tiles

After completing the cleaning process and removing as much water as possible using a wet vacuum, I installed a dehumidifier and left the tiles to dry for an entire month. Upon my return to the property I took damp meter readings to ensure the tiles were fully dry prior to the application of the sealer. This is crucial as excess moisture can cloud the sealer, rendering it less effective at protecting the stone.

I opted to use Tile Doctor Colour Grow to seal the floor primarily because is fully breathable and therefore ideal for floors that are prone to damp problems. It has the added bonus of being a colour intensifying sealer that really enhanced the natural reddish shades in the Quarry.

Red Quarry Tiles Higham Ferrers Northants After
As the pictures show, there was a vast improvement in the floor and the customer was pleased with the results. It really goes to show that while a floor might look beyond salvation, wait can in fact be restored to an acceptable condition using the right methods and products. The customer was also given advice on maintenance of this type of floor to keep it looking its best for years to come.

Red Quarry Tiles Higham Ferrers Northants After
 

Professional Quarry Tiled Floor Restoration in Northamptonshire

Extremely Dirty and Damp Quarry Tiled Floor Restored in Higham Ferrers Read More »

Scroll to Top