Stone Soap

Tumbled Travertine Tiled Kitchen Floor Renovation Stanwick

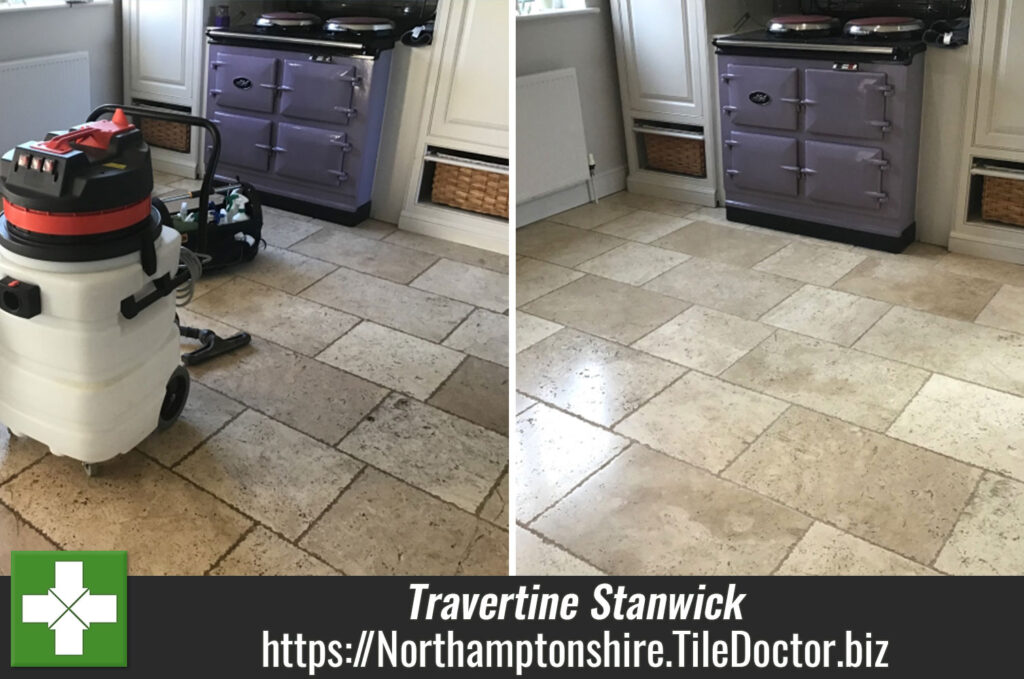
Tumbled Travertine Kitchen Floor Filled and Polished in Stanwick Near Wellingborough

A homeowner from the village of Stanwick near Wellingborough contacted me about their Tumbled Travertine Kitchen floor which was proving very hard to maintain. Having worked on similar floors before I was confident of helping and so arranged a date to pop round and come up with a plan for its renovation.
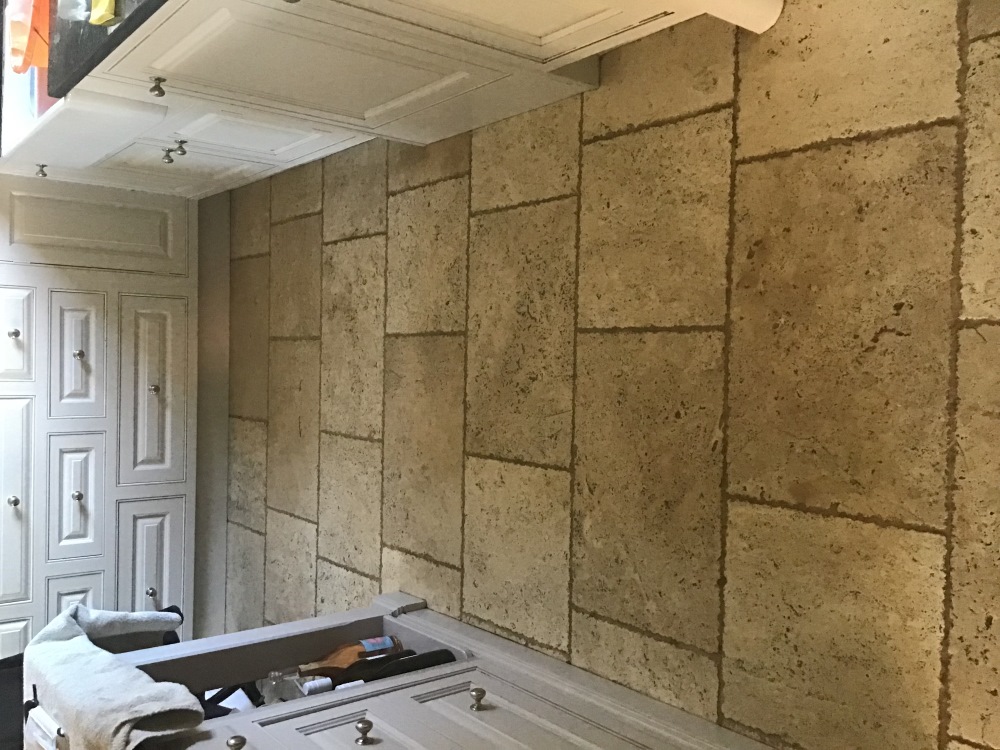
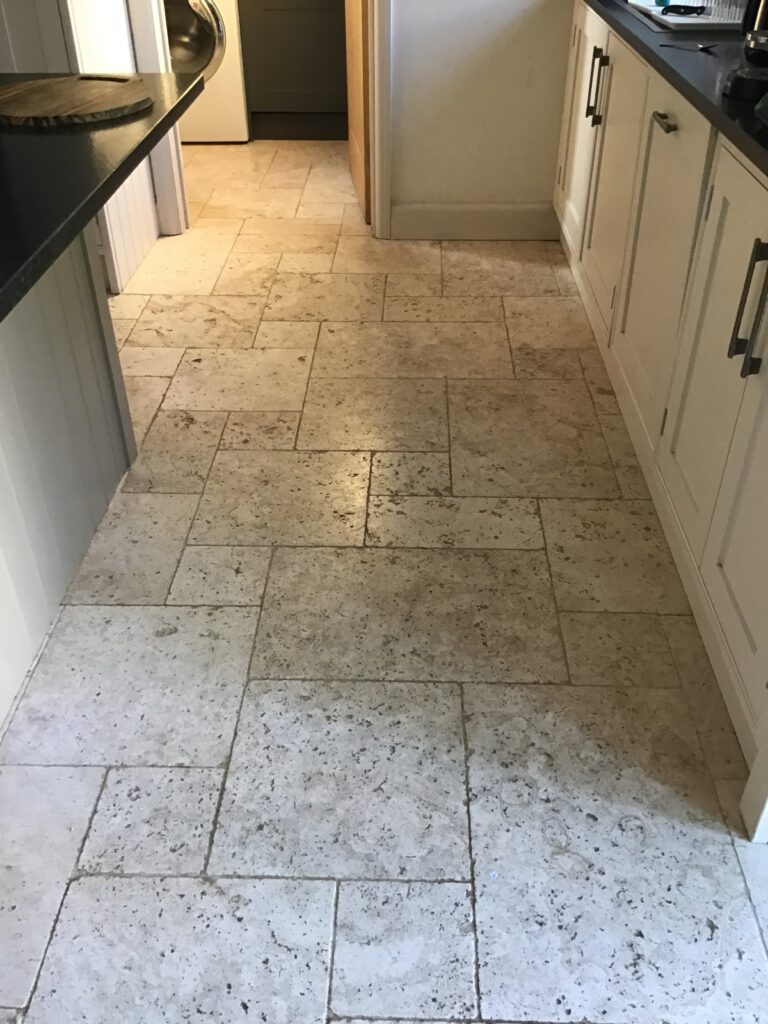
Tumbled Travertine Tiled Kitchen Floor Before Cleaning Stanwick

Surveying the floor, I could see the main problem was the pitting in the tiles which are basically small holes and is quite common with Travertine. Dirt was becoming ingrained in the holes which were proving very difficult to remove with regular cleaning and this left it looking dull and permanently dirty. I recommended deep cleaning the floor to remove all the dirt, filling the holes, polishing the stone to bring back its appearance and then sealing to protect it going forward.

Happy with the plan I created a quote for the work which was agreed and a date set for our return.

Cleaning and Polishing a Travertine Tiled Floor

I gave the floor a sweep to remove any loose dirt and grit and started with the application of the first pad which is a coarse 400-grit and designed to remove minor scratches, old sealers and ingrained dirt. The pads fit a 17” buffer machine and is applied with water to lubricate the process, then once the pad has been applied to each tile the floor is rinsed with water and the resultant slurry is extracted using a wet vacuum.
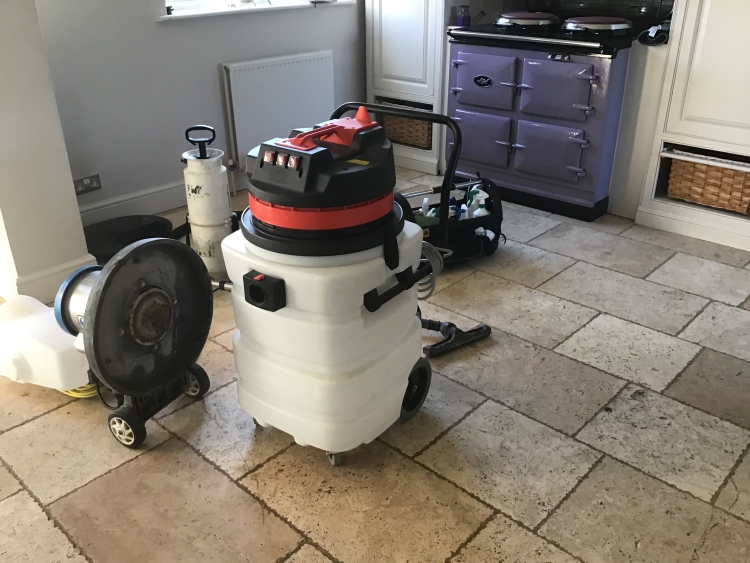
Tumbled Travertine Tiled Kitchen Floor Before Cleaning Stanwick

Before moving onto the second pad in the set I gave the grout lines a clean with Tile Doctor Pro-Clean which was scrubbed into the grout using a stiff narrow brush. The pads can struggle to reach into the recessed grout lines, so I usually find this is the best way to get the grout clean.

The floor was given another rinse with water and then I continued to work through the medium 800-grit and then fine 1500-grit pads rinsing with water and then extracting the slurry with a wet vacuum after each pad.

The Travertine was now clean and after drying with fans I commenced the task of filling the larger holes with a resin filler that matched the natural colour of the stone as close as possible. The filler takes an hour to set and then the patches are rubbed down with handheld burnishing blocks.

Sealing a Tumbled Travertine Tiled Kitchen Floor

I returned the following day and started by completing the polishing process by applying the last 3000-grit very fine burnishing pad with the 17” rotary machine, the pad is applied dry with a small amount of water sprayed on the floor as you go along. With the floor now fully dry and the filled holes polished flat the last step was to apply the sealer which will protect the floor going forwards.

Last step was to seal the Travertine to prevent dirt from becoming ingrained in the stone going forward. To do this I applied two coats of Tile Doctor Colour Grow which is a colour enhancing sealer which works by soaking into the pores occupying the space and thereby preventing dirt from residing there. This ensures that dirt remains on the surface where it is easily cleaned away.
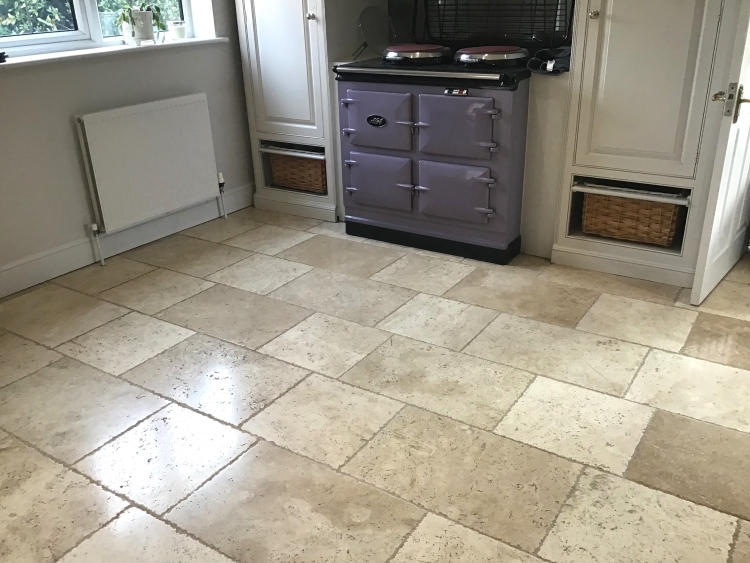
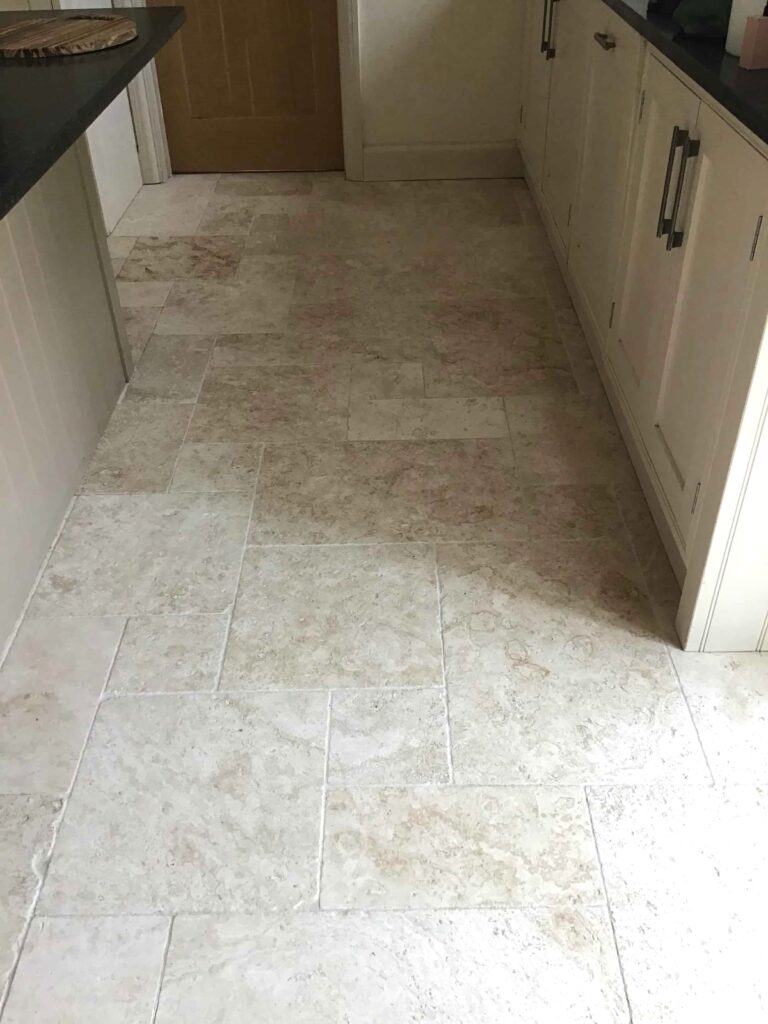
Tumbled Travertine Tiled Kitchen Floor After Cleaning Stanwick

Once done the floor looked so much healthier and the new sealer will ensure that the Travertine keeps its appearance and is much easier to clean in future. Regarding cleaning, I recommended the use of Tile Doctor Stone Soap for the regular cleaning of this floor. This product is formulated for use on sealed stone and it help maintain the patina.
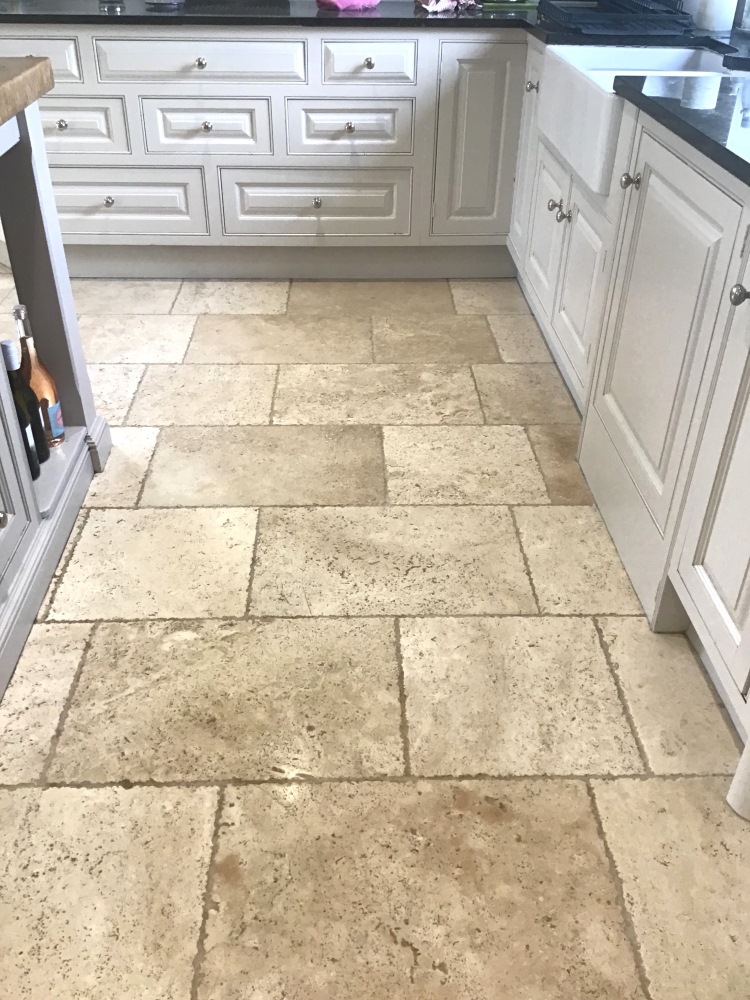
Tumbled Travertine Tiled Kitchen Floor After Cleaning Stanwick


Professional Travertine Tiled Floor Restoration in Northamptonshire

Tumbled Travertine Kitchen Floor Filled and Polished in Stanwick Near Wellingborough Read More »

Limestone Tiled Kitchen Floor Renovation Geddington

Pitted Limestone Floor Deep Cleaned, Polished, Filled and Sealed in Geddington

This client from Geddington called me in to renovate their Limestone tiled floor which had been installed throughout much of the ground floor. Limestone like any natural stone is porous and will suffer from ingrained dirt if the sealer isn’t maintained, so it’s not unusual to need work like this doing every three to five years.

Limestone Tiled Kitchen Floor Before Cleaning Geddington

I visited the property to survey the tiles and could see the stone had quite a lot of surface pitting which was trapping dirt and making it very difficult to keep clean. Pitting is quite common in this type of stone, and they are usually filled at the factory, however the filler can become dislodged with wear and the problem can be made worse by the use of acidic cleaning products.

Limestone Tile Kitchen Floor Before Cleaning Geddington Limestone Tiled Steps Before Cleaning Geddington

After surveying the floor, I came up with a comprehensive renovation plan that included deep cleaning the stone, filling the pits, polishing, and then sealing. I also made a note to discuss aftercare cleaning at the end so the floor wouldn’t get so bad in future.

Happy with my plan and quote a date was agreed for the work to commence.

Cleaning a Pitted Limestone Tiled Kitchen Floor

It was a large floor so to minimise disruption to the owner I split the job up into several areas and worked through the following process.

Work started with a general clean of the floor using Tile Doctor Pro-Clean with a focus on cleaning the grout. I used a strong dilution of Pro-Clean, left it to soak into the stone and grout for around ten minutes and then scrubbed it into the floor using a black pad fitted to a rotary machine. I also ran a stiff grout brush along the grout lines to get them as clean as possible. Once done the floor was rinsed and the soiling extracted with a wet vacuum.

The next step was to hone the Limestone using a set of diamond encrusted burnishing pads. These pads are great for bringing up the polish on a stone floor like this and you start with a coarse 400-grit pad fitted to a rotary floor buffer. Water is used to lubricate the process and the pads are run over each tile three or four times. The floor is then rinsed and extracted as before, and the process repeated with the 800 and then 1500 grit pads.

Once done the floor was looking much cleaner and brighter and ready for the next step which was to fill the pits. To do this I inspected the floor, identifying all the areas that needed attention and then filled those holes with a resin filler that is colour matched to the stone.

Sealing a Pitted Limestone Tiled Kitchen Floor

The last step was to seal the limestone and for this I used Tile Doctor Ultra-Seal which is an impregnating sealer that soaks into the stone, occupying the pores of the stone and thereby preventing dirt from residing there. Sealing keeps the dirt on the surface where it can easily be cleaned away. Ultra-Seal doesn’t contain any colour enhancers, so it leaves the stone with a very natural appearance which is what my client wanted.

Limestone Tile Kitchen Floor After Cleaning Geddington Limestone Tiled Steps After Cleaning Geddington

The floor was transformed by the work and my client was very happy with the result, they even went to the trouble to leave the following review:

“We are absolutely delighted with the work undertaken by Philip, the Northamptonshire Tile Doctor. He has completely transformed very dirty limestone floors into something of great beauty – better than new. Philip was a pleasure to deal with throughout and we can highly recommend him.”

Limestone Tiled Kitchen Floor After Cleaning Geddington

With regards to aftercare cleaning, I recommended they use Tile Doctor Stone Soap which is designed for cleaning polished stone floors and helps maintain the patina.


Professional Restoration of a Limestone Tiled Floor in Northamptonshire

Pitted Limestone Floor Deep Cleaned, Polished, Filled and Sealed in Geddington Read More »

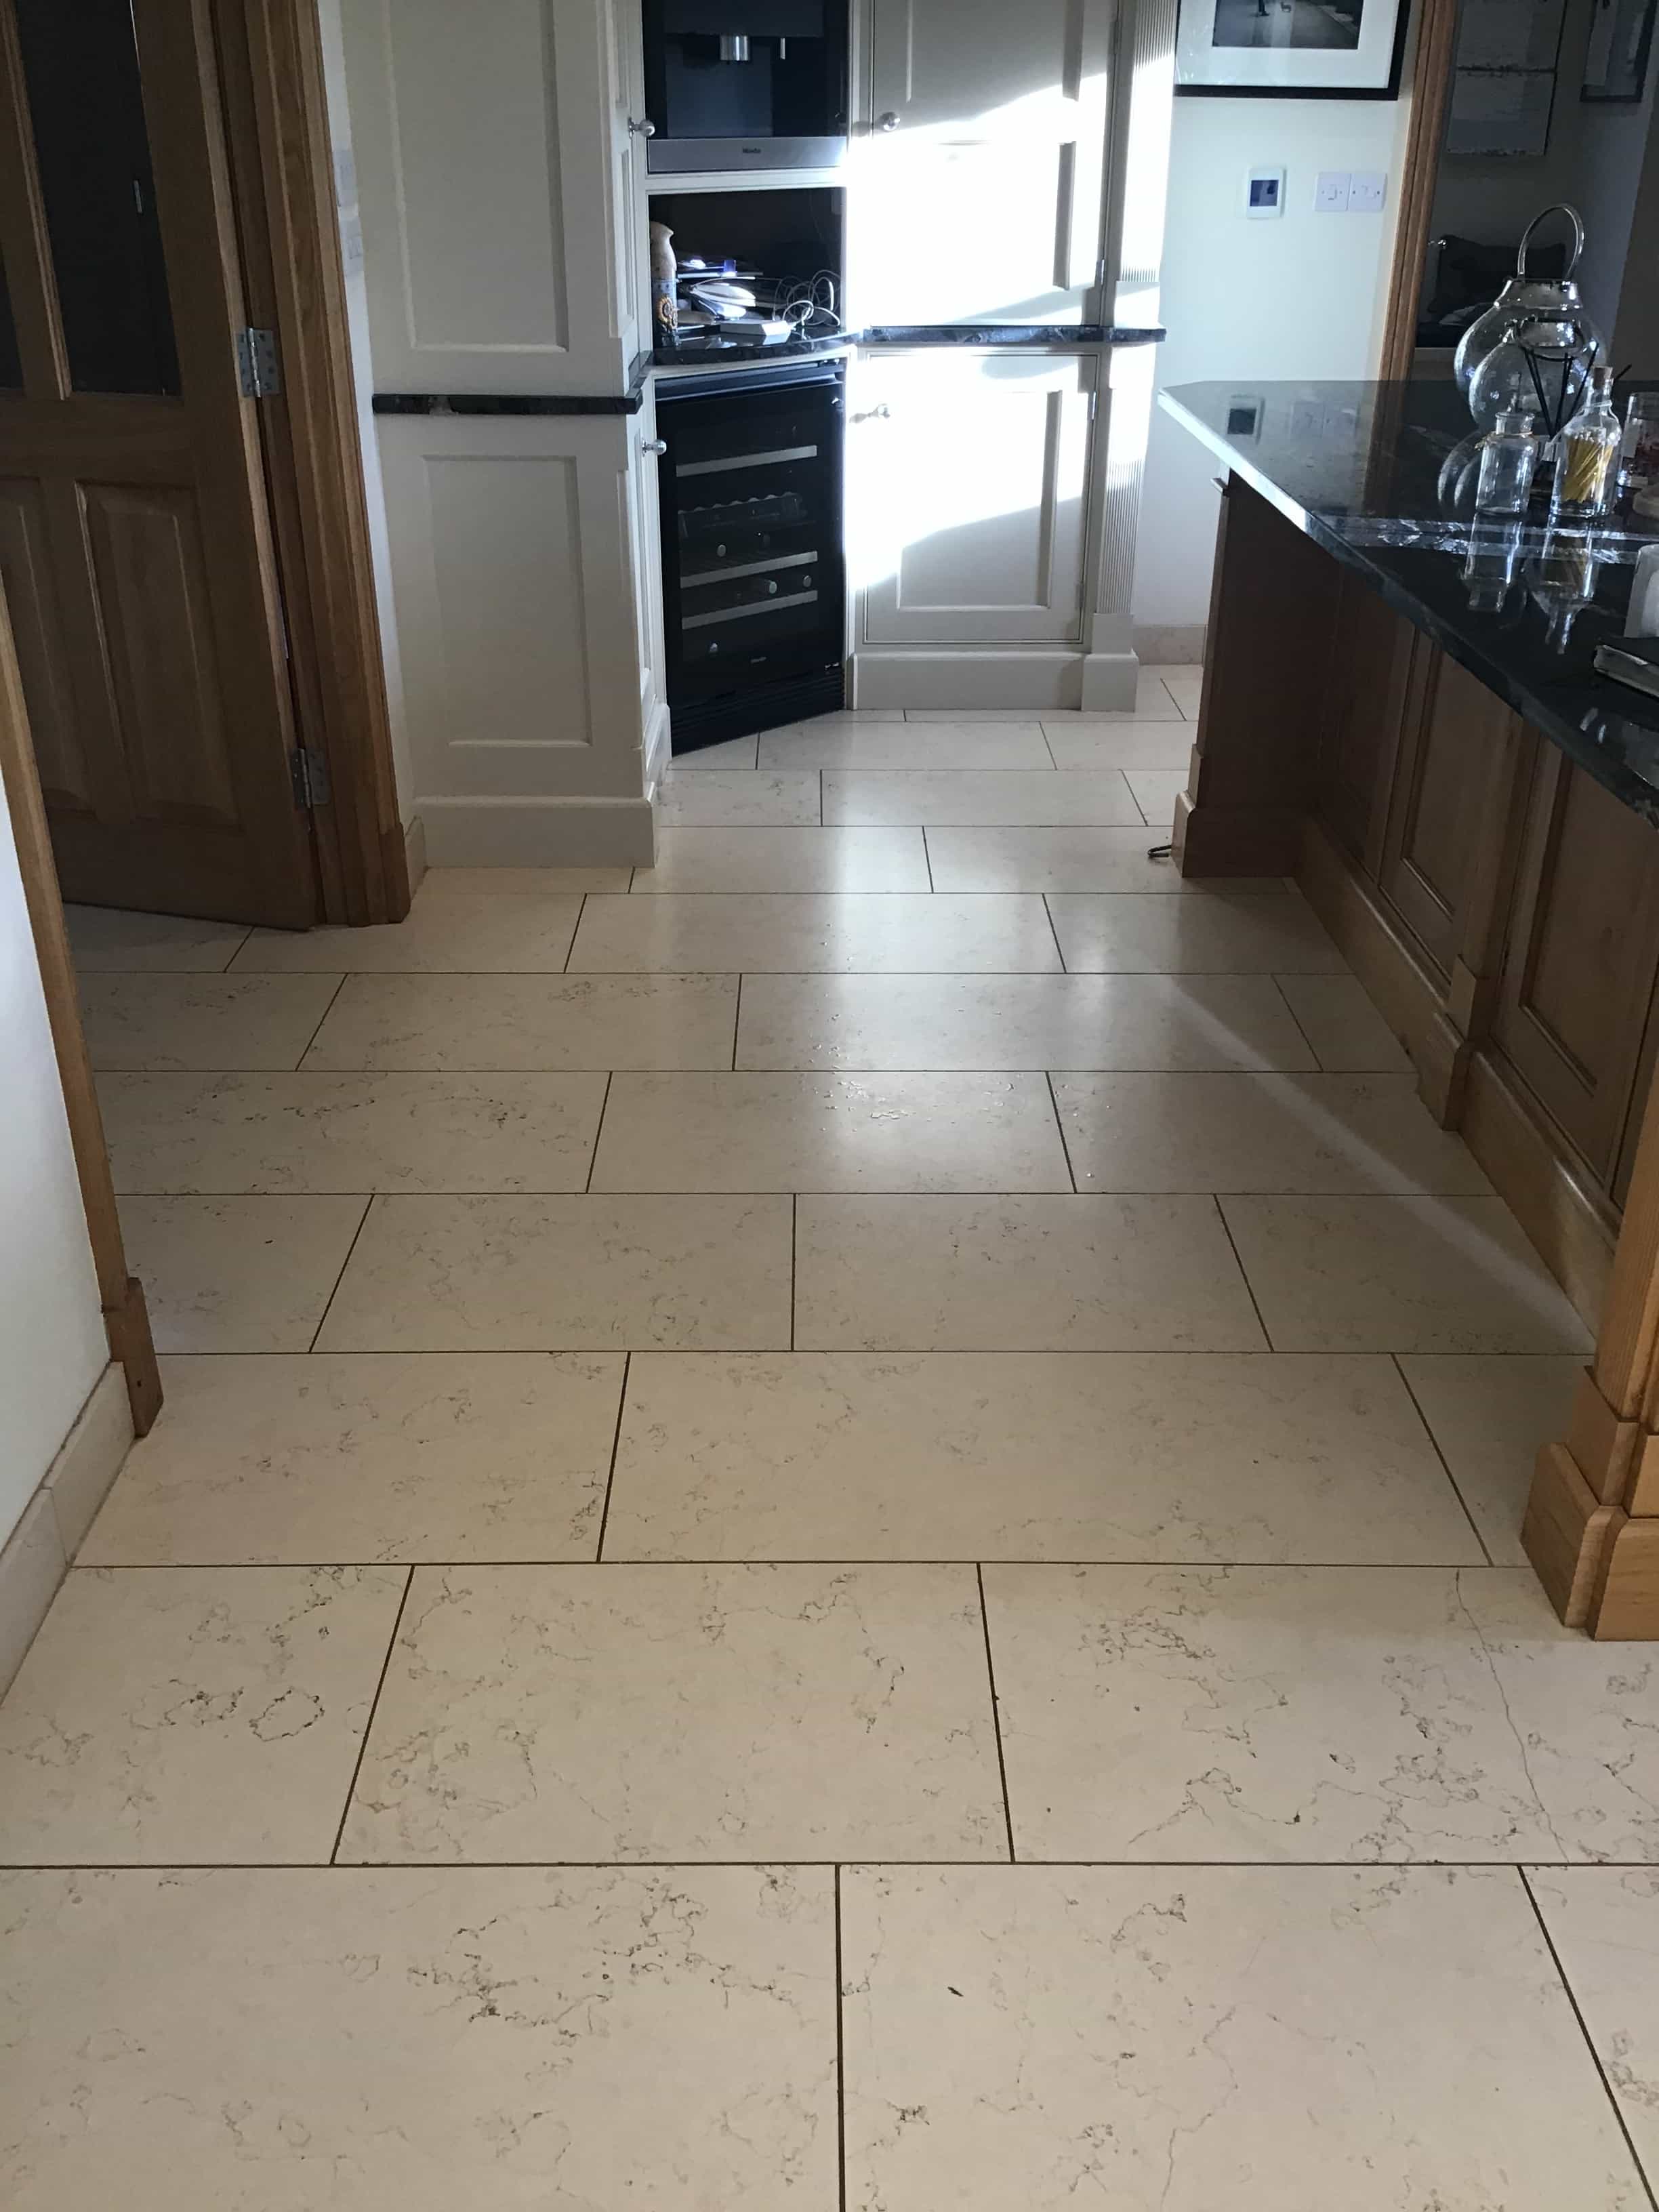
Travertine Tiled Hallway and Kitchen Floor Renovated Welton Daventry

Dirty Tumbled Travertine Floor Renovated in Welton near Daventry

This is a Tumbled Travertine floor with a Honed finish that was installed some years prior in the hallway and kitchen of a house in the village of Welton near Daventry. Kitchens and hallways have the highest foot traffic of any room in a house and without regular maintenance the sealer started to wear down allowing dirt and staining to reach the pores of the tile and grout lines. Travertine is known for its small depressions known as pitting and without the protection of the sealer those areas became heavily soiled. The grout had also darkened with ingrained dirt turning what was a light grey colour into a contrasting black.

Tumbled Honed Travertine Welton Before Cleaning

After visiting the property and surveying the floor I recommended burnishing the floor with a set of abrasive pads to remove the dirt and then resealing with a more durable product. To prove my point, I ran a small test clean on the floor so they could see the potential difference this could make. Happy with the result they asked for a quote which was accepted, and the job was booked in.

Cleaning a Tumbled Travertine Tiled Kitchen Floor

I started the cleaning process by sweeping and vacuuming the floor to remove any grit and other debris. Then it was cleaned with a 3:1 dilution of Tile Doctor Pro-Clean, spraying it onto the floor and allowing it to dwell and make a start breaking down the soiling. The product was then worked into the floor using a stiff brush paying particular attention to the pitted areas and along the grout lines to get them clean. This was followed by rinsing the floor with more water and extracting the soiling with a wet pick-up machine.

The next step was to use the burnishing pad system starting with the coarse pad fitted to a rotary machine and worked into the tiles with a small amount of water for lubrication. The set of pads come in various grits and are actually made from industrial diamonds.

This first 400-grit pad cleans the tiles and removes any remaining sealant that may have been present on the tiles. This was continued with the finer 800-grit pad, again using nothing but water and then rinsing the floor of any slurry generated by the process after each pad.

When the floor had dried, I applied a fine 1500-grit pad to bring up the polish on the Travertine until it had a silky honed finish. There is a fourth 3000-grit pad in the system that brings up the polish even further to achieve a high shine finish, but my client didn’t want that look.

Tumbled Honed Travertine Welton During Cleaning

Sealing a Tumbled Travertine Tiled Kitchen Floor

To protect the travertine, it was sealed using three coats of Tile Doctor Ultra-Seal sealant which is an impregnating invisible sealer resulting in a very natural finish. Once dry the floor was buffed using a soft white buffing pad.

Tumbled Honed Travertine Welton After Cleaning

You can see from the photos how much cleaner and lighter the Travertine tiles look and that the light grey colour of the grout has been restored. The new sealer will make it much easier to maintain now and with the correct cleaning regime in place the sealer should last a long time. My client was very happy with the work and left the following feedback for me:

“Really happy with our new floor. The service was professional and thorough – definitely worth the money.”

For the regular cleaning of a floor like this I recommend Tile Doctor Stone Soap which is a mild cleaning product that’s designed for use on sealed and polished stone. You must be especially careful when choosing a cleaning product for sealed tiles as many of the products you find in supermarkets are simply too strong and can degrade the sealer prematurely.

Tumbled Honed Travertine Welton After Cleaning


Professional Restoration of a Travertine Tiled Floor in Northamptonshire

Dirty Tumbled Travertine Floor Renovated in Welton near Daventry Read More »

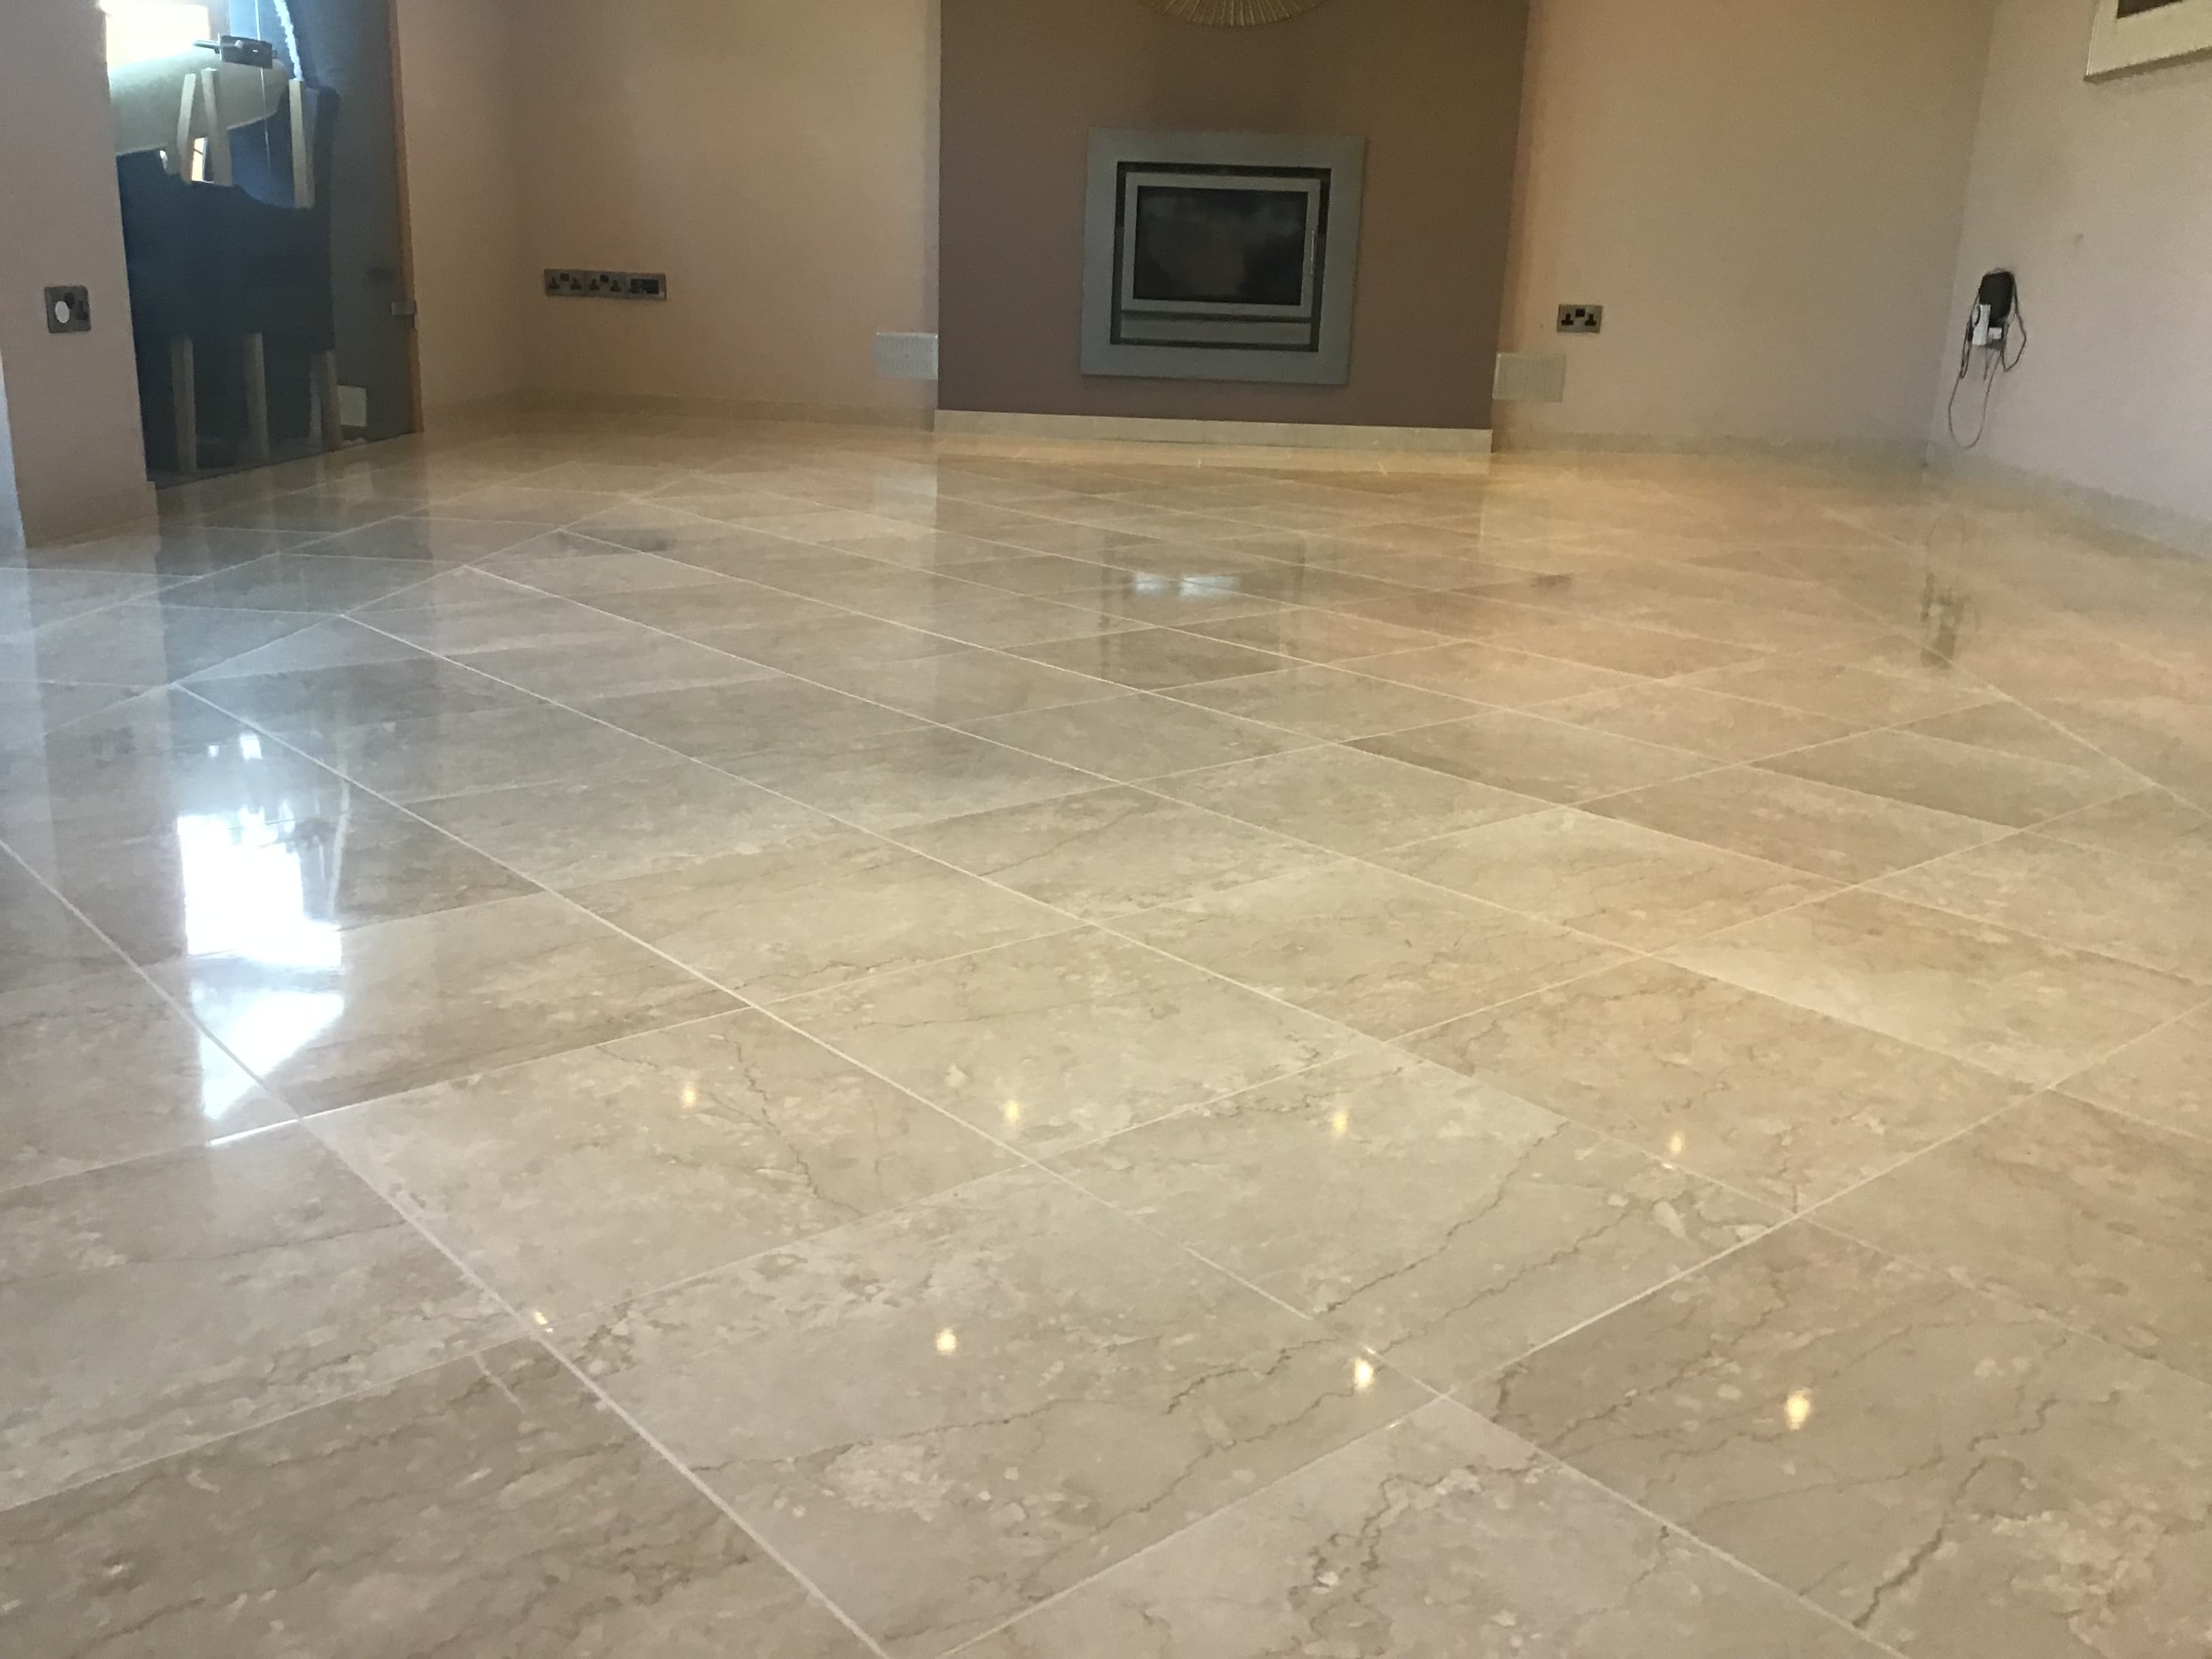
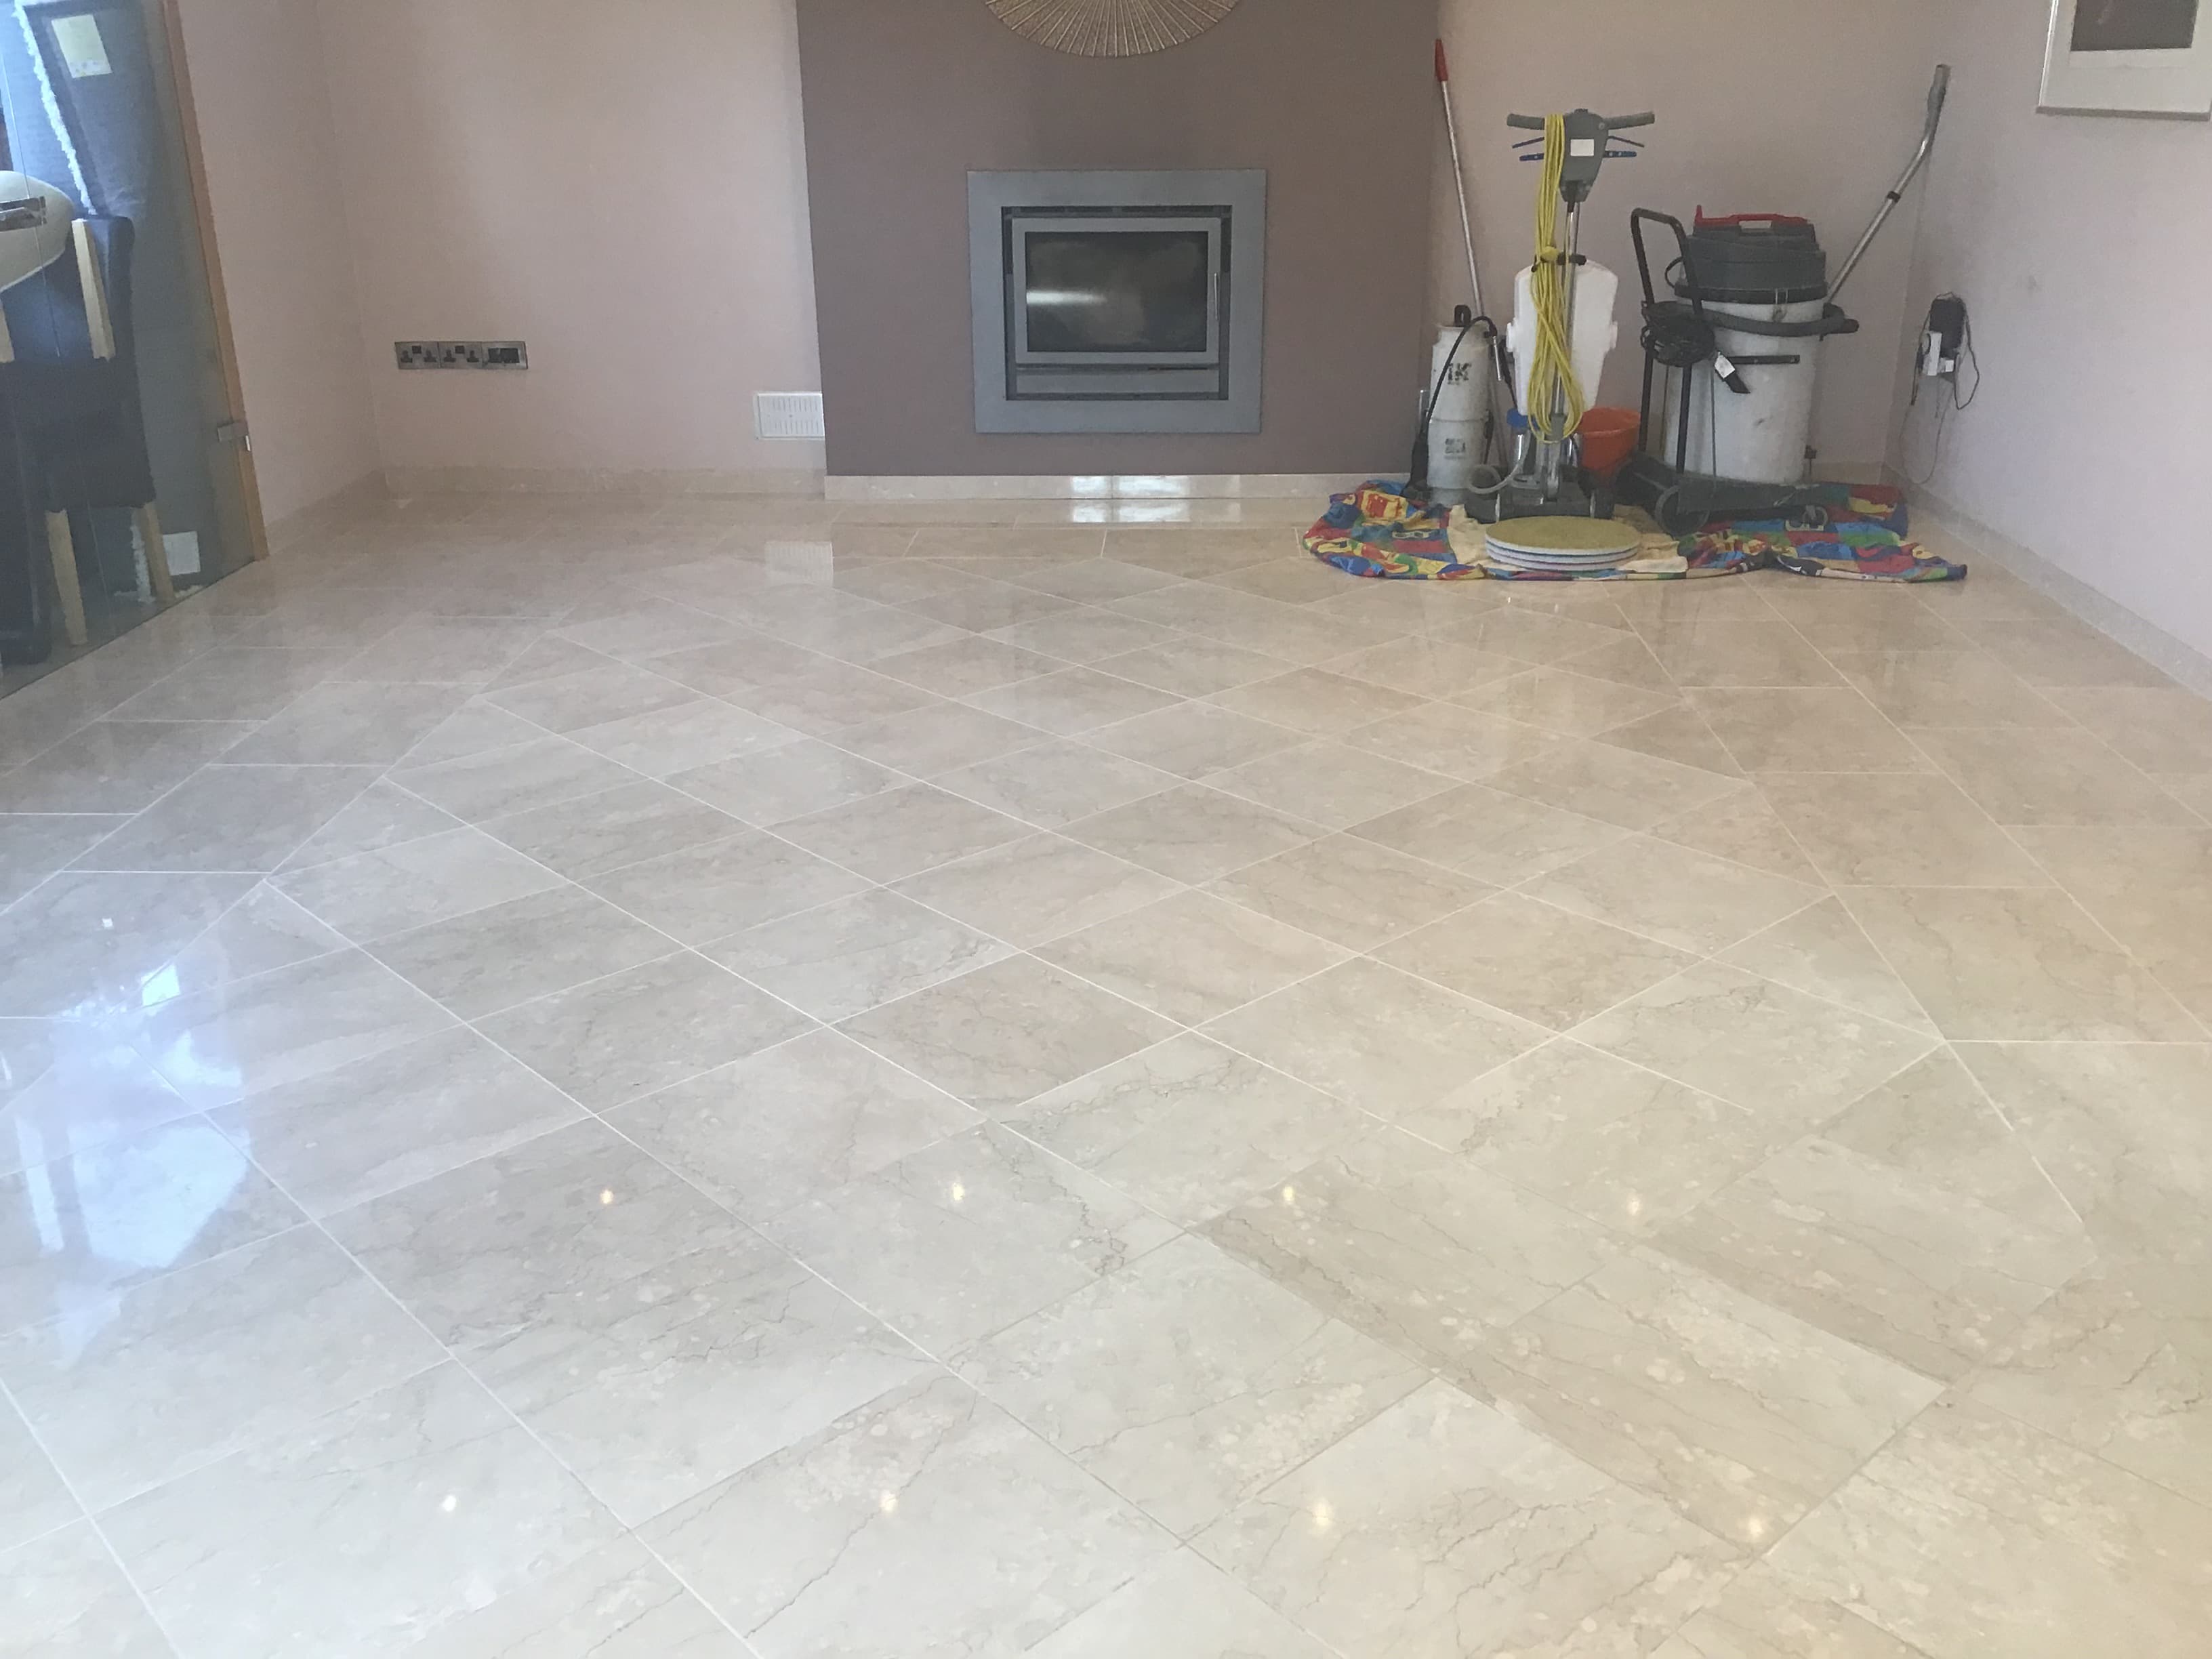
Pale Marble Floor Clean Seal Old Village

Grout Cleaning and Polishing a Marble Tiled Floor in Old Village

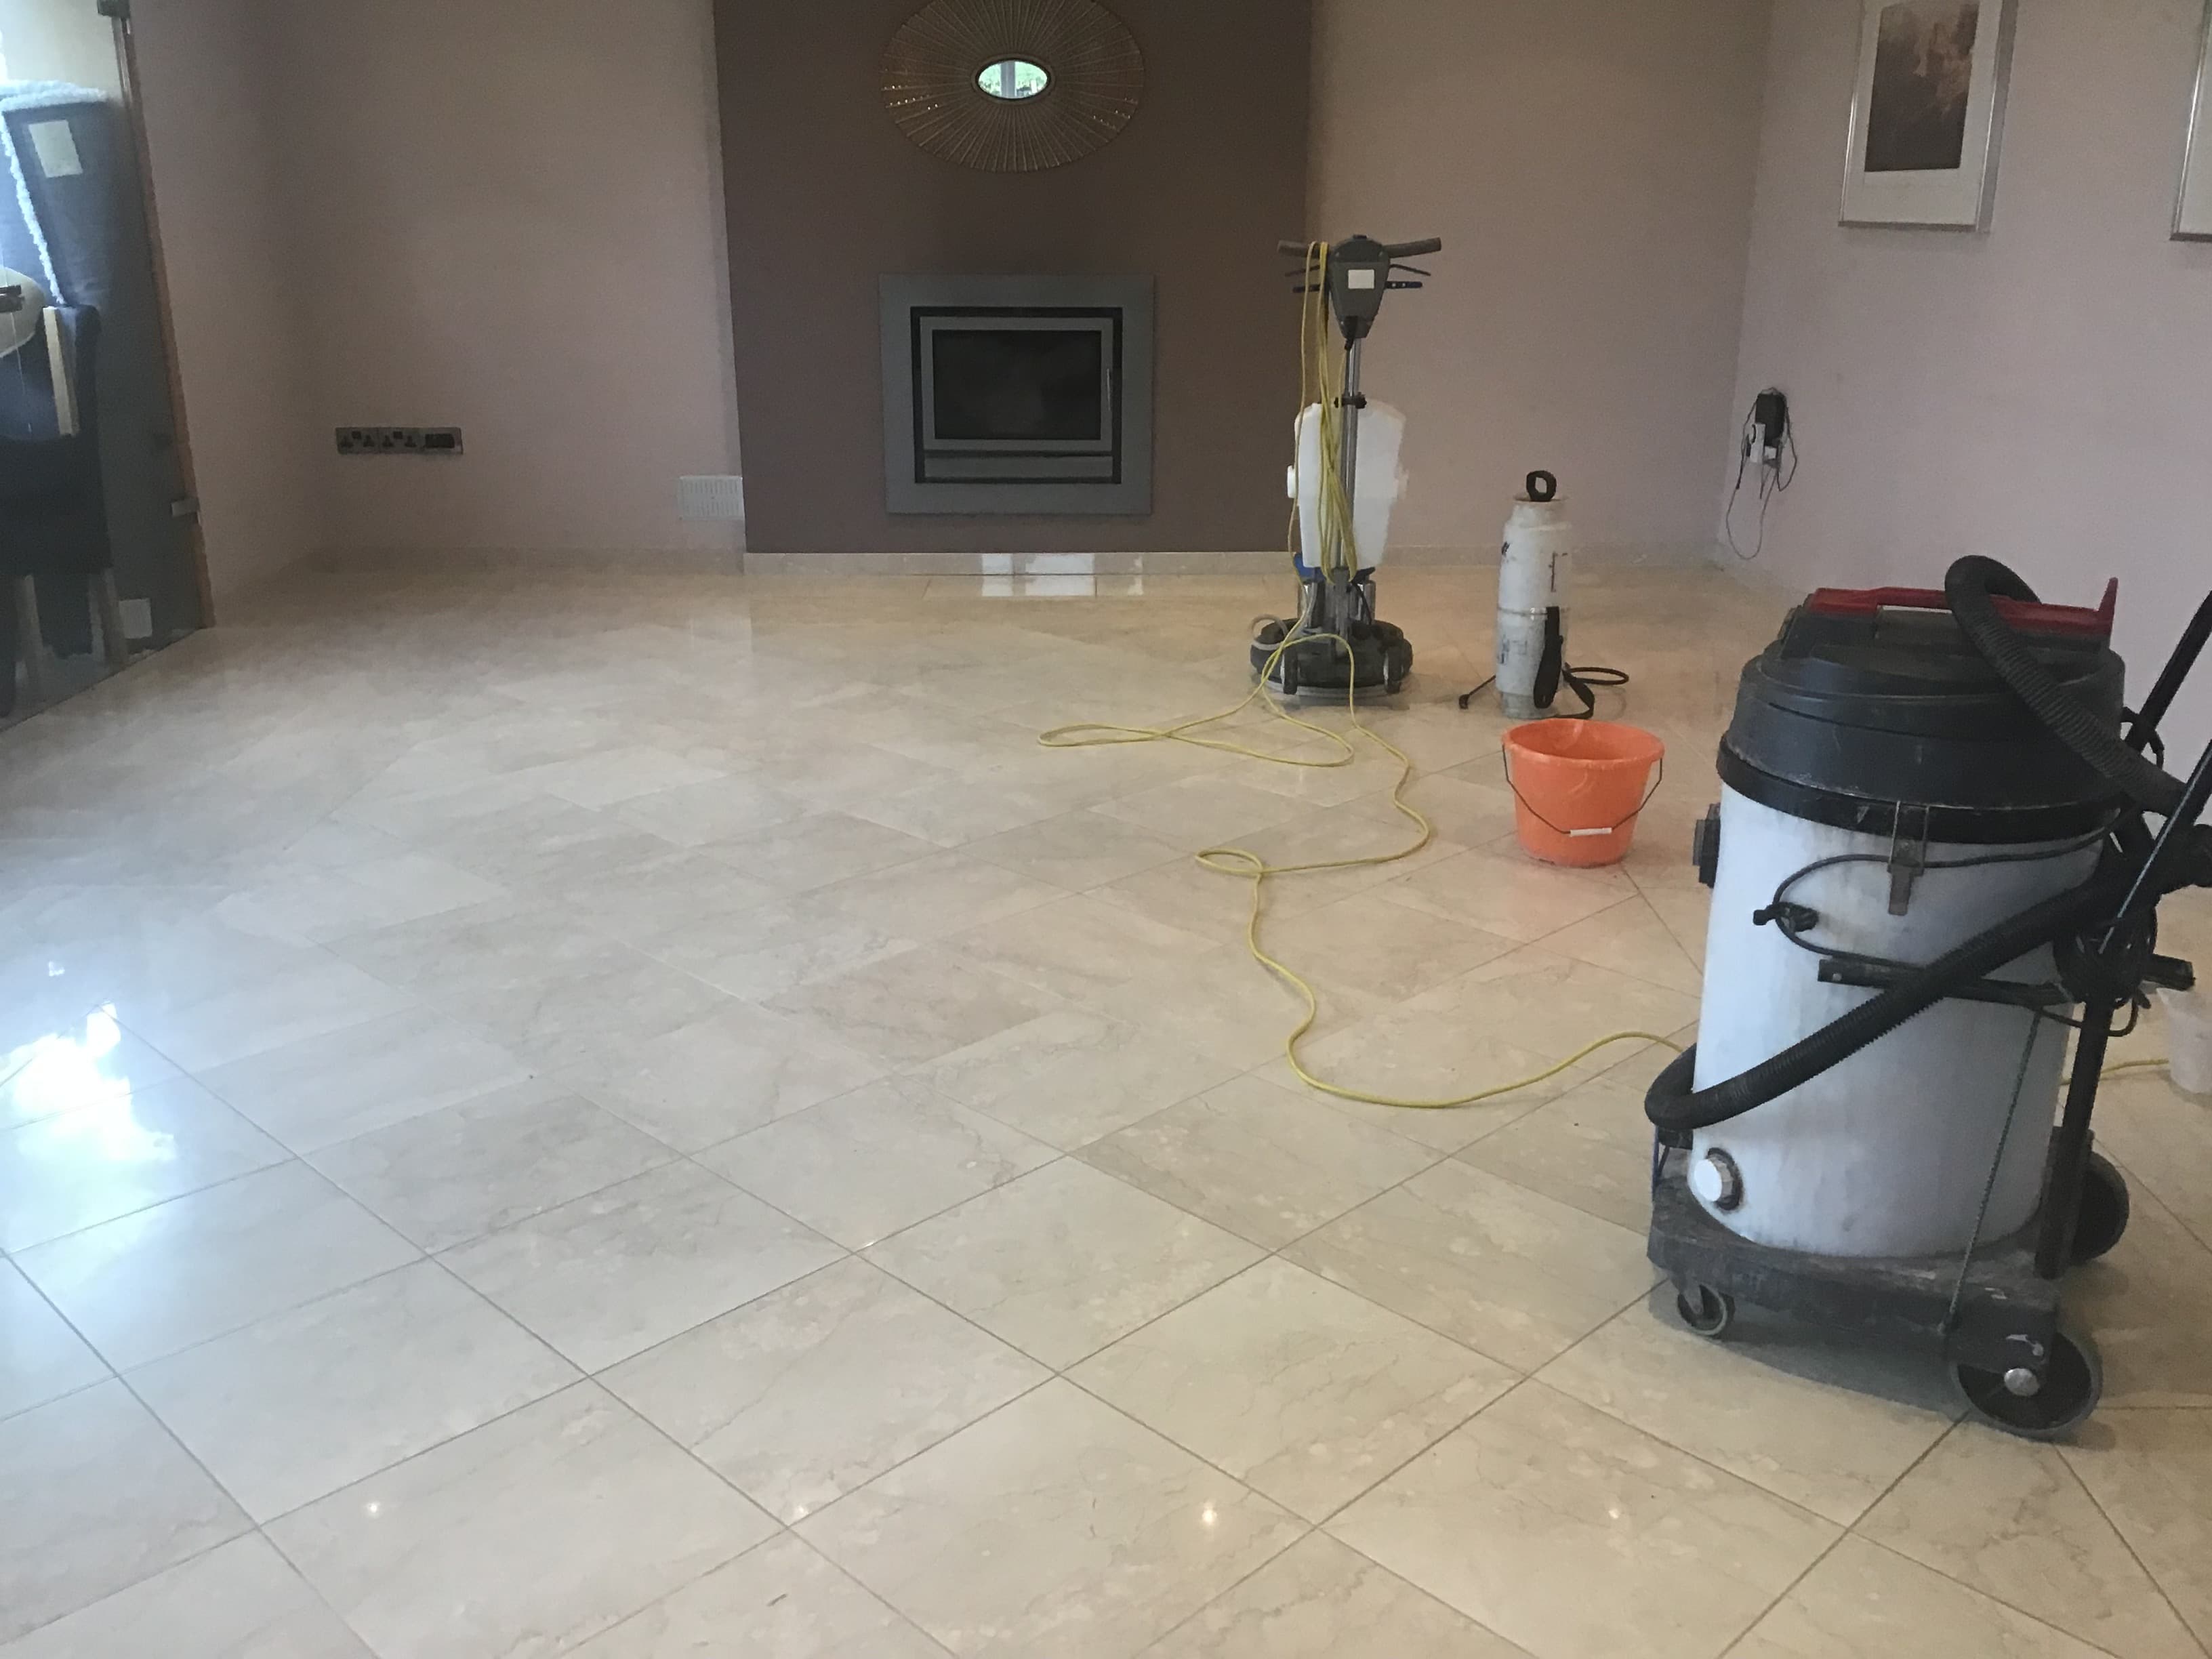
Last year I was called to look at Polished Marble floor at a house in the small village of Old in Northamptonshire which is situated between Kettering and Northampton. The Marble floor was reasonably large at 25m2, and the main problem was the Marble had lost most of its shine, becoming dull and lifeless over time, additionally the grout which was once white had darkened with ground in dirt,

Marble Tiled Floor Before Grout Cleaning and Polishing

If you want the look of a highly polished floor then it will need regular polishing to keep its appearance, in fact Tile Doctor provide a “Maintenance Plan” service for this purpose. How often you need a repolish really depends on how much the floor is used and for a busy high traffic area such as this kitchen diner it may be necessary to have two visits a year.

In this case the Marble needed a lot more than a repolish, my client was unhappy with the stained grout lines and the tiles really needed stripping and resealing to bring the colour back to somewhere near its original. After surveying the floor, I was able to confirm what needed to be done and gave them a price for the work which they were happy to accept.

Cleaning and Polishing a Marble Tiled Kitchen Diner Floor

To get the grout clean and give remove grit etc from the floor before polishing I gave it an initial clean using a medium dilution of Tile Doctor Pro-Clean. This is a professional Tile and Grout cleaning product which is applied to the grout, left to soak in for ten minutes and then scrubbed into the grout line by hand. The soil is then rinsed off with water and then extracted with a wet vacuum.

To bring up the polished appearance of the Marble tiles I used a set of four 17” diamond encrusted burnishing pads which have different levels of grit. The pads are applied to the Marble tiles in sequence using a floor buffer and a small amount of water for lubrication. I started with a coarse pad, before moving on to a medium pad, then a fine pad on the first day, working in small sections of around 4 – 5sqm. The floor is given a thorough rinse between each pad to remove any excess residue generated from the burnishing process. The soil was then extracted using a wet vacuum to keep the mess to a minimum.

Sealing a Marble Tiled Kitchen Diner Floor

The floor was left to dry overnight, and I returned the next day. I carried on the process using the very fine burnishing pad to achieve a high shine finish. This pad is applied dry to the floor using only a little water sprayed onto the tile. It brings up the final polish on the tiles and leaves the floor dry so it can be sealed afterwards.

To seal I applied a single coat of Tile Doctor Ultra-Seal which is a premium impregnating sealer that soaks into the pores of the stone protecting it from within. It’s a natural look sealer and by this, I mean it doesn’t alter the natural look of the stone and is almost invisible. The area was dried with a fan for one hour and then I checked the performance of the sealer by carrying out a water repellence test. The result of this test will let me know if a second coat of sealer may be needed.

Marble Tiled Floor After Grout Cleaning and Polishing

Once complete the grout was white again and the Marble tiles had a deep shine to them. My client was very happy with the results of my work and took the time to leave the following comment on the Tile Doctor feedback system.

Marble Polishing and Grout Cleaning Testimonial Old Village

For aftercare cleaning I recommended Tile Doctor Stone Soap which will keep the floor clean and help maintain the lustre. I also I let them know about our maintenance program which involves popping back for a couple of hours once a year to give the floor a polish with a very fine 3000-grit burnishing pad and top up the sealer.

Marble Tiled Floor After Grout Cleaning and Polishing


Professional Restoration of a Marble Tiled Floor in Northampton

Grout Cleaning and Polishing a Marble Tiled Floor in Old Village Read More »

Limestone Kitchen Floor Cleaned Sealed Boughton Northamptonshire

Limestone Kitchen Floor Cleaned, Polished and Sealed in Boughton

These photos are of a four-year-old Limestone kitchen floor at a property in Boughton that the customer was finding hard to keep clean and maintain a shine. Part of the problem was he owned two dogs and we often warn about the problems of dog urine on sealed tile and stone due to it being high in nitrogen.

Limstone Kitchen Floor Before Clean Polish Boughton

On my initial visit I was able to ascertain that the sealer had almost completely worn off, leaving the stone vulnerable to dirt becoming ingrained into the pores of the stone. I come across this problem a lot, in my experience when stone floors are installed by tilers, they generally apply a single coat of sealant which wears off over time, and as discussed earlier can be prematurely degraded by strong chemicals.

Limstone Kitchen Floor Before Clean Polish Boughton

My quote to renovate the Limestone floor was accepted and included a deep clean to the stone and grout, stone polish and then re-seal.

Cleaning/Polishing Limestone Tiled Flooring

I arrived on site on the arranged date and began by scrubbing all the grout lines with Tile Doctor grout brushes and a 3:1 dilution of Tile Doctor Pro-Clean. I then moved on to a small handheld polishing machine to clean around the tile edges using 800 and 1500 grit diamond encrusted burnishing pad to achieve a deep clean.

The process was then repeated throughout the rest of the area using larger 17” burnishing pads fitted to a floor polishing machine. The burnishing pads I used come in a set of four starting with 400-grit and moving up to 800, 1500 and 3000 grit, after each pad is applied the floor is rinsed with water and the soil extracted with a wet vacuum.

It took me much of the day to complete this stage of the renovation and the floor was still damp so once done I left for the day, allowing the floor to dry off overnight.

Sealing a Limestone Tiled Kitchen Floor

I returned the following day to complete the final polish using the 3000-grit burnishing pad, this gave a high polished finish which the customer had requested. This last pad is applied dry with only a little water splashed onto the tile, a process we call a spray burnish.

The floor was then sealed with three applications of Tile Doctor Ultra Seal Sealant to protect the newly restored and polished tiles. Ultra-Seal is a penetrating sealer that soaks into those recently cleaned pores in the stone, occupying the space and preventing any dirt from becoming ingrained there. It’s also a natural look sealer so it doesn’t change the colour of the stone in anyway and is almost indetectable once applied.

“Hard work from Philip has left us with a kitchen floor brought back to life – cleaned and sealed in little over 24 hours – brilliant job – Thanks”

Before leaving I gave the customer some tips on maintenance and a complimentary bottle of Tile Doctor Stone Soap to enable him to keep the floor looking its best, this product works well with the sealant we applied and is PH neutral so won’t degrade the new sealer.

Limestone Kitchen Floor After Clean Polish Boughton


Professional Restoration of a Limestone Tiled Kitchen Floor in Northamptonshire

Limestone Kitchen Floor Cleaned, Polished and Sealed in Boughton Read More »

Scroll to Top